

Have you asked yourself how to start baking after watching a baking show? Whether it’s crafting a flawless cake, baking golden cookies, or trying your hand at bread, it's a hobby anyone can start – no matter your age or experience.
Did you know that the beauty of baking isn’t merely in the delicious baked goodies you create? It’s also a creative and therapeutic activity that engages all your senses – touch, smell, sight, taste, and even sound. Many bakers find that it reduces stress, sparks joy, and boosts confidence when they see the outcome. On top of all of that, it can be a social activity, bringing friends and family together over shared creations.
How to start baking for beginners:
- How to begin with straightforward, beginner-friendly recipes.
- Understanding basic ingredients helps improve your results.
- Patience and regular practice are essential tips for beginners.
- The joy of dessert creation comes from learning, experimenting, and having fun.
In this guide, we’ll show you how to start baking from scratch: from beginner-friendly techniques and joy of baking recipes for beginners to tips that help your first baked goods be successful and fun. By the end, you’ll have everything you need to turn your kitchen into a place of creativity, learning, bonding and of course, tasty treats!


Essential Baking Tools and Equipment
You must rely on the proper tools when creating desserts. That said, it’s not the tools that will turn your finished goods amazing. Similarly, a good guitar won’t create a good guitarist. That said, while you can see good guitarists playing cheap guitars well, you won’t see it the other way round.
Must-Have Tools for Beginners
These are the fundamental tools that will get you going at home. You do not need anything fancy; simply grab these tools at the nearest stores, and you’re ready to bake easy recipes!
- Oven
- Measuring cups
- Measuring spoons
- Mixing bowls & whisks
- Baking pans
- Silicone spatula
- Cooling rack
Recommended Baking Equipment
Once you’re comfortable with the basics, these additional tools can elevate your baking experience. They help the process become easier, more enjoyable, and more precise. They also allow you to try new recipes that require specific equipment, helping you improve your skills and achieve better results.
- Baking sheet
- Parchment paper
- Sieve/sifter
- Oven thermometer
- Cookie cutters
- Digital scale
- Liquid measuring cup
- Wooden spoon
- Baking sheet
- Parchment paper
- Sieve/sifter
- Oven thermometer
- Cookie cutters
- Silicone baking mats
- Stand mixer
With the proper tools, your journey will be much more enjoyable, allowing you to focus on technique and creativity.
Do you need an ultimate guide to dessert creations? Do not worry – I gotchu!
Understanding Baking Ingredients
When you’re new, one of the most important tips for getting your desserts spot-on is understanding what each ingredient actually does. You do not need to become an expert overnight, but having a basic idea of how ingredients behave and why they are included will help you avoid common mistakes. As you continue, this knowledge will become second nature, and you’ll be able to troubleshoot or tweak recipes with confidence.
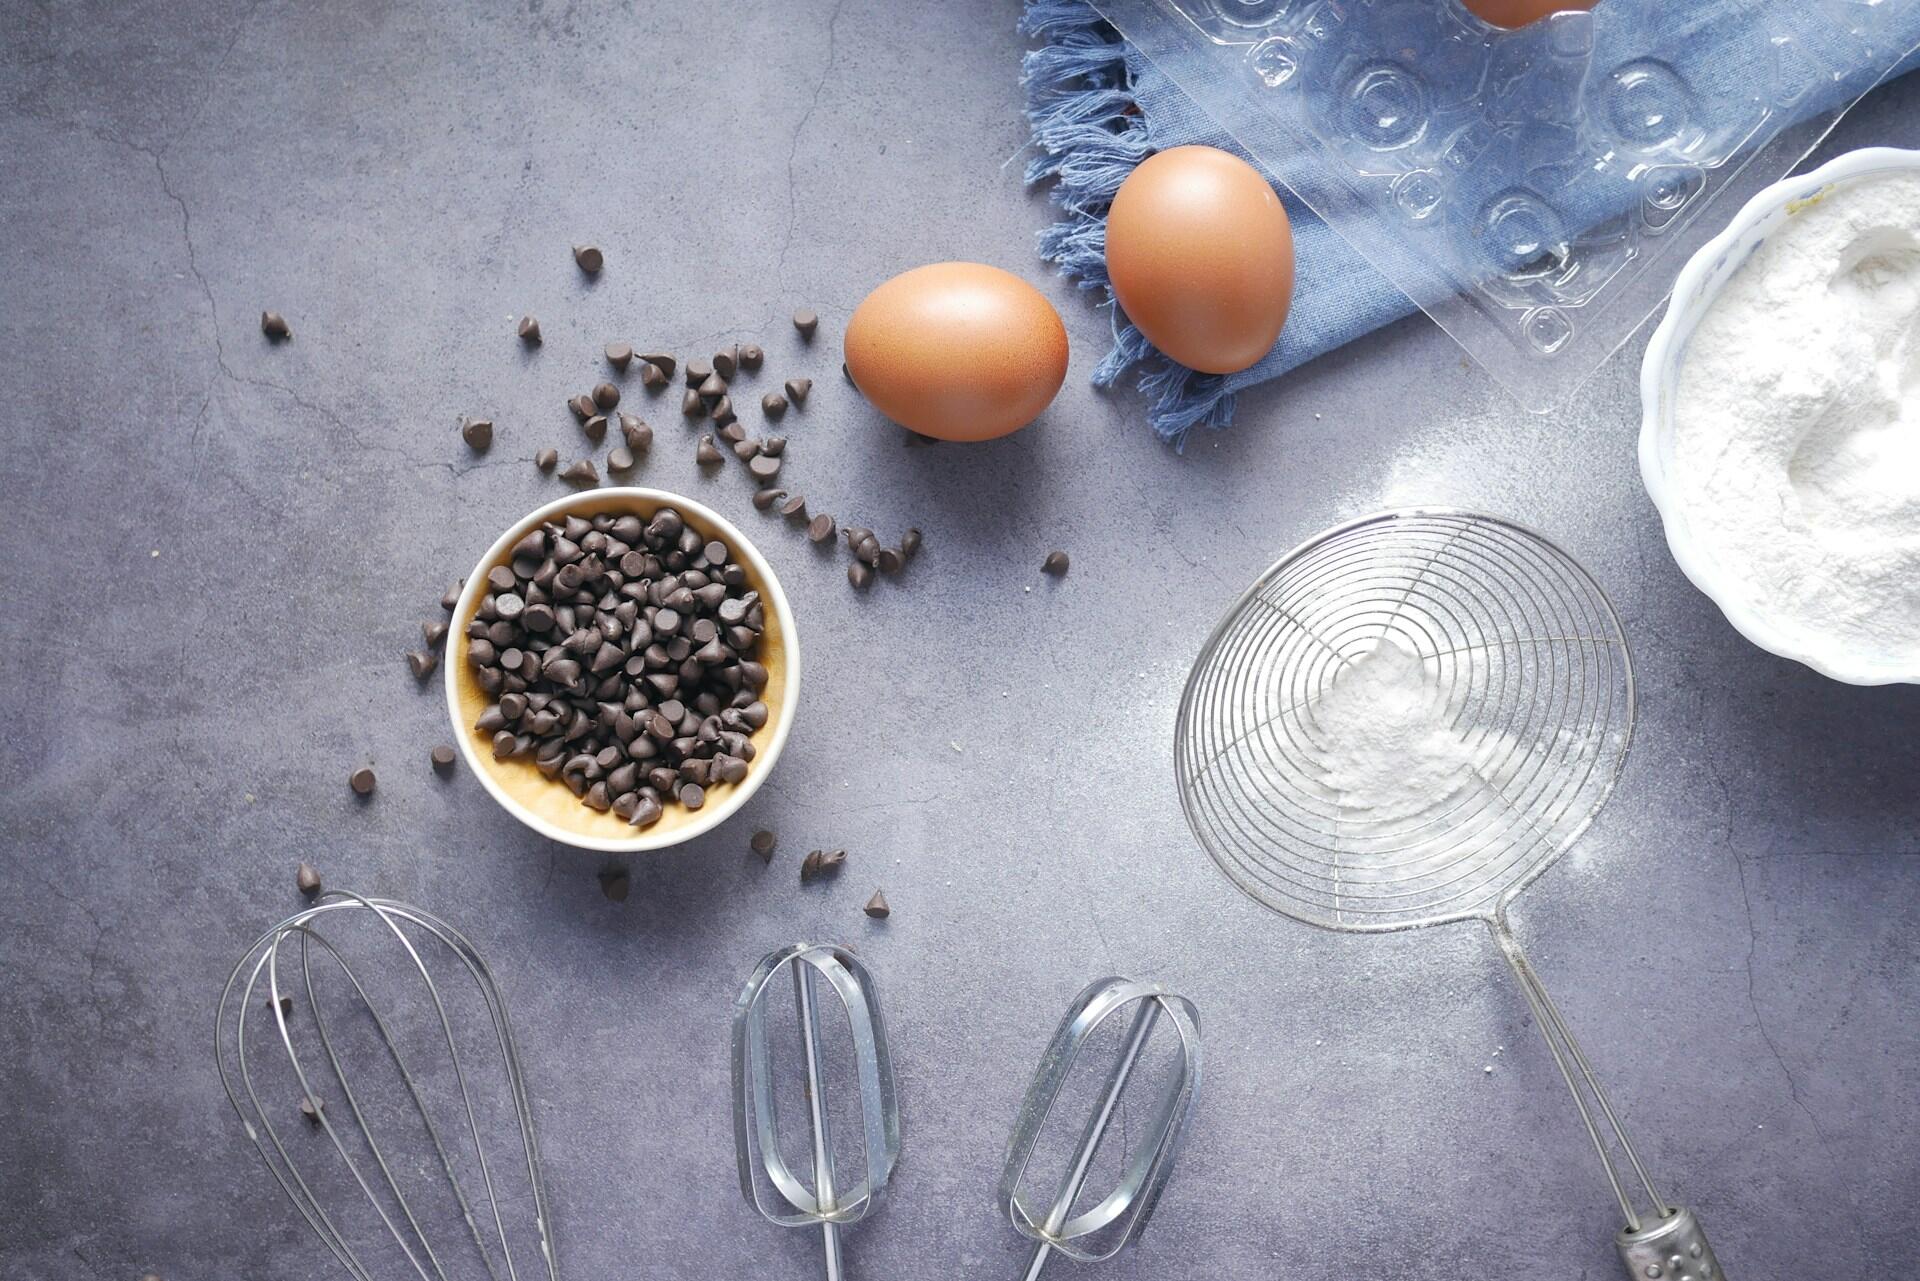
Common Ingredients and Their Roles
Below are the key ingredients that you’ll work with often in any recipe under the sun – plus what they contribute to your desserts:
- Flour
Flour is the base of almost every bake – it gives your cakes, cookies, and breads their structure. You can opt for whole wheat flour for a denser result, or white flour for a softer, lighter texture. There are also gluten-free options, such as almond or oat flour. - Sugar
Sugar isn’t only for sweetness! It helps baked goods brown nicely, stay moist longer, and even affects the texture, making your treats soft and tender. - Eggs
Eggs give structure, moisture, and richness to your bakes. Whipped whites can make things rise, yolks add colour, and an egg wash gives breads a beautiful golden glow. - Butter
Butter adds flavour, softness, and flakiness. It helps items combine well, gives baked goods a golden colour, and even contributes to their rise when baking. - Leavening Agents (Baking Powder & Baking Soda)
These are the magic components that make cakes, muffins, and pancakes rise. - Salt
A pinch of salt goes a long way – it balances sweetness and brings out all the flavours in your baked goods.
Want to know what these ingredients are really doing behind the scenes in your baked goodies? Dive into this article and find out!
Basic Baking Techniques
The first step to successful baking is getting your measurements accurate. Too much flour or too little sugar can completely change the outcome of your recipe. That’s why at the beginning of the article, we shared the essential tools when you begin your journey to avoid messing up a dessert. Let’s take a look at the basic techniques that you should be aware of:
Measuring Ingredients Accurately
Measuring ingredients is a crucial step in baking because even the slightest misstep can lead to a disastrous outcome. So, let’s ensure we’re doing it precisely!
Flour:
A lot of people scoop flour straight from the bag into a measuring cup – guilty as charged 🫣. The problem? You can end up with up to 50% more flour than the recipe calls for. Instead, take a spoon to fill your measuring cup and level it off with a knife. Excellent!
Baking soda & baking powder:
These little guys love to clump. Avoid simply scooping them with the clumps. Fluff them up with a spoon or give them a shake first, then scoop and level with a knife. This way, you can avoid accidental extra leavening!
Sugar:
Granulated sugar is much easier to scoop. Be ensure there’s no mini mountain formed after scooping 🏔️, level it off with a knife. When it comes to confectioners' sugar, also known as powdered sugar or icing sugar, you need to read the recipe carefully:

- 1 cup of sifted confectioners' sugar: You’ll need to sift the sugar before measuring.
- 1 cup of confectioners' sugar, sifted: You’ll need to sift the sugar first after measuring.
Cocoa powder
Since most desserts call for larger quantities, always sift to remove clumps before measuring and level it off.
Liquids & Semi-Liquids:
For milk, water, and oil, reach for a liquid measuring cup and check at eye level. For sticky or semi-liquid items such as peanut butter, applesauce, or yoghurt. Use a dry measuring cup and a spoon to fill. For sticky sweeteners, including honey or molasses, slightly coat the cup with non-stick spray so everything pours out easily.
When it comes to measuring dry ingredients, always use the dry measuring cups. For liquid ingredients, use a liquid measuring cup and check at eye level.
Other Items:
Chocolate chips, nuts, or dried fruit? Simply scoop and level.
Pro Tip:
A digital kitchen scale is the most accurate way to measure. It’s not difficult to operate – ensure it’s set to grams or ounces. Place the dry measuring cup on top of the scale and ensure the reading shows 0 before beginning to add items. Keep adding until you hit the precise amount. Voila! Easy, isn’t it?
You do not have to convert grams to cups as I did and mess up the whole recipe! Get a kitchen scale and measure accurately! 😁
Mixing Methods
Now, let’s take a look at the mixing methods/techniques behind the transformation of flour, sugar, and eggs into edible joy. These are some of the methods that you’ll definitely be using. So, instead of calling everything mixing, let’s learn the proper terms for it!
Creaming: This is when you beat butter and sugar together until light and fluffy. It’s the secret to soft, airy and tender texture in treats by giving them structure and rise.
Folding: This is a gentle mixing technique that helps to combine light and airy items, such as whipped egg whites or whipped cream, with a batter. The goal is to mix without deflating all the air you whipped in – excellent for mousses, soufflés, and light cakes.
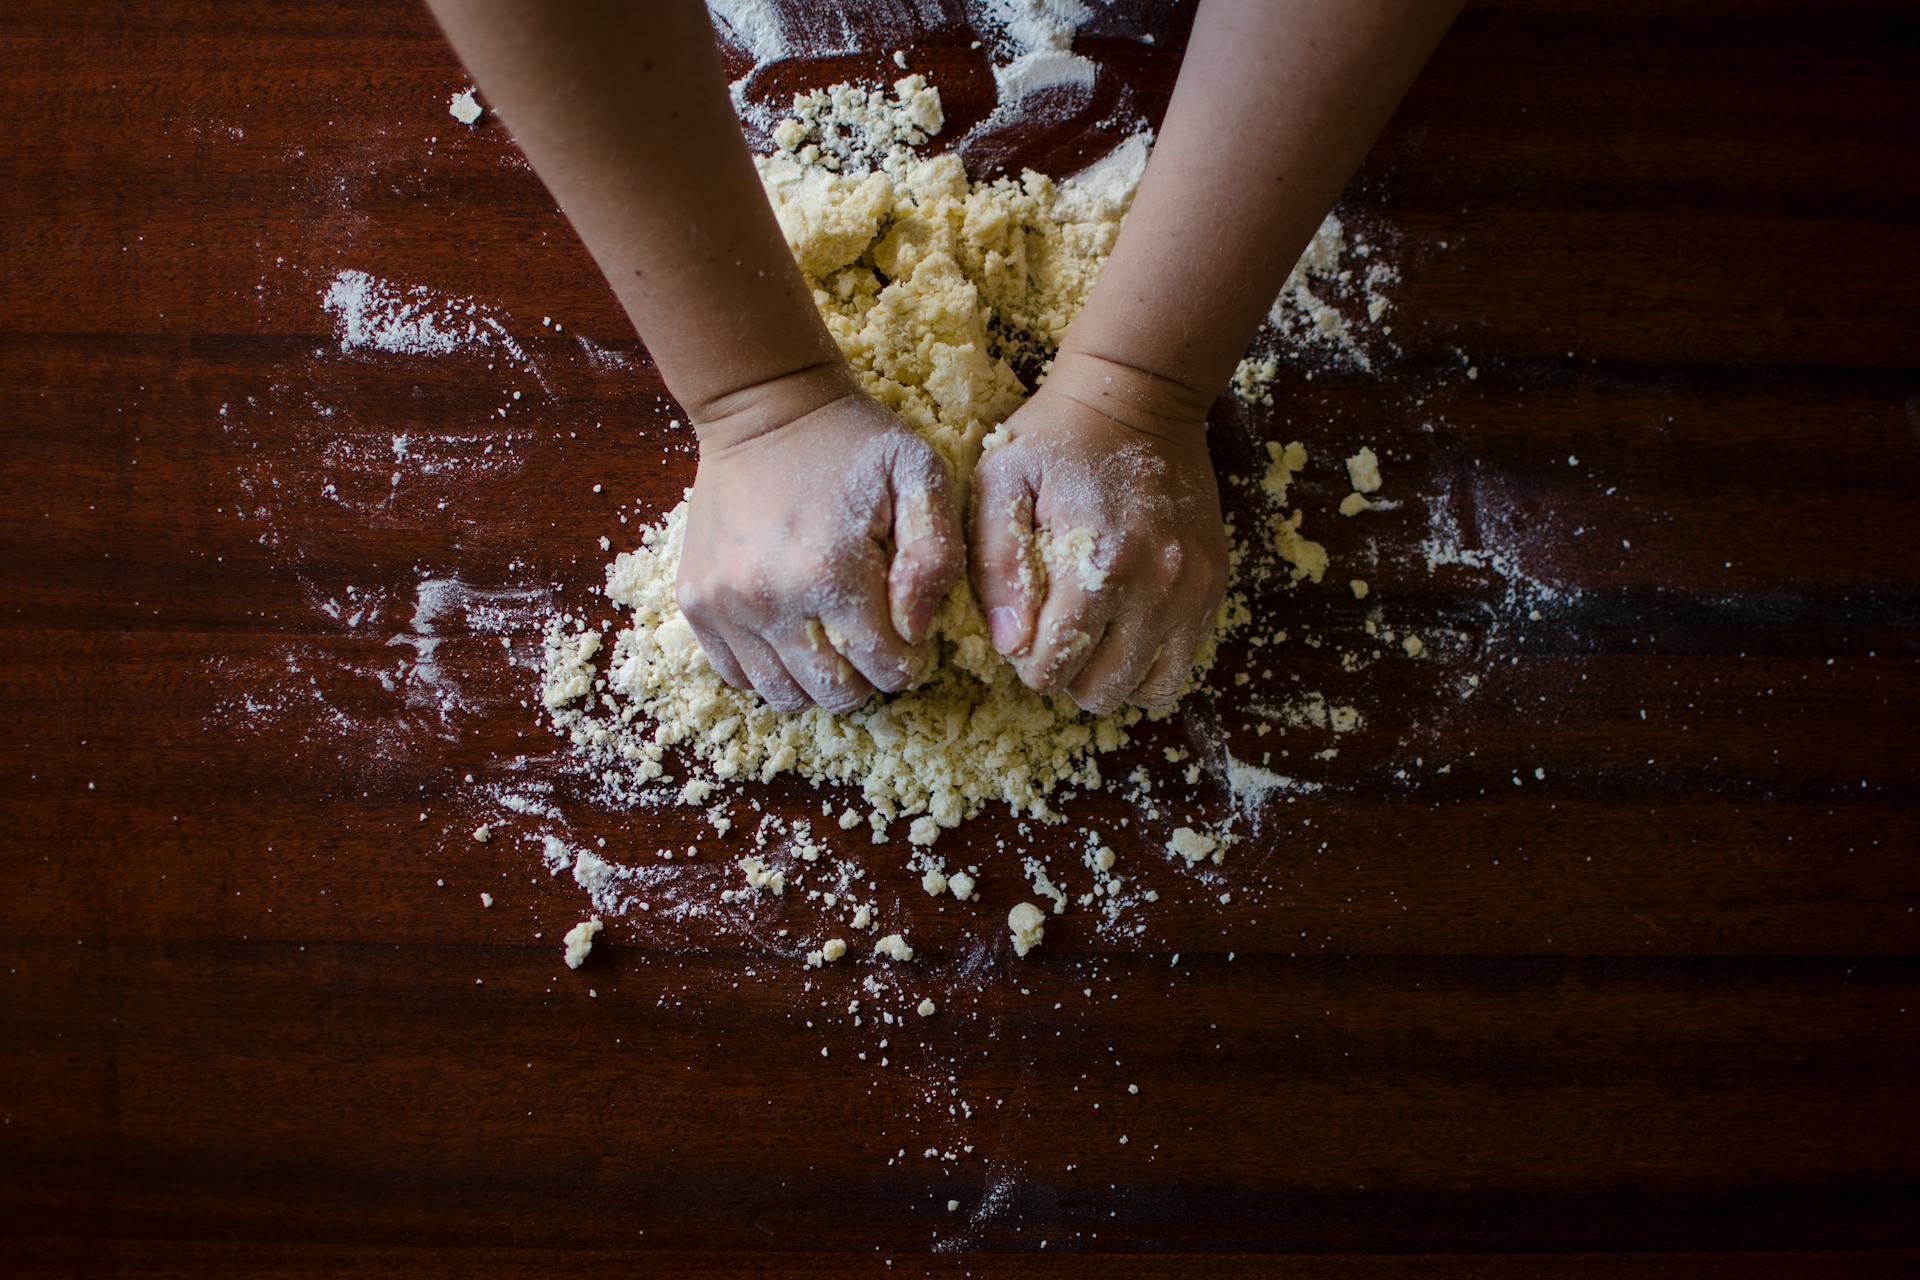
Kneading: This method works primarily for bread and pizza dough. Kneading is a process of pushing, folding, and stretching the dough to develop gluten, giving the dough structure and a chewy texture. Think of it as giving the dough a workout so it can rise properly and hold its shape 🏋🏽♂️
Whisking: Using a whisk to beat eggs, cream, or batter incorporates air and smooths out lumps. It’s carried out using a light and rapid motion, which often helps to create meringue.
Beating: Similar to whisking, but more vigorous. Usually performed with a spoon or an electric mixer, beating combines ingredients thoroughly and can add air to make things lighter.
Stirring: The most straightforward method, gently moving ingredients together with a spoon or spatula. Great for mixing dry items, sauces, or batters where you do not want to add extra air.
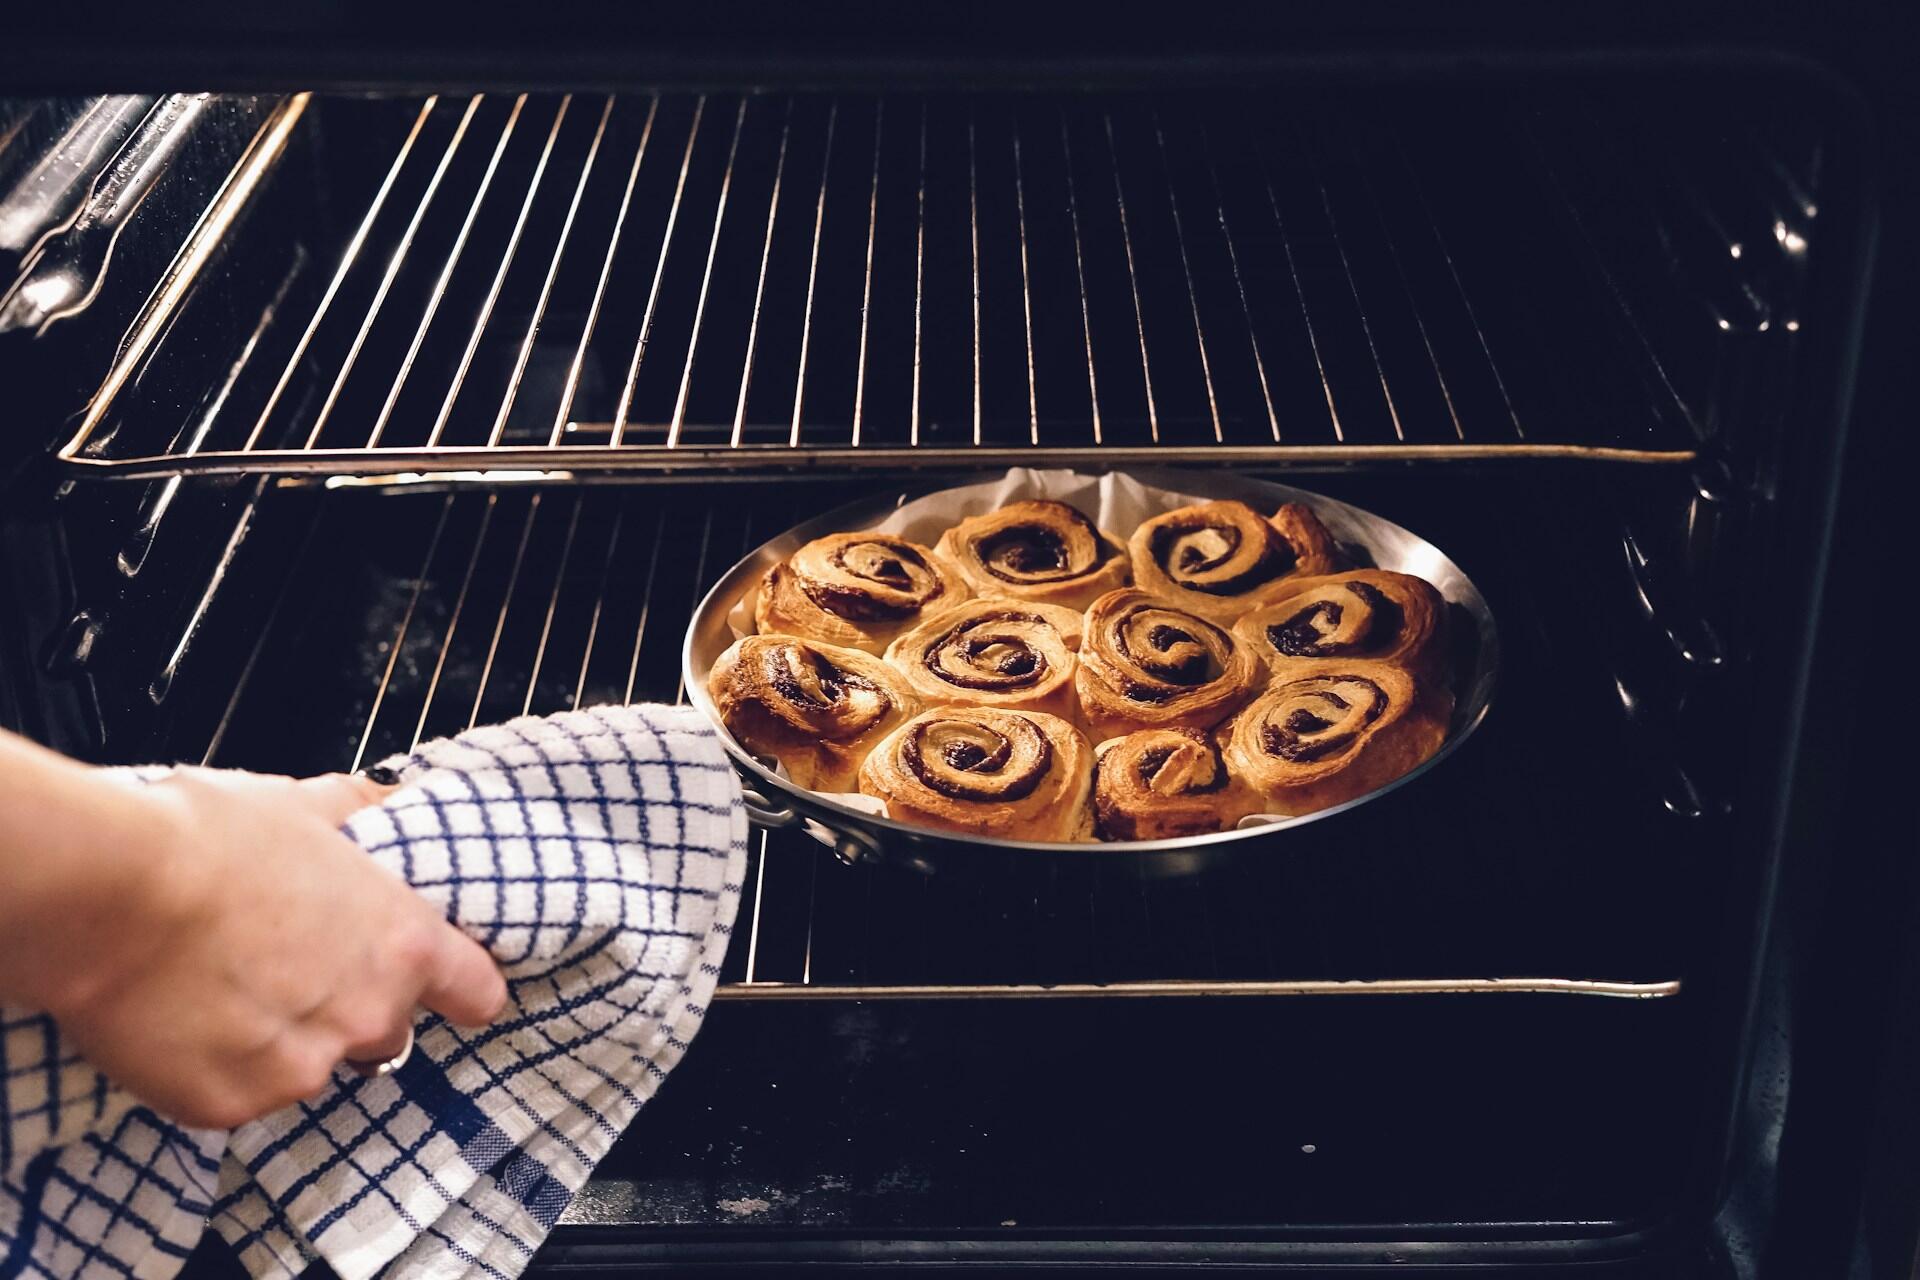
Oven Preheating and Temperature Control
You’ve probably seen the instructions say, “Preheat your oven to 180°C.” But can you actually bake without preheating? Technically, yes. But it’s a bad idea for cakes, cookies, or breads. Baking in a cold oven can lead to uneven cooking, poor texture, and less rise because leavening agents do not activate properly. You can skip preheating when you’re cooking fatty meats, such as bacon or chicken, and some specific instructions tell you so.
If you’re using an old oven or you’re unsure about its accuracy, get an oven thermometer to check the actual temperature inside the oven. Always check the temperature mentioned in the recipe carefully, if it’s mentioned in Fahrenheit and your oven is in Celsius, convert it accurately before setting.
Avoid opening the oven door often while baking. Every peek lets heat escape, which can make your baked goods cook unevenly. It's similar to opening a rice cooker lid before the timer goes off, releasing the steam that helps cook the rice evenly. If possible, choose an oven with a glass door, so you can watch without opening it.
It's all about a balancing act between time, temperature and ingredients: That's the art of baking.
Peter Reinhart
Selecting Your First Recipes
You do not need to begin by creating something super complicated, such as layered cream cakes, macarons, or soufflé. Choose beginner-friendly recipes first to build confidence and keep the momentum going. Bake simple treats for friends and family before you begin to attempt something more challenging. Let’s take a look at some of the classic treats that are not only straightforward to make but also crowd-pleasers.
Easy Baking Recipes for Beginners
Begin with recipes that are basic but satisfying:
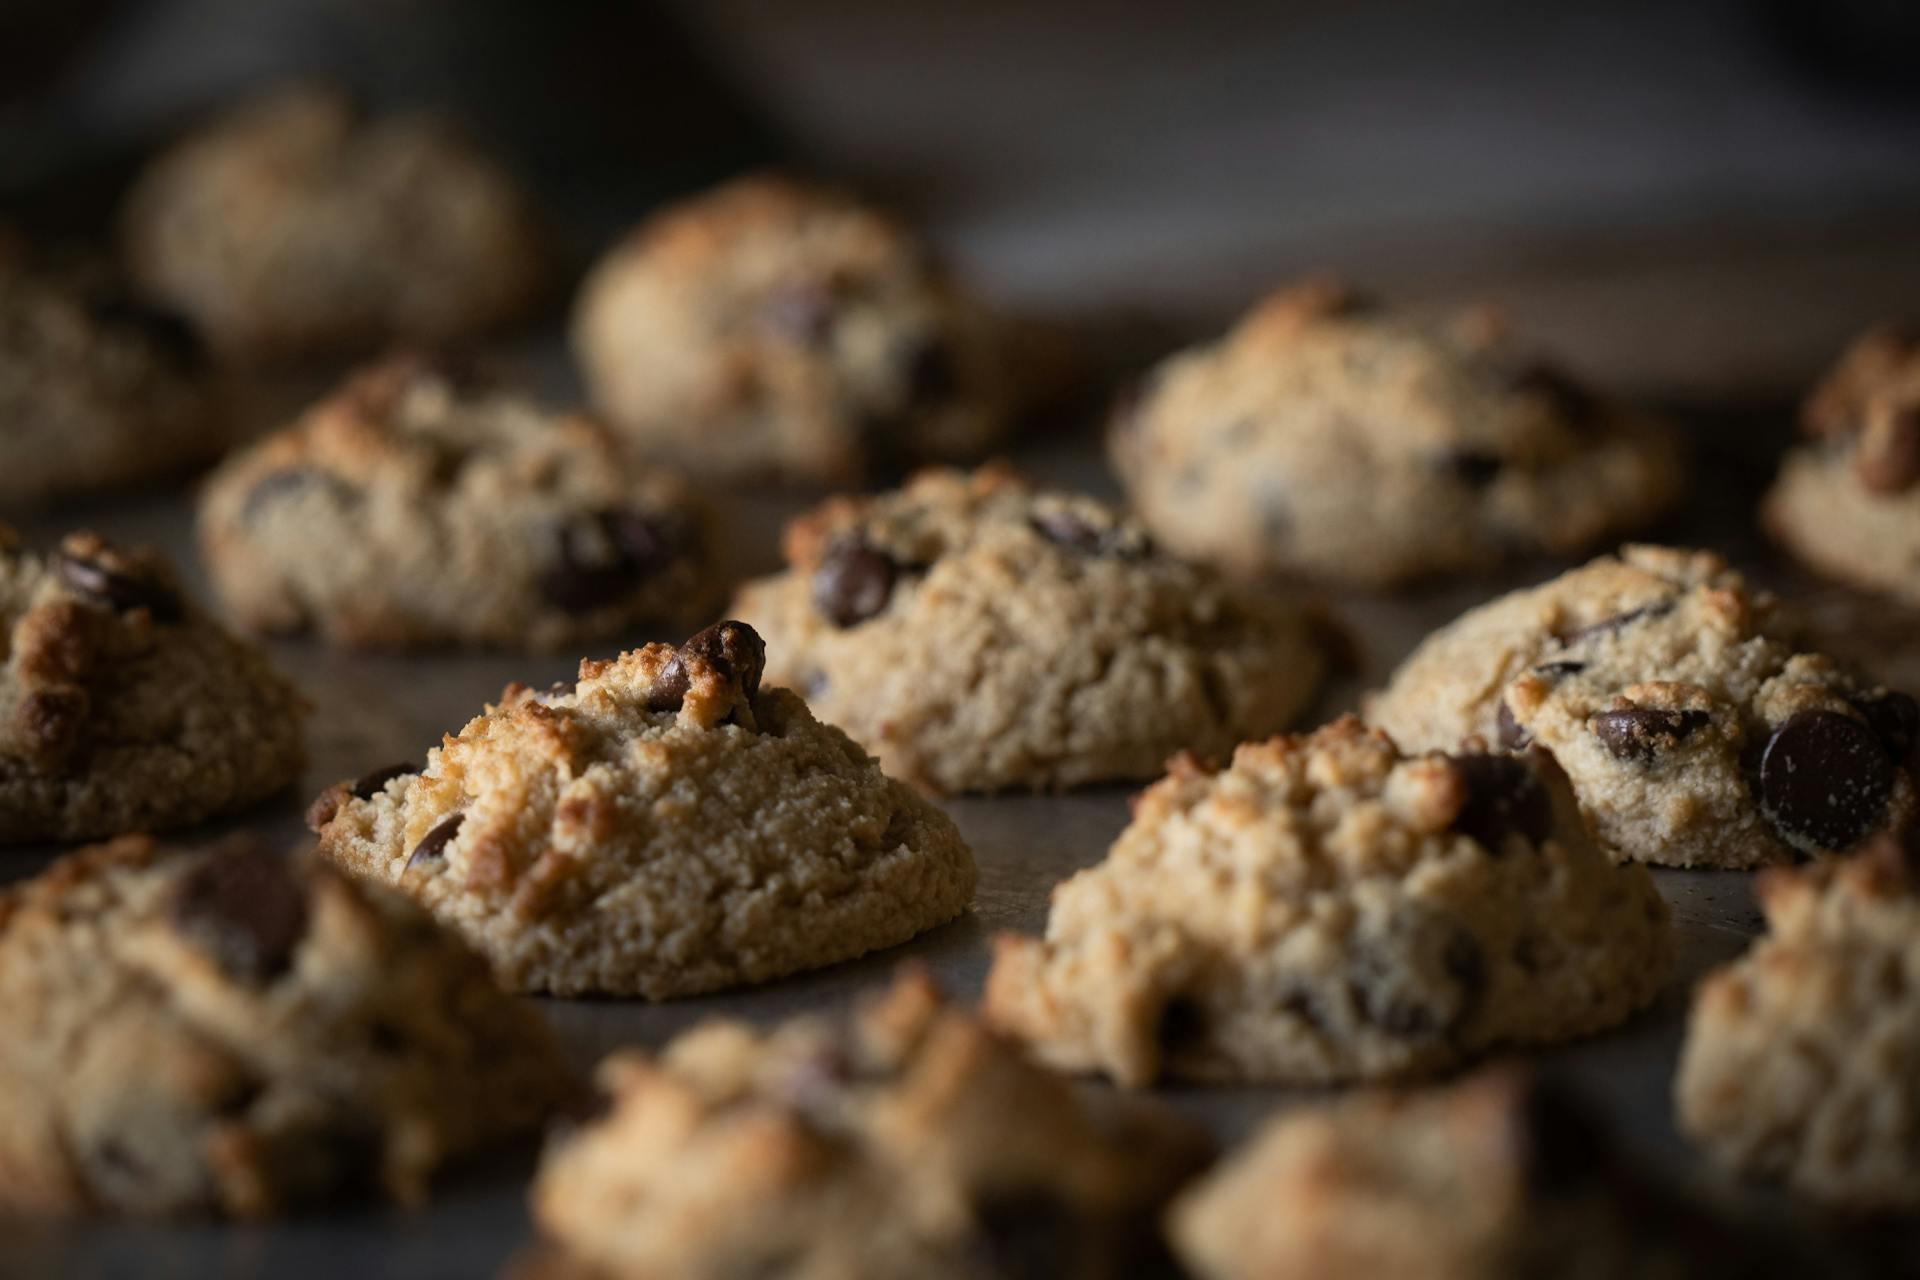
- Classic Chocolate Chip Cookies – crunchy outside, chewy inside, and a beginner-friendly recipe.
- Vanilla Cupcakes – Ideal for learning cake batter techniques for cupcakes and incredibly delicious even without the frosting.
- Quick Bread – Banana bread is more beginner-friendly and delicious.
- Brownies – This is the recipe that got me into the world of dessert creation. Very popular amongst Malaysians and super easy to make
- Peanut butter cookies – This requires only minimal items and is super delicious as well.
Joy of Baking Recipes
Once you’ve tried a few beginner recipes and begin feeling more confident, you can add your own twist to the current ones to make them more fun. They are uncomplicated, satisfying, and ideal for enjoying the experience of baking:
1. Banana Bread (Again, but with your own twist!)
You already know how to make the classic version – now, let's elevate it. Add chocolate chips, walnuts, or even swirl in some Nutella. Small upgrades, BIG joy. It’s still the same beginner-friendly recipe, just with more personality.
2. Chocolate Chip Cookies (Bakery-style big)
Chunky. Chewy. Loaded with chocolate. Try preparing thick, bakery-style cookies by chilling the dough longer or shaping them taller before placing them into the oven. You can also experiment with different chocolates – dark, milk, white, or even caramelised chocolate – to mix up the flavour.
3. Vanilla Cupcakes With Frosting
Take the recipe up a notch by adding frosting. Get a piping bag, experiment with different piping tips, and make buttercream in flavours such as chocolate, strawberry, or lemon. Add sprinkles for a fun, café-style finish. Decorating is half the joy!
4. Fudgy Brownies
This is a one-bowl, no-stress recipe that you can personalise. Add sea salt, nuts, coffee, marshmallows, or dark chocolate instead of milk chocolate. Serve it with a scoop of vanilla ice cream and some sprinkles on top.
5. Jam Tarts
A Malaysian favourite. Try creating the jam from scratch using fruits of your choice - strawberries, pineapple, or blueberries. You can buy ready-made tart bases for convenience, or make the base from scratch if you're up for a fun challenge. Either way, these little tarts bring so many memories and remind many of home 🥰
Curious to learn more? I’ve rounded up 10 easy and beginner-friendly recipes for you to try!
Tips for Successful Baking
We can’t guarantee success on your first attempt. Failure is the first step to success. However, there are some tips to follow that will eventually lead to success one day!
Preparing Ingredients and Workspace
Getting organised before you begin makes a HUGE difference. Here’s what helps:
- Write down the recipe in your notebook if you prefer having it in front of you. Avoid using your phone to view the recipe or watch the making video; it can be a distraction.
- Gather all your ingredients
- Let butter and eggs come to room temperature – this helps with better mixing and texture
- Keep all your utensils in one place to avoid running around mid-bake
- Clean as you go. Do not let measuring cups or bowls dry with batter on them – soak them immediately so they’re easier to wash
- If possible, dedicate a small baking station at home and keep all your stuff there
- Label and organise your utensils for easy access.
- Store dry items in airtight containers and place them in a cool, dry area to maintain freshness.
These small steps build a smoother, more enjoyable baking routine. As you progress, if you want to do it regularly, you can get more inspiration from professional home bakers online.
Understanding Baking Times and Doneness
As mentioned earlier, refer to the recipe carefully before beginning your dessert creation. Many international recipes rely on Fahrenheit, while our ovens operate in Celsius, so ensure to convert the temperature accurately.
- Preheat your oven before.
- Follow the suggested time in the recipe, especially when you’re new.
- To test doneness, insert a toothpick into the centre of your bake. If it comes out clean or with a few crumbs, it’s ready.
These tiny checks prevent underbaked or overbaked goodies – both very common beginner mistakes.
Wondering which baking tools you need to kick off your dessert creation journey? Here’s an article that breaks it all down for you, so you do not have to scratch your head!

Learning from Mistakes
Every baker makes mistakes – even the professionals you look up to. The only difference is that they kept going until they found success. You might encounter:
- cookies that come out too hard
- cakes that sink
- bread that turns out dense
- Brownies that look nothing like the photos
But these aren’t failures, they’re feedback.
If your favourite bakers didn’t give up, you shouldn’t either. Every attempt teaches you something: adjust your temperature, tweak ingredients, or try a new technique. Eventually, you’ll get there.
Watch the video below to understand some common mistakes to avoid, so you can achieve the desired results on every attempt!
Building Your Baking Skills
Practising Regularly
Consistency is key when it comes to learning any skill – the same applies to baking. The more you bake, the more confident you’ll become in handling ingredients, measuring accurately, and recognising what doughs and batters should look like. Each cooking session brings new insights, which reduce errors in future attempts. Practice a recipe until it becomes effortless. Repeat a recipe until you can create it effortlessly. That’s how you build intuition, which can only be built through lots of practice.
If you’re aspiring to become a professional baker someday, maybe open a small bakery or work in a café or hotel, this is a great opportunity to practise. The experience, precision, and confidence you build now will become your strongest foundation later.
Exploring New Recipes and Techniques
Once you’re comfortable with the basics, slowly expand your skills and attempt complicated recipes. There are many Malaysian treats that you can attempt to master. You can also try techniques such as whipping egg whites to stiff peaks, making cream cheese frosting, or experimenting with different cookie variations.
You can also explore international recipes such as the hummungird cake, pound cake, macarons, mille-feuille, madeleine, croissant, and so much more. This will expand your baking portfolio beyond the basics. Exploring new recipes keeps baking more fun and helps you understand why certain methods work the way they do!
Joining a Baking Class
Even with a detailed recipe and a video demonstrating how to do it, it may turn out wrong. Often, you won’t be able to figure out what’s wrong – that’s why having a tutor by your side is a game-changer.
You do not have to go through this alone. Superprof has over 6,000 expert tutors who can help you with your learning goals.
Do you wanna learn how to bake different cakes, a variety of cookies or the softest and fluffiest bread? There’s a tutor who can teach you to achieve those goals. Go to our website, register for an account for FREE. Then search for a tutor in your area and browse through the profiles from the search results. Speak to the tutor of your choice and clarify any questions you may have. Most of our tutors offer the first class FREE, so you can test it out before continuing for more sessions.
What are you waiting for? Sign up for your first class and elevate your baking game today!
Tie your apron – it's time to create.
Summarise with AI:
Enjoyed this article? Leave a rating!