
“An artist must have his measuring tools not in the hand, but in the eye.” - Michelangelo Buonarroti
How many people are creative in their everyday lives?
Most people say they’d like to take up a creative hobby to relax or simply build on an untapped skill. Drawing is a fantastic way to develop your creativity. All you need to get started is a paper and pencil.
But how can you learn to draw without having to attend art school?
Here are some ways for you to get started.


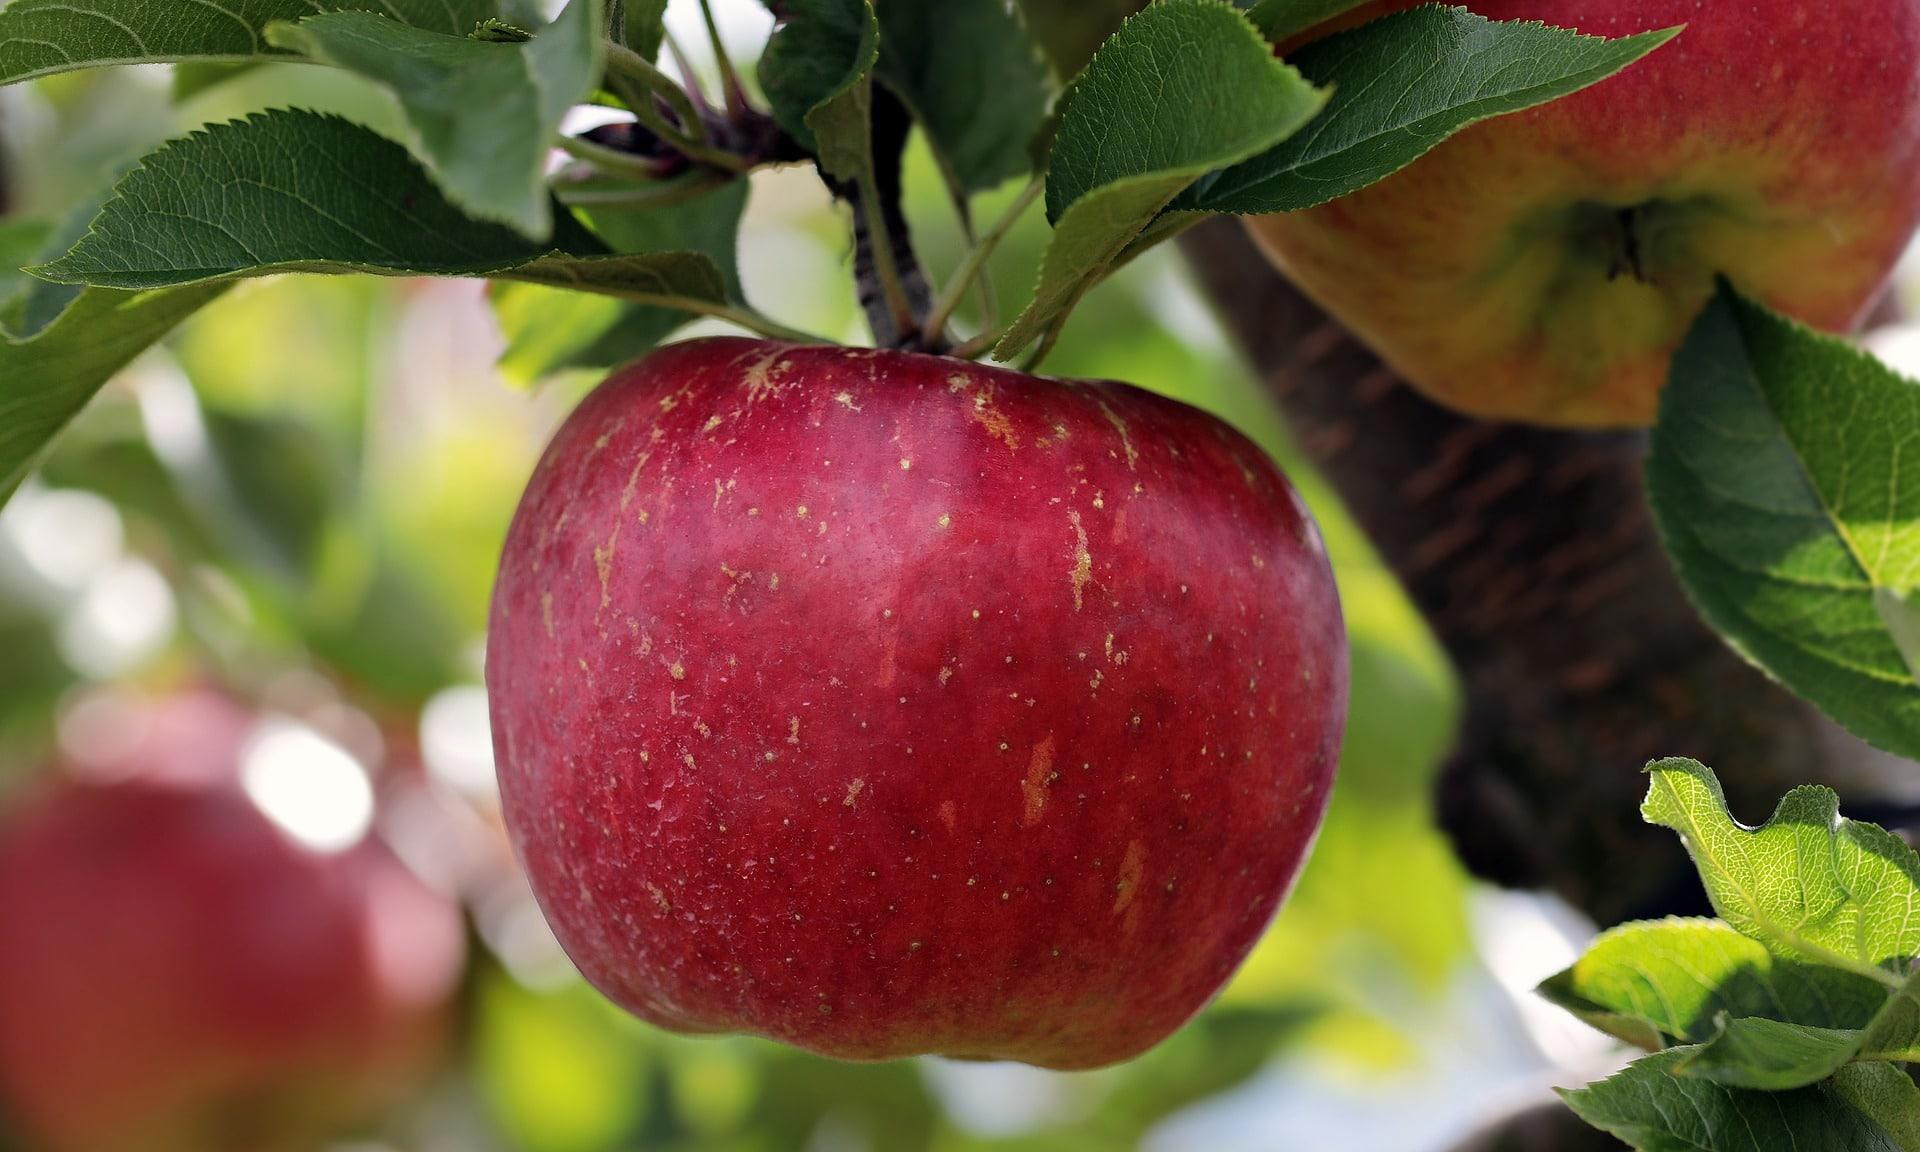
Learn how to draw a realistic apple
Anyone can learn how to draw.
Are you aware that children start by drawing rather than writing? The only difference is that some people continue to draw as they grow up and practise and get better. However, it’s never too late to get started.
There are art classes in art schools, associations, clubs, or with private tutors but you can always teach yourself to draw everyday objects around you. If you choose the latter, you’ll need to plan before you get started.
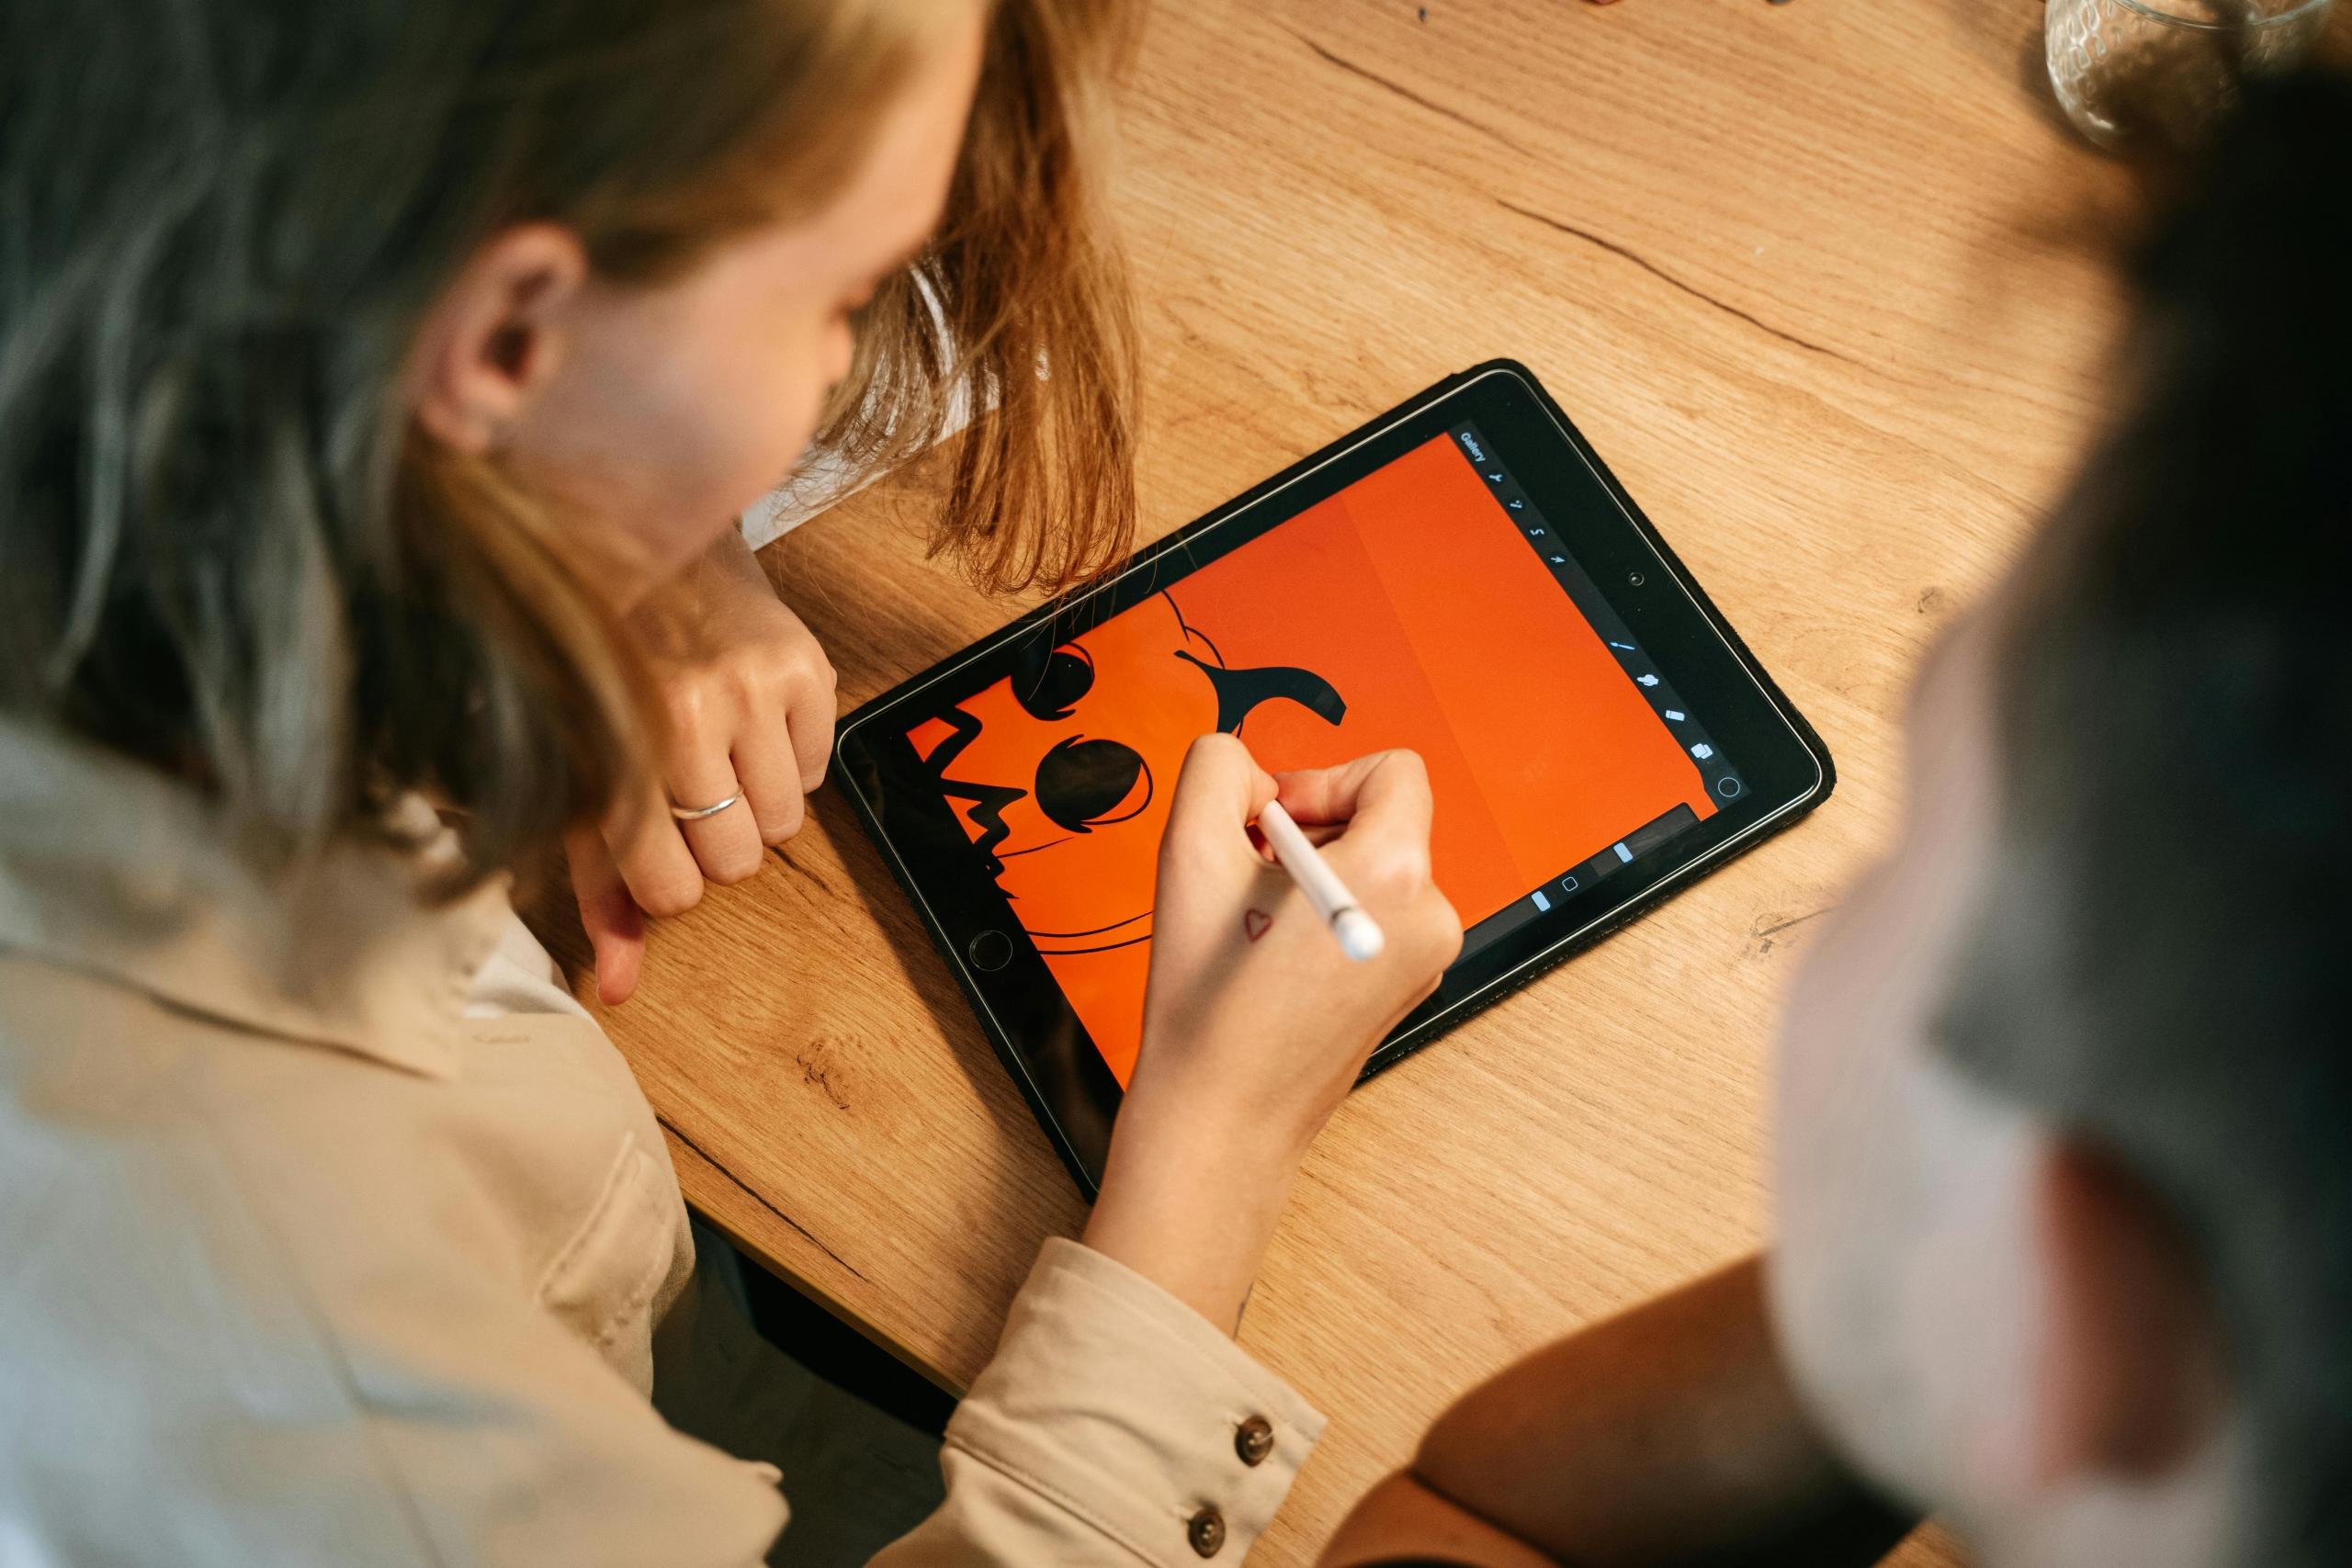
You will need to consider the types of art media and tools you want to use, and choose between whether you want to try digital art or traditional art. As a complete beginner, you are recommended to try working on physical surfaces to enjoy the feel and act of drawing on a canvas you can touch.
Before you start trying to paint with acrylics or oils, you have to learn the fundamentals of drawing, which include:
- Perspective
- Light and shadow
- Lines and shapes
- Texture
- Composition
- Space
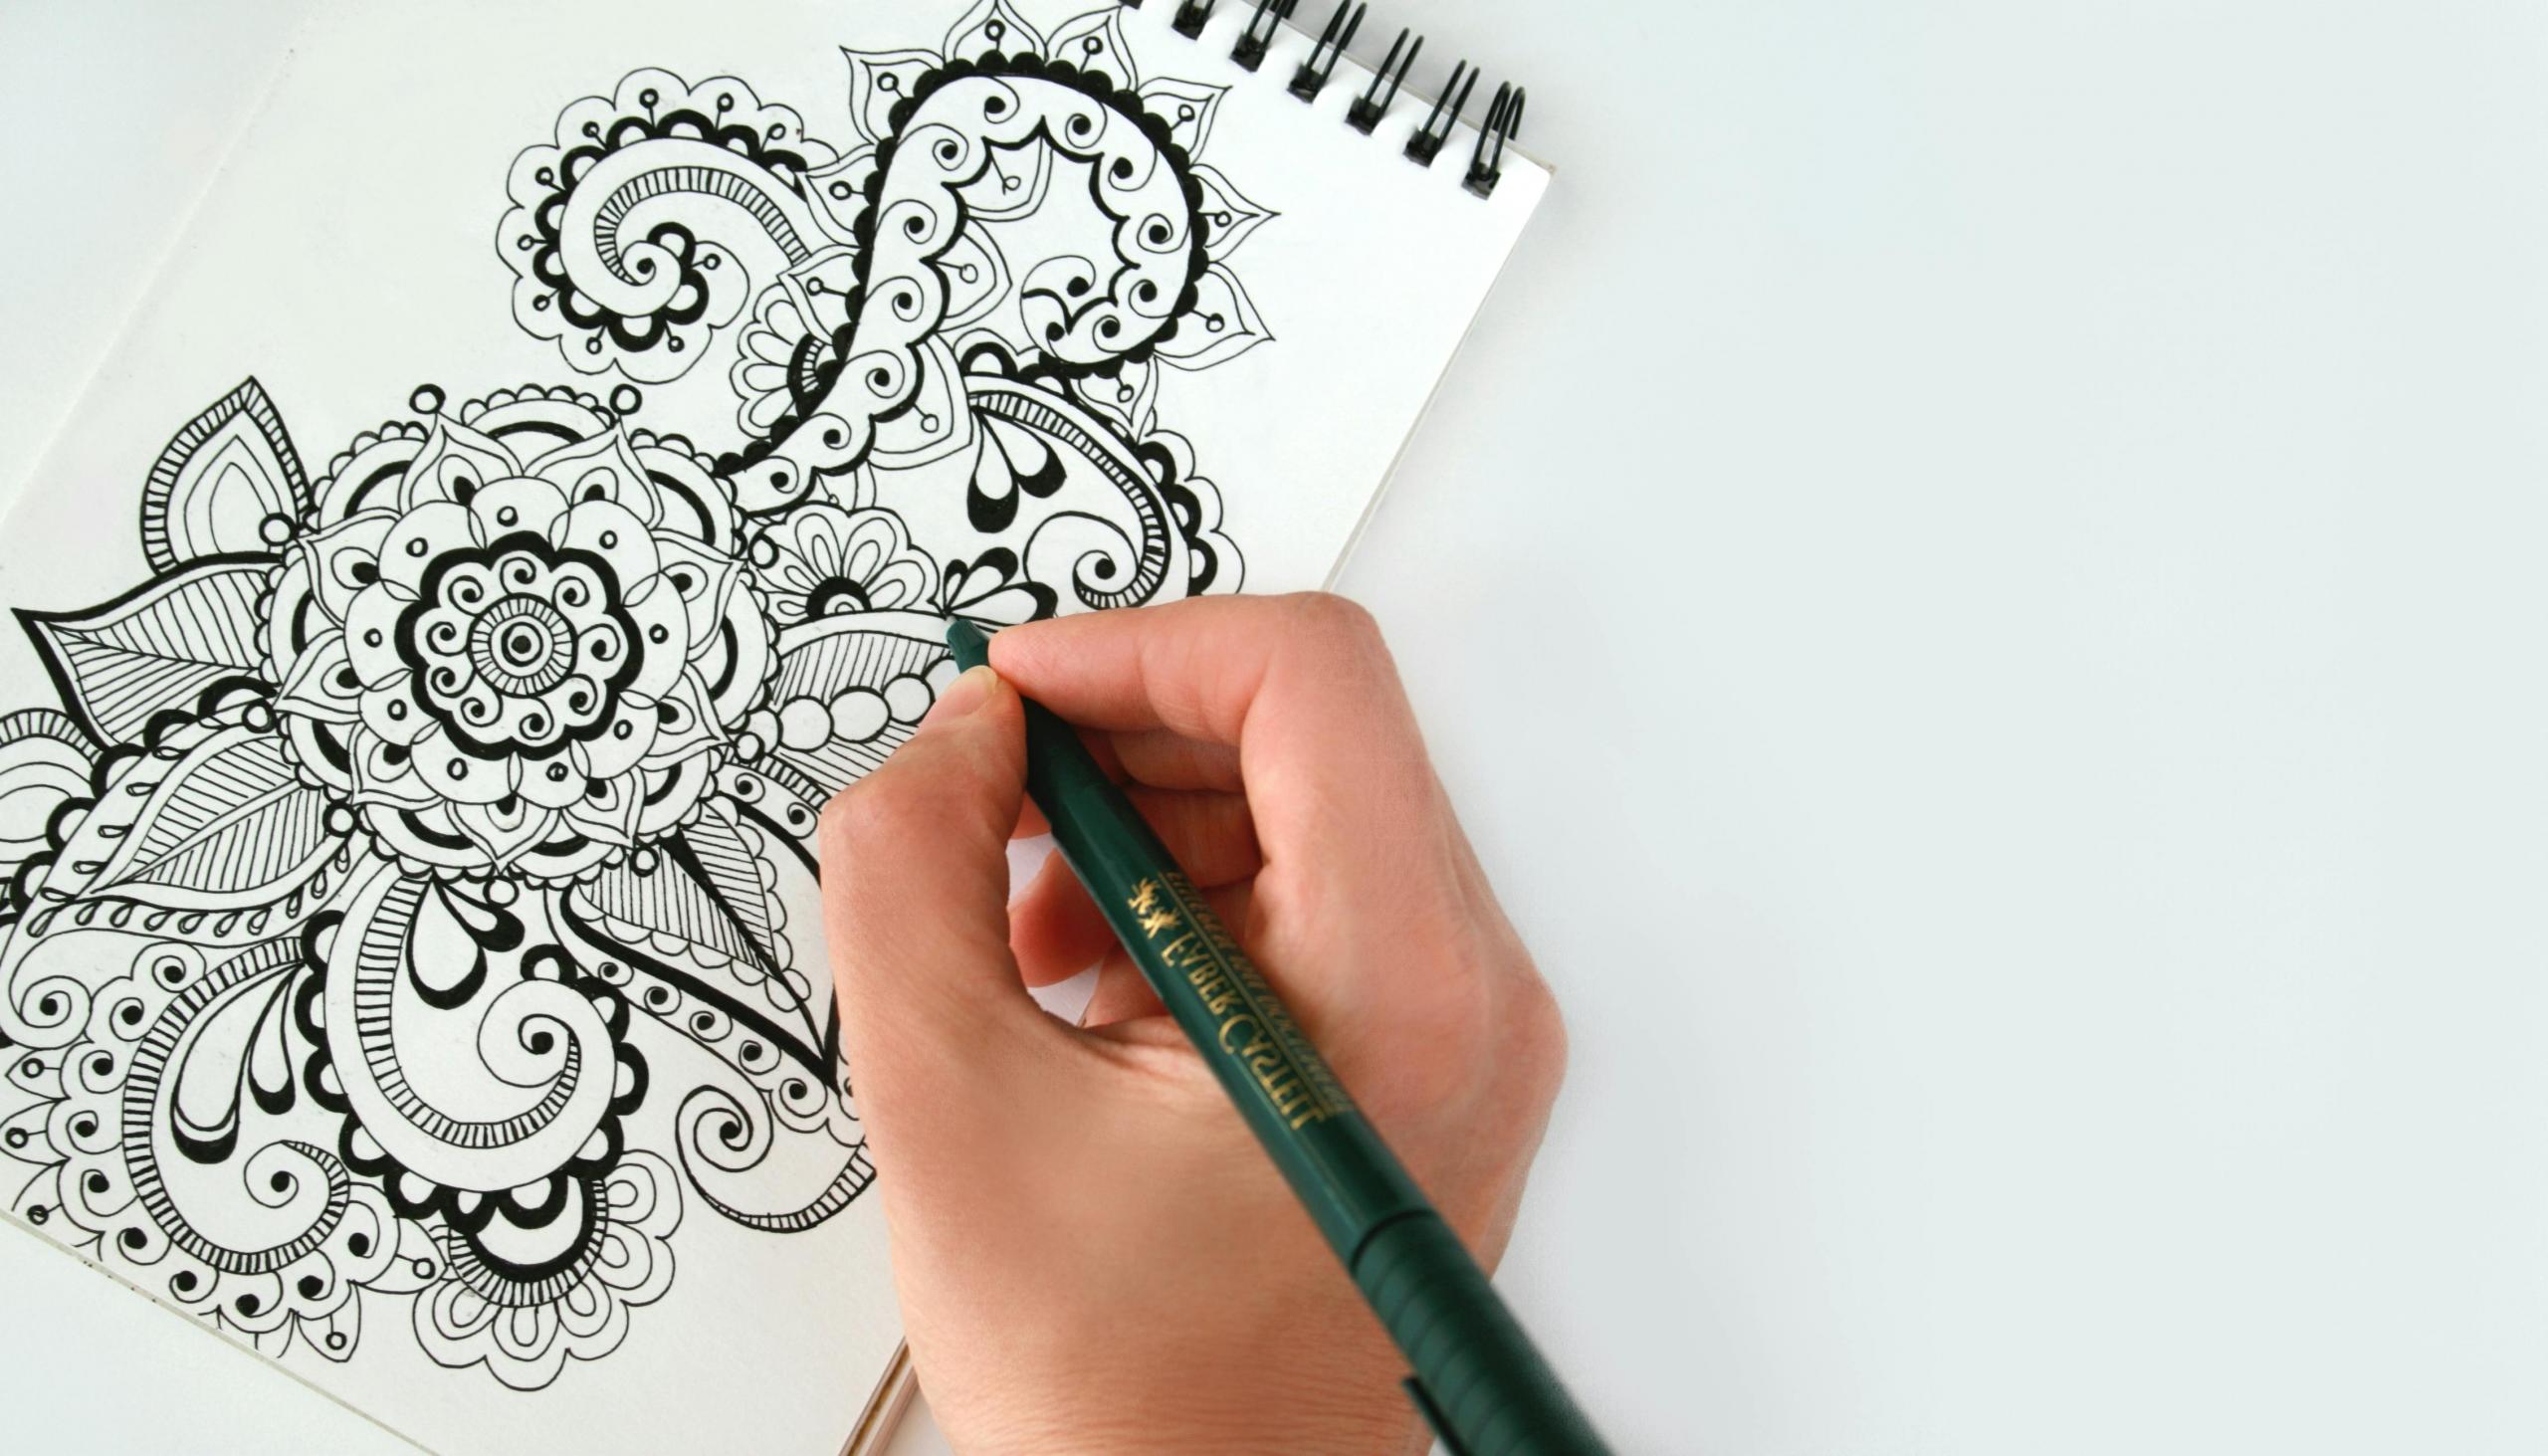
In a drawing workshop, you’ll probably learn most of these drawing fundamentals by drawing still life and, more often than not, this will include fruits and probably an apple. So by learning to draw a realistic apple, you can learn about the essential skills needed for drawing and improve from there.
Take an apple, place it in front of you on a table, and start trying to draw it with just a pencil. You may want to use shading instead of colour if you are a complete beginner. Shading is one of the first exercises you can do to start drawing realistic objects and discover how to represent light and shadow on paper.
If you want your drawing to be centred on the page, you can draw a single vertical and horizontal line through the middle of your page. Once you are confident in drawing a realistic apple, you can start adding other everyday objects onto the paper or even practise drawing other fruits like an orange or a banana.
Don’t worry if you can’t get the look of your apple “right” the first time. Beauty is in the eyes of the beholder! You can also use this step-by-step tutorial for how to draw an apple.
Find out how to learn to draw for free.
Make a perspective drawing of a city
Perspective hasn’t always been easy for artists. Before the Renaissance, painters didn’t understand the concept and many were unable to represent 3D space on a 2D medium.
Interestingly, there are many famous artworks throughout history that lacked any depth. This doesn’t mean that the artist wasn’t any good; perspective just wasn’t something that appeared in art. Now that you have the choice, you’ll probably want to learn how to use it.
By representing 3D space or objects on a 2D medium, perspective allows artists to add the illusion of depth to a drawing. Instead of a flat drawing, perspective can make the subject of the art piece look more interesting and realistic. This may sound complicated, but you just need to give it a shot!
Learn about these various types of perspectives in art:
- One-point perspective
- Two-point perspective
- Three-point perspective
- Linear perspective
- Atmospheric perspective and others
Drawing an urban landscape is a great way to understand perspective, which is why you should try drawing a city as a perspective exercise. Start by making a point in the centre of your page. From this point, draw lines outwards at different angles. To the left and the right of this point, draw two vertical lines.
Once you’ve drawn these lines, use them to start drawing buildings by following the lines to the vanishing point, or the point where these lines meet. These will be the facades (your choice of design) of the buildings. The lines at the bottom of the page that lead to the vanishing point will be used to draw the road.
Once you’ve finished the facades of the buildings, you can use the other lines to make the roofs of the buildings. What else can you add to your drawing to enhance the effect of perspective?
Again, you can follow along with tutorials if needed. This is a recent video on drawing a simple city street by using a one-point perspective.
Master the art of colour
Become better at drawing by giving your art pops of colour.
Drawing isn’t just images in black and white - you don’t need to just use pencils, charcoal or ink to draw (these also come in various colours, anyway). Using a paintbrush to create little sketches can also be considered drawing. The point we want to make is, that regardless of what art tool you use, you can add flair to your drawings by adding colour - and this is another area you should master.
To effectively use colours in drawing, you need to go beyond the understanding of primary colours you learned in primary school. Yes, it’s time to do more than just use your oil pastels and colour pencils to fill in empty spaces. As you are learning to draw, feel free to experiment with secondary colours, complementary colours, etc.
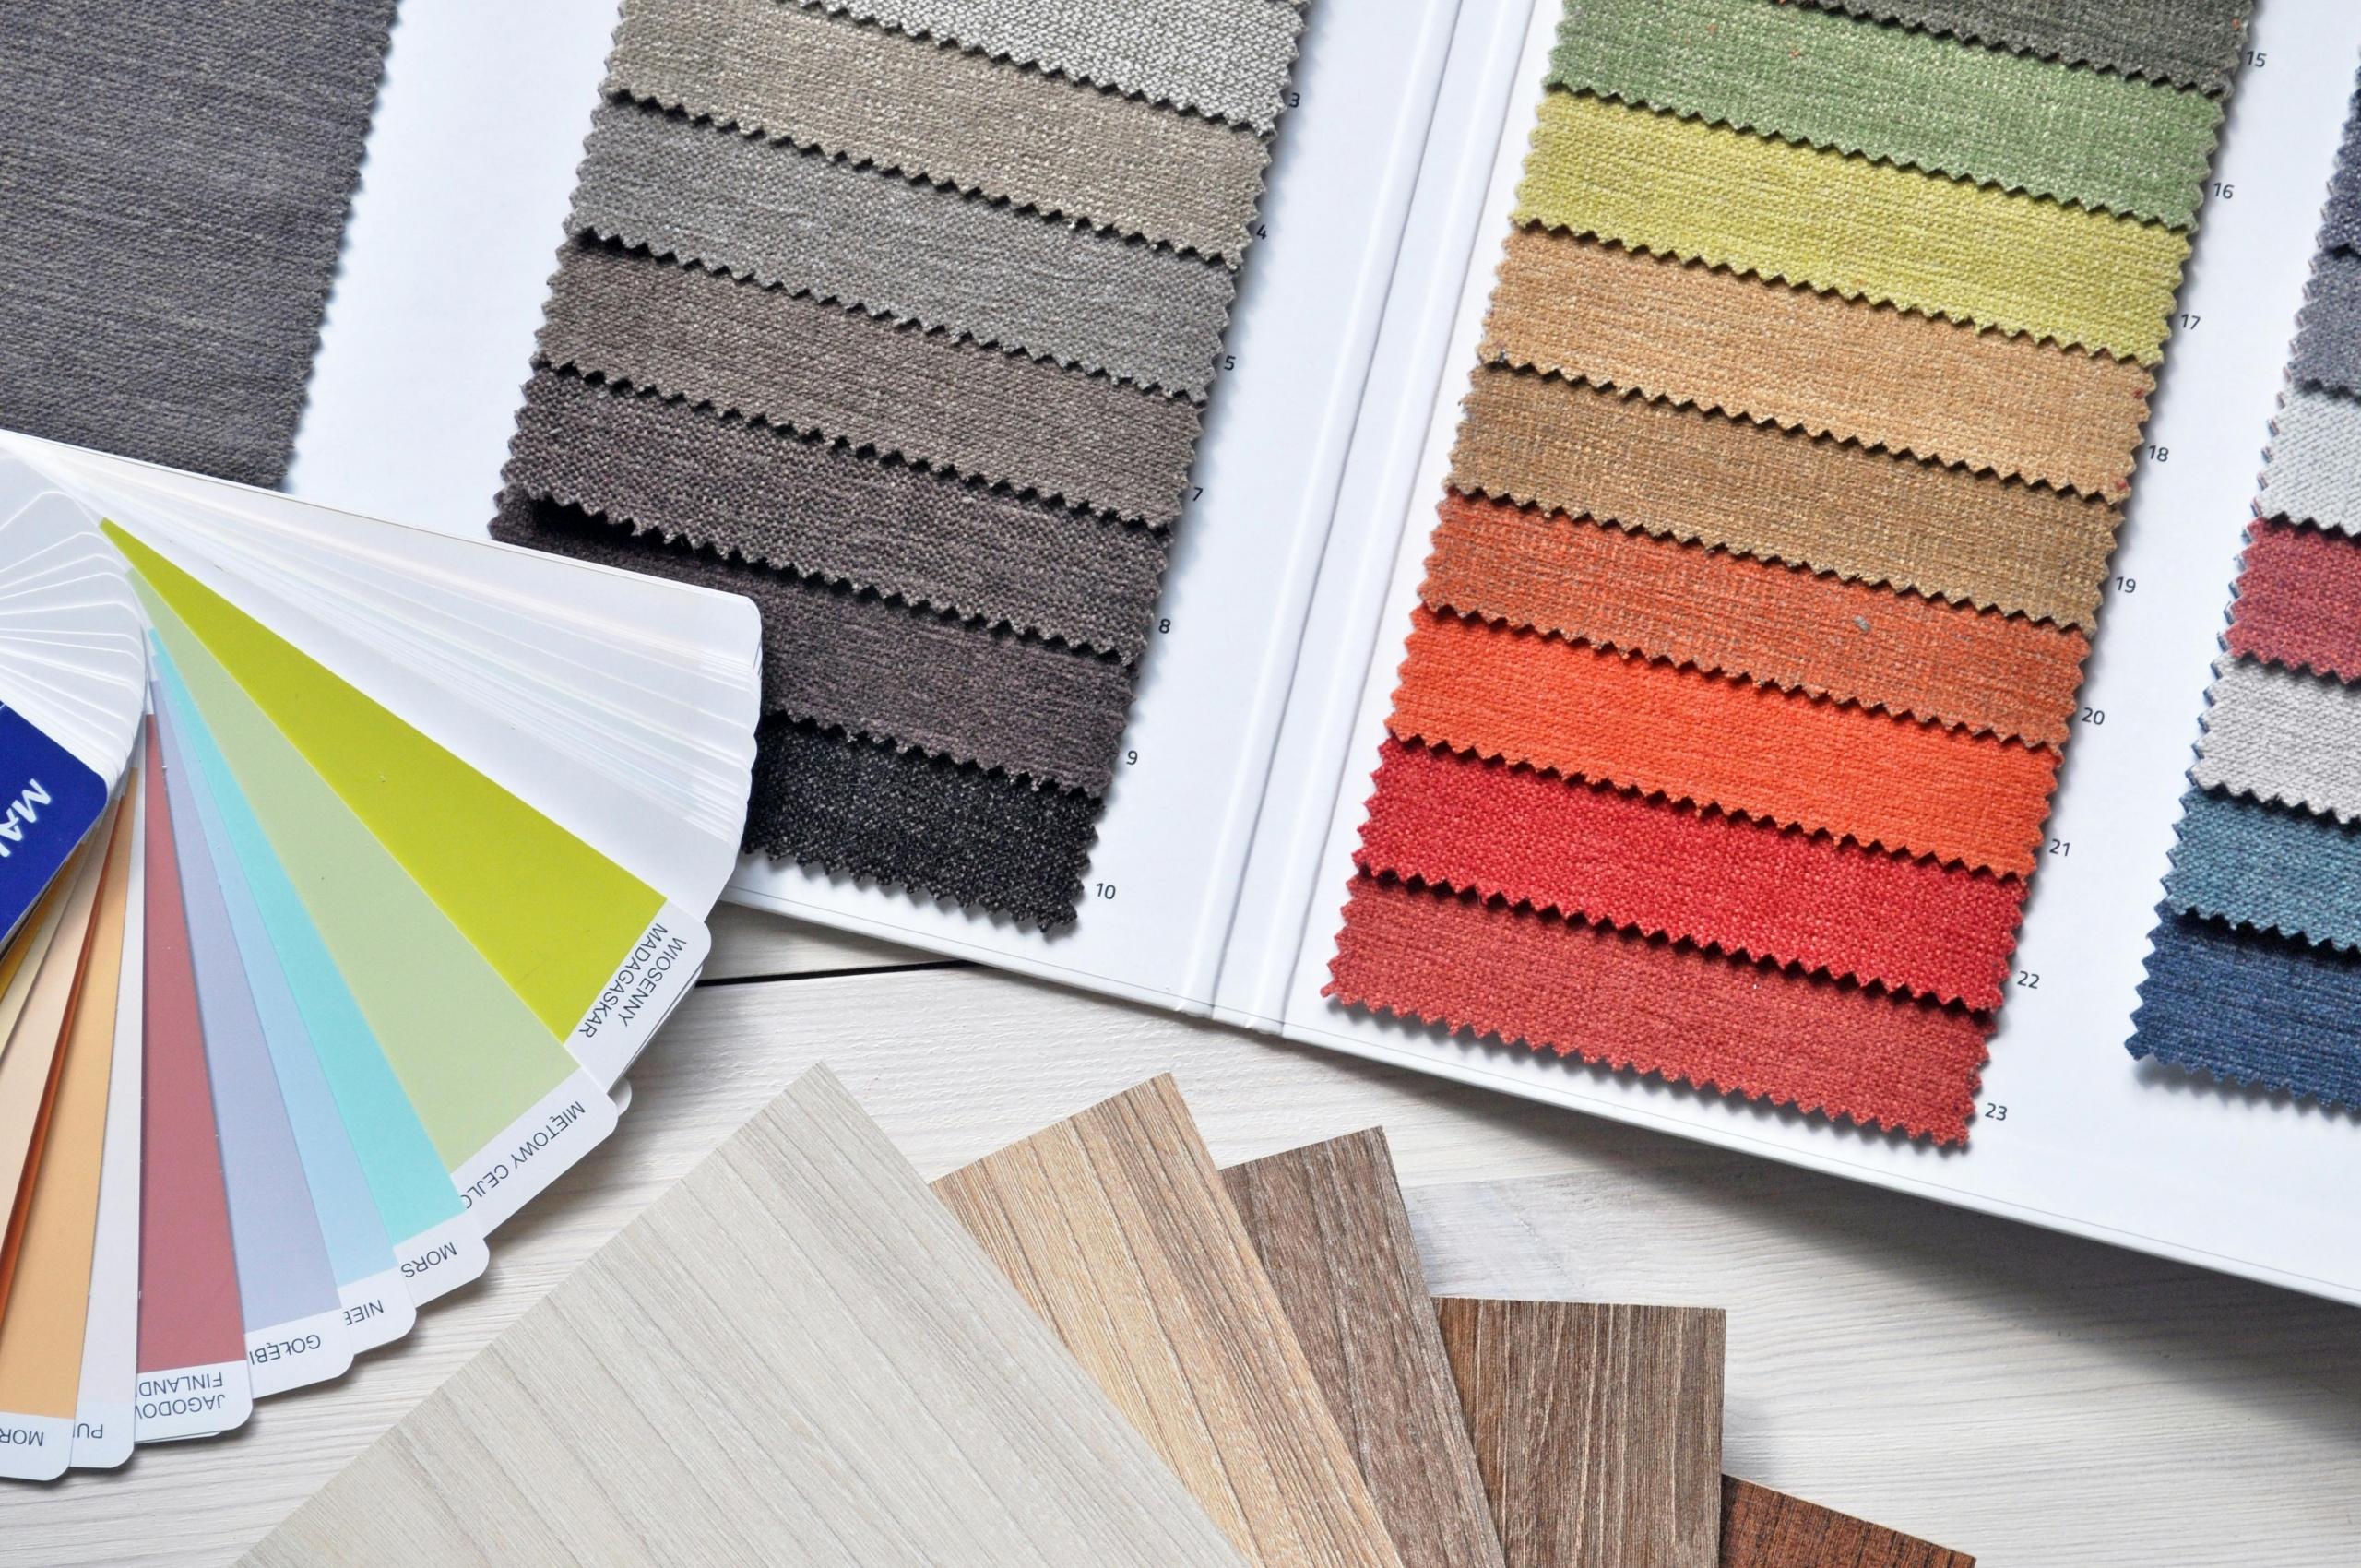
To master the art of colour, you need to learn how to associate colours and take note of certain rules and codes that exist. For example, you may have heard of complementary pairs like purple with yellow, green with red, and orange with blue. This technique involves using a secondary colour and the only primary colour that isn’t used to make it.
For example, since blue and red make purple, yellow is purple’s complementary colour.
This is also known as colour theory, or the study of how colours work together. The idea of colour theory was established by Sir Isaac Newton in the late 1600s who developed it based on a colour wheel. So, the use of colour theory has been around for some time now. With this knowledge, artists know which colours pair best together, and can even choose accurate palettes for conveying the mood or message they want through their art.
Take some time to study the elements of colour theory as well, such as hue, chroma, saturation and value.
You can try this for yourself. Take the three primary colours, mix each combination of them, and then use the colour that wasn’t part of the mix alongside it. This is a fun activity to help you understand how colours work and get better at choosing the right colour palettes.
Check out the best drawing websites.
Create a daily habit of drawing for 15 minutes a day
You may think that you are not suited for drawing because of the idea that some people may be better at you in this area. Did you know that the ability to create realistic drawings mainly relies on these three factors:
- How the individual perceives reality
- The individual’s memory of visual information
- The chosen elements of the object that the individual selects to draw
And these factors are mental processes that can all be improved with practice!
Practice makes progress. You can read as many art books and watch as many YouTube tutorials as you like but until you start practising the art of drawing, you won’t make any tangible progress.
Whether you want to improve your landscapes, create a comic, or do portraits, practice is key. Make sure that you set aside between 15 minutes and half an hour each day to hone your drawing skills.
Just to reiterate, you don’t need to do a magnificent oil painting every day - just ensure that your hands get some practice in and that you don’t lose touch with the art style you are aiming to develop. Take a sketchbook and draw for a few minutes to build pace for the length of time you have set aside.
You can draw whatever you want: a portrait, landscape, mandala, dragon, whatever! If you are stuck on what to draw for 15 minutes, you can even use apps to find inspiration or get prompts on which drawing topics you should focus on for that day. Here is an app for artists who want to look for daily themes for drawing.
The same is true for the materials you use. You can use charcoal, pencils, pens, Indian ink, coloured pencils, or even felt-tips! Wouldn’t you get more excited about drawing if you free yourself from the limits of which art tools you can use?
You might not feel the benefits of a daily 15-minute drawing practice immediately but believe us, your mind and body are being trained to remember the drawing skills you are refining.
Learn how to draw faces
The Mona Lisa by Leonardo da Vinci is probably the most famous painting demonstrating the power of expression, gaze and emotions which can all be conveyed through the drawn face (or portrait) of a human.
Are you aware that drawing portraits of people is a great way to work on your observation, proportions, composition, realism, and light and shadow skills? However, it can also be quite challenging.
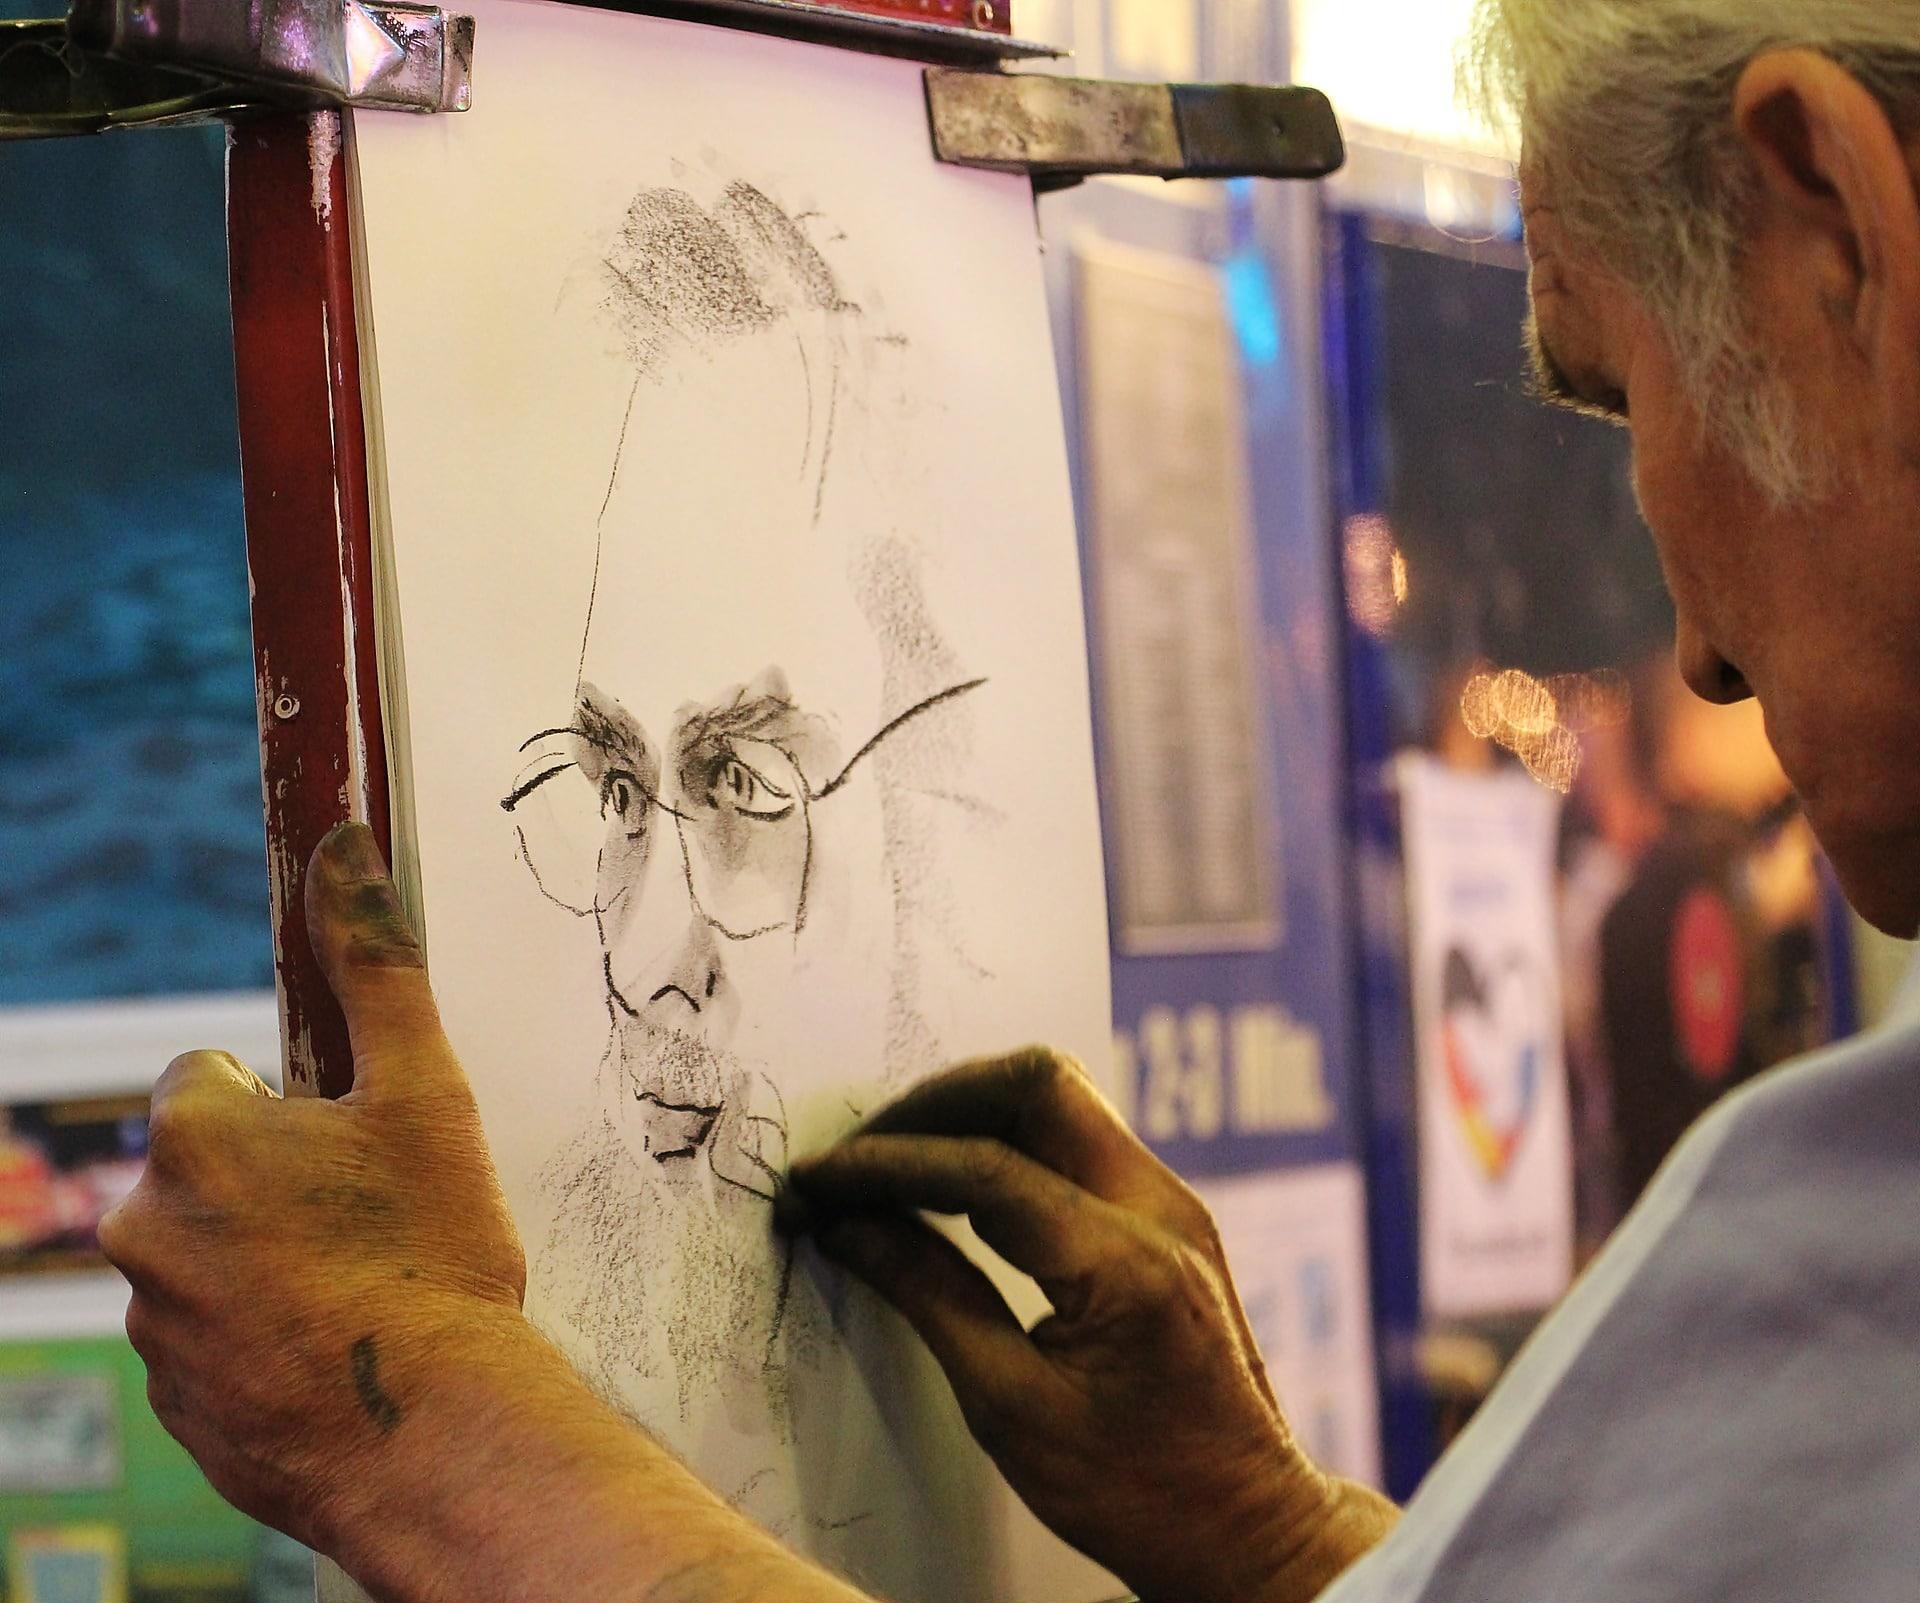
Drawing a face can be difficult when you’re first starting because you are working towards creating something that looks just like the real thing. However, you shouldn’t be afraid to make mistakes because mistakes mean that you are trying. It's all about improving your drawing skills, not putting together an exhibition!
Thinking about who to draw? It may be scary asking a stranger on the street to pose for you while you take an hour to capture the look on their face on canvas! While you can slowly work your way up to drawing strangers in public, you may want to start by asking people you know to be your model.
How about reaching out to a friend or neighbour you are close to? Ask them first if they’d be happy to pose for you, and let them know how much time you will need to draw their portrait. If you prefer, you can also draw a portrait from a photo as you don’t need to go to your friend’s place or go through the hassle of inviting them over.
The advantage of drawing a portrait is that you can look at your subject in the real world and capture elements you will otherwise not be able to get in a picture. Light and shadow, perspective, composition… these areas will change depending on the day or weather, and if the person is sitting, standing, kneeling, etc. You can also ask your subject to move their head or limbs to create the pose you want, and adjust your portrait as you draw - which can only be done if you are drawing them in person.
It’s time to get started. First, place the person’s face in the centre of the page with the eyes and the nose. After that, draw the mouth and the outline of the face. Finish off by adding the ears and the hair.
After this, you can move to a different face or try drawing the same one again. It’s a good idea to try a different face and then go back to the first. Once you start making progress, you’ll find it encouraging and be more confident in drawing others’ portraits.
Nonetheless, there is nothing wrong with wanting to practise drawing a portrait by looking at a photo. Here’s a video for drawing lifelike portraits from photos by using the Loomis method.
Try the Loomis method which uses grids to depict the human head from various angles. You just need to construct a geometric grid and then place the facial features within the grid.
Discover the best ways to learn how to draw for free.
Learn to draw anything by sketching
Another way to become better is by sketching what you can see. This is a great way to improve your observation skills and practise drawing things in the real world. Similarly, it’s a good way to relax. When we sit down to draw something specific, this encourages mindfulness and puts our body in a relaxed state.
What is the difference between sketching and drawing?
Although these terms are sometimes used interchangeably, sketching is usually produced after a quick observation of the drawing subject, involving quick marks and simple lines that capture only the essential elements. Drawing, on the other hand, is more like a final product that can include colours and more intricate details that wouldn’t be used in a sketch.
So, all sketches are drawings, but not all drawings are sketches.
Even though a sketch is simpler than a complete drawing, it isn’t really about the speed at which you draw - rather, sketching can help you focus on the major drawing elements instead of going down to the details of everything. Hence, sketching trains you to get the most out of each detail.
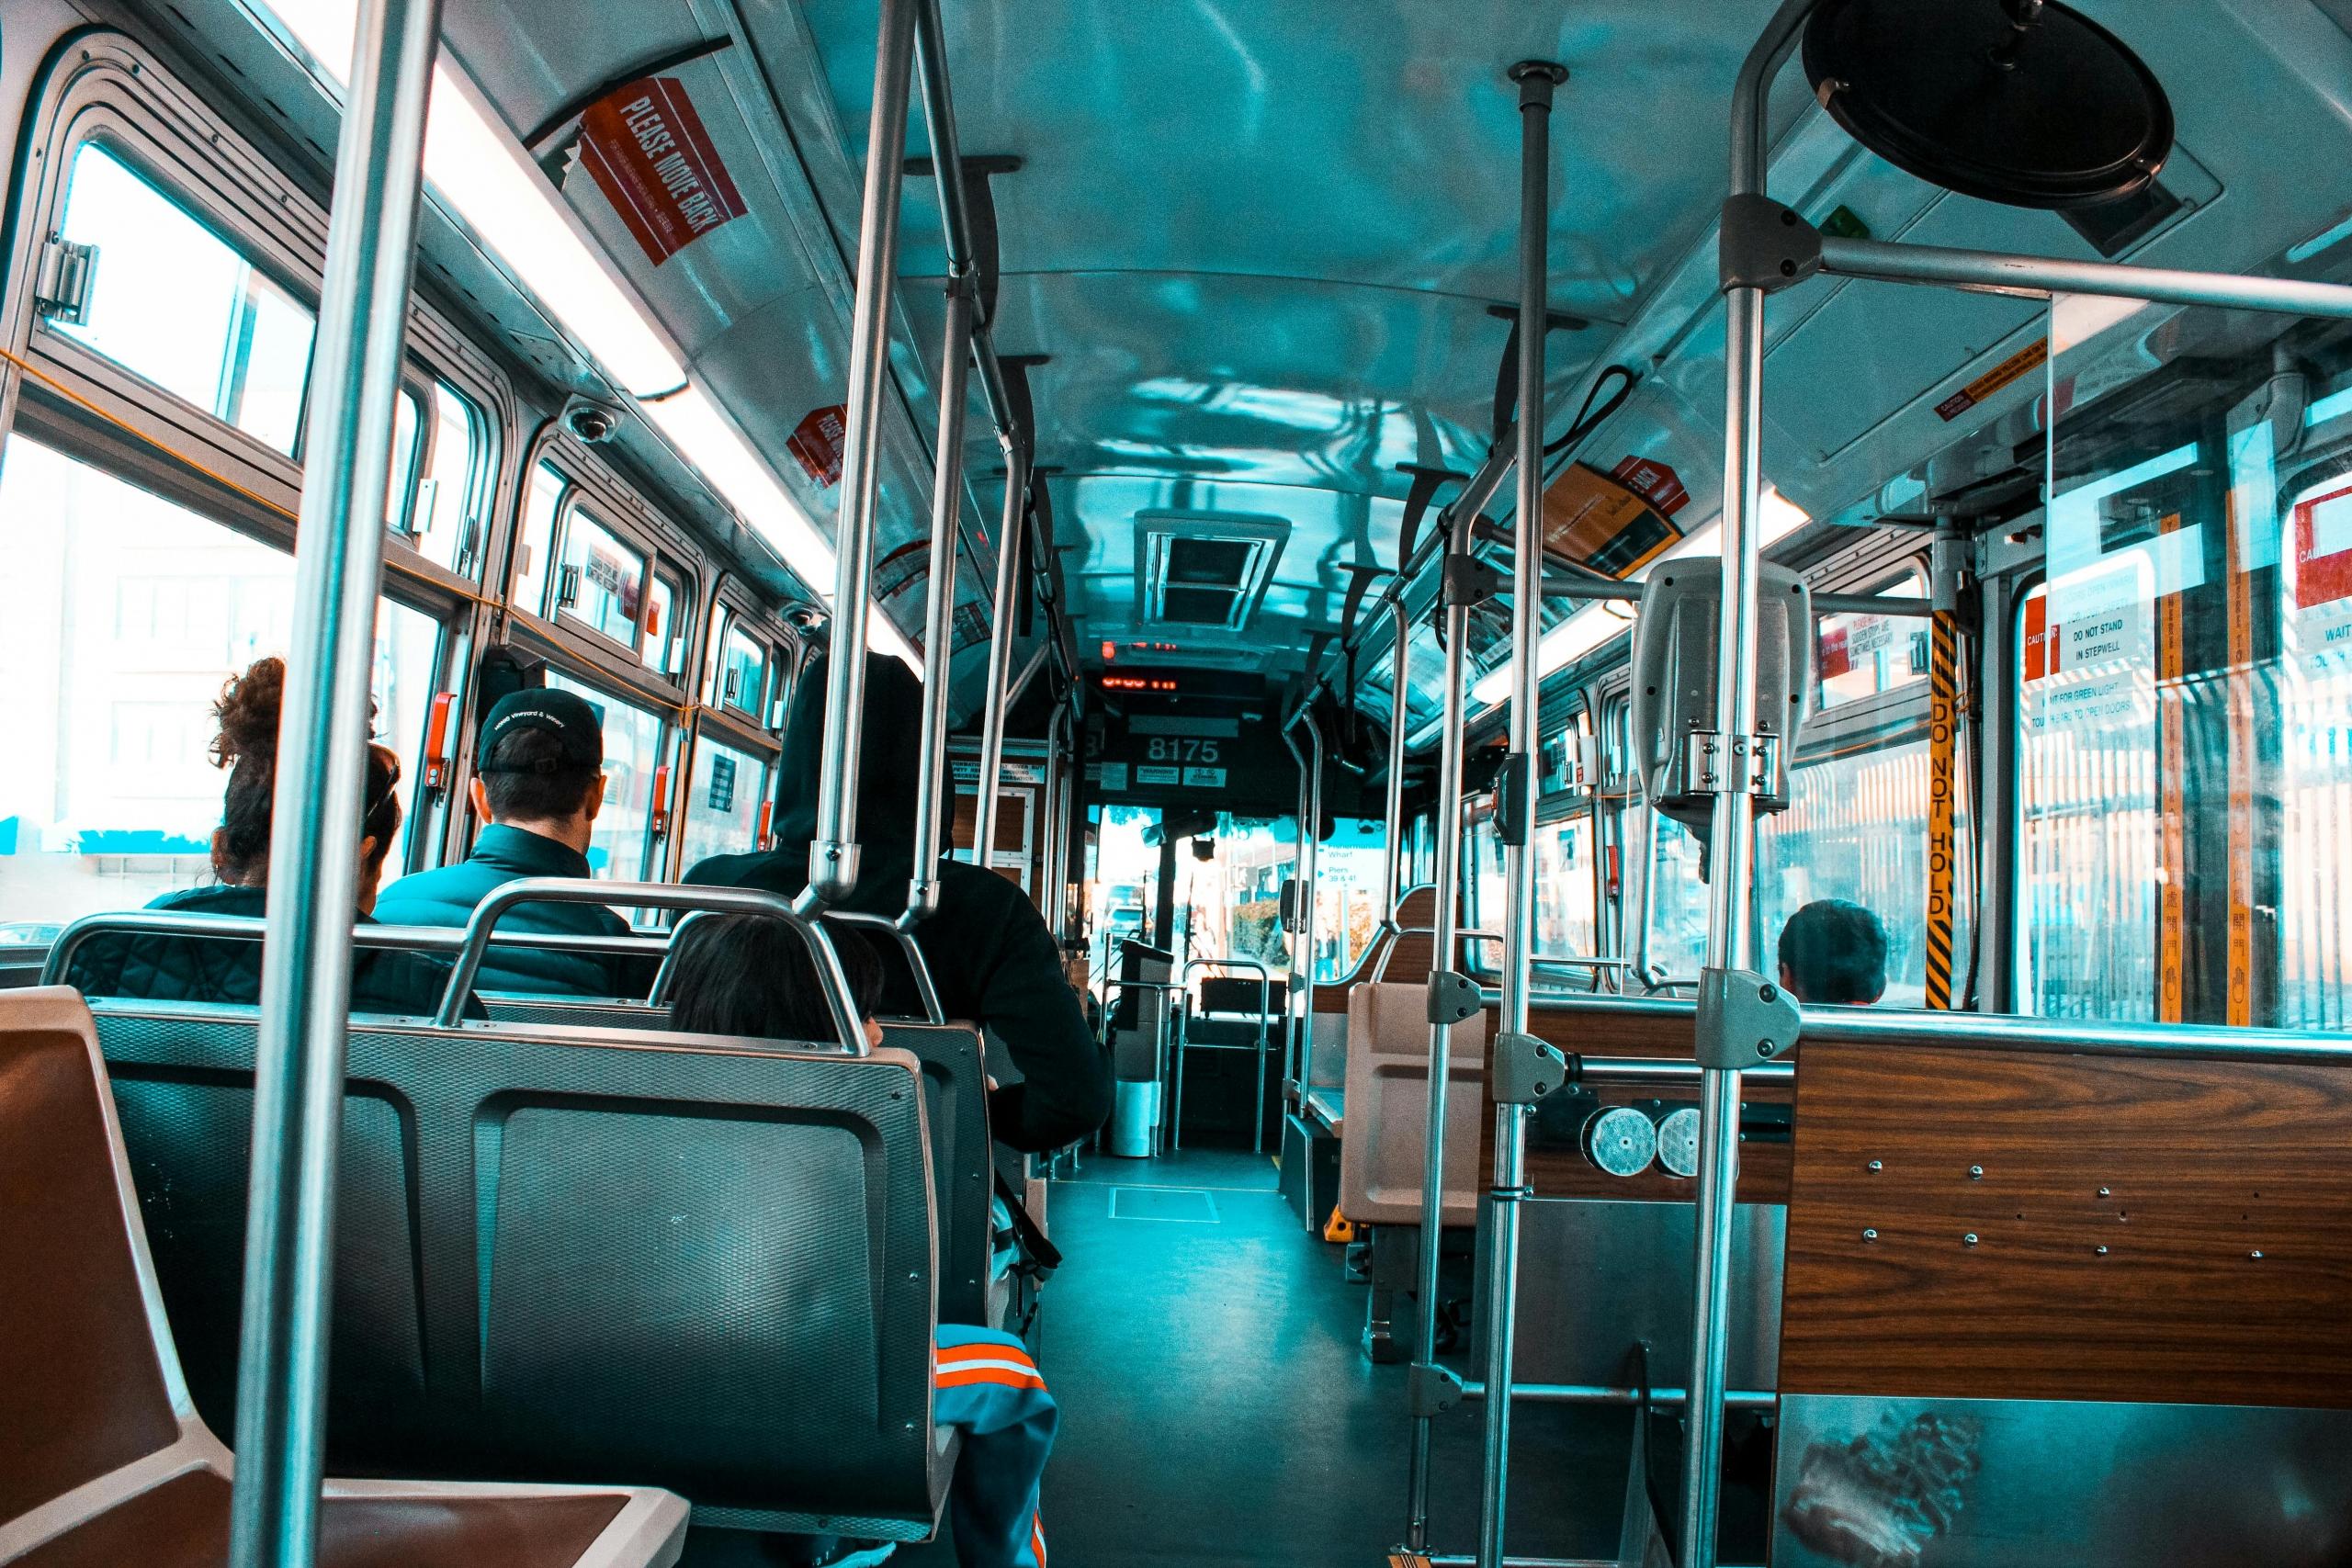
Wondering where you can start sketching? Try sketching on the MRT, bus or in the street. Draw passersby, the landscape, etc. You are training your eye to keep a lookout for important details, but still remain relaxed as you don’t have to fixate on creating a final art piece. Keep in mind that you won’t be drawing any of these things perfectly at first. Just enjoy the process.
Practise by recreating a famous art piece
Recreating a famous painting is useful when learning how to draw. Not just because it allows you to understand better the style of an artist you like, but because it also allows you to discover new techniques for drawing. You can also easily find images of famous art pieces online or on social media.
In art classes, students would have plenty of books on different artists that they could use to copy famous pieces. In certain cases, students may be told to pick an artist and copy their work. However, you can’t start making money off these copies!
Some famous art pieces that artists have practised learning how to draw from include:
- The Starry Night by Vincent van Gogh
- Girl With a Pearl Earring by Johannes Vermeer
- The Scream by Edvard Munch
- The Persistence of Memory by Salvador Dalí
When recreating a famous art piece, you might want to draw on a grid for better results. Having a grid on the piece you’re copying and on your sheet of paper can help. You’ll have a better idea of where everything goes.
Check out the best drawing apps.
Challenge yourself with a new theme each week
Be it still life, portraits, life drawings, or animals, it might be a good idea to draw something a little different each week.
By changing it up regularly, you’ll discover new ways to draw and new techniques to try out. If you can’t manage it every week, try it each month. You could work on drawing animals for one month and then people for another. As beginners, it’s quite easy to discover new things so don’t hesitate to give it a go!
If you are stuck on which drawing themes you want to go for, try these:
- Sketches in public
- Things that go
- Watercolour only
- Black and white only
- Groceries
- Musicians
- People you admire
- Travelling
- Drawing from imagination
When trying out new themes, focus less on creating the best drawings or sketches, and lean in on the creative process. Try to draw as much as you can, and see what ideas you can come up with!
Become a better artist with Superprof
One of the best ways you can effectively master the art of drawing is by taking personal drawing lessons with an art teacher or professional artist who has taught many students throughout their career.
Whether the person chooses to take one-on-one or group lessons, learning to draw under the guidance of a drawing tutor allows you to get personalised feedback and you will also get the chance to ask for practical advice such as the best time to practise drawing every day, what drawing books to purchase, recommended media for drawing practice and more.
Here are some of the perks of learning how to draw from one of the talented tutors on Superprof:
- Choose from over 5,000 talented art tutors on Superprof. If you have ever wanted a catalogue of the top tutors from around the globe, this is your chance to meet your ideal art tutor. It’s not just skilled artists from places like Penang and Kuala Lumpur, but you can also learn to draw from instructors based in Montreal, Mexico, São Paulo and other places where drawing is a popular hobby.
- Choose your preferred learning mode. Face-to-face and online lessons? One-to-one or group classes? Only on Superprof, you can conveniently find art tutors in your area who can travel to you or learn with tutors virtually.
- Choose your budget, tutor response time and other benefits. You don’t need to pay RM100 to have a quality art lesson. On Superprof, art classes begin from as low as RM20 per hour, and you can also speak with art teachers who can reply to you within the day. Easily find out more about your tutor by clicking on their Superprof profile, which details teaching background, number of students, student reviews and more.
You should also make use of the first-free-class benefit by signing up now on Superprof! Learn with a Superprof tutor, and couple it with these tips you have just learnt about becoming better at drawing. We are confident you will find even more joy in the art of drawing.
Summarise with AI:
Did you like this article? Leave a rating!