
Few words in the English language have so convoluted a history as the word ‘hack’. It’s oldest reference meant ‘chopping or cutting roughly’ while its newest incarnation suggests sinister intent behind a computer keyboard.
Neither of these actions has anything to do with watercolour painting; indeed, we would never recommend you chop your work to pieces!
On the other hand, hacking can imply cutting through rough terrain.
Imagine hacking your way through a jungle. Using this definition, one can easily stretch ‘hacking’ into the realm of creating art with water-based paints, going from the wild unknown of mixing colours to mastering the ability to put keep the paint exactly where you want it.
Watercolours are more difficult to work with than oils and acrylics; one reason being that it is more challenging to control your colour using this medium.
One remarkable facet of watercolour paper (or paper in general) is that it absorbs and spreads the applied colour, perhaps to places you didn’t want any colour at all.
Learning how to control where the colour goes is one reason that many simply give up on the idea of using watercolours as a medium.
That is the first hack we outline, followed by many others to make your fledgeling watercolour works worthy... not hackneyed!


Controlling Watercolour Paint
Try it for yourself: place a few drops of water on a piece of paper and watch what happens.
Paper, by its very nature, is absorbent, although some are more so than others. Watercolour paper is such a one; it is made of cotton fibres, usually blended with wood pulp to give it a unique texture that readily absorbs liquid. Its weight allows for the application of water without buckling unduly or becoming brittle.
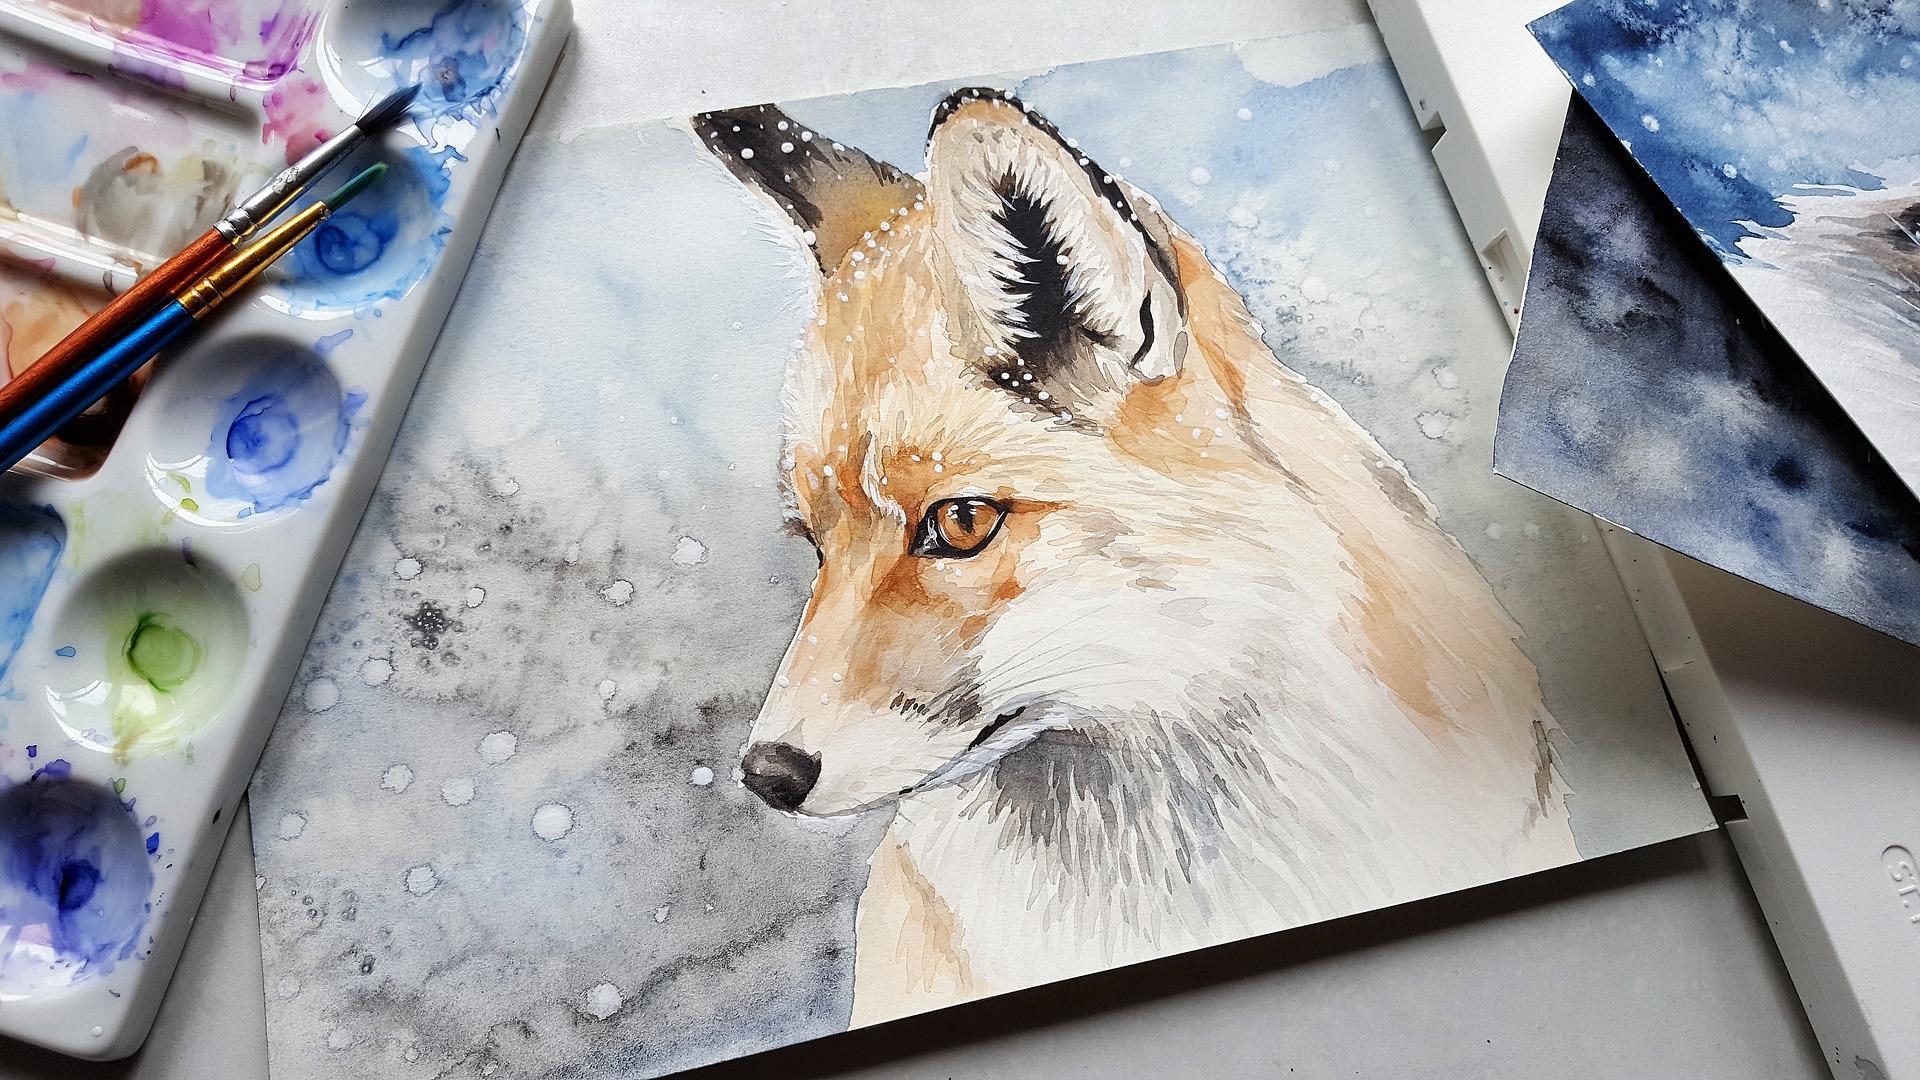
All of that sounds great until you find you have a translucent cerulean halo in your skyscape where a cloud should be.
There are several hacks you can use to prevent your colour intruding where you don’t want it; the first one is using quality art supplies.
Understandably, you won’t want to spend a lot of money on watercolours, brushes or paper if you’re just starting out. While that is sound reasoning, our experts recommend you don’t settle for the lowest quality paper available, either.
Decent paper can make your venture into watercolor painting more rewarding; using a good grade of paper can help you discover how the elements of painting – water, pigment and brush type interact.
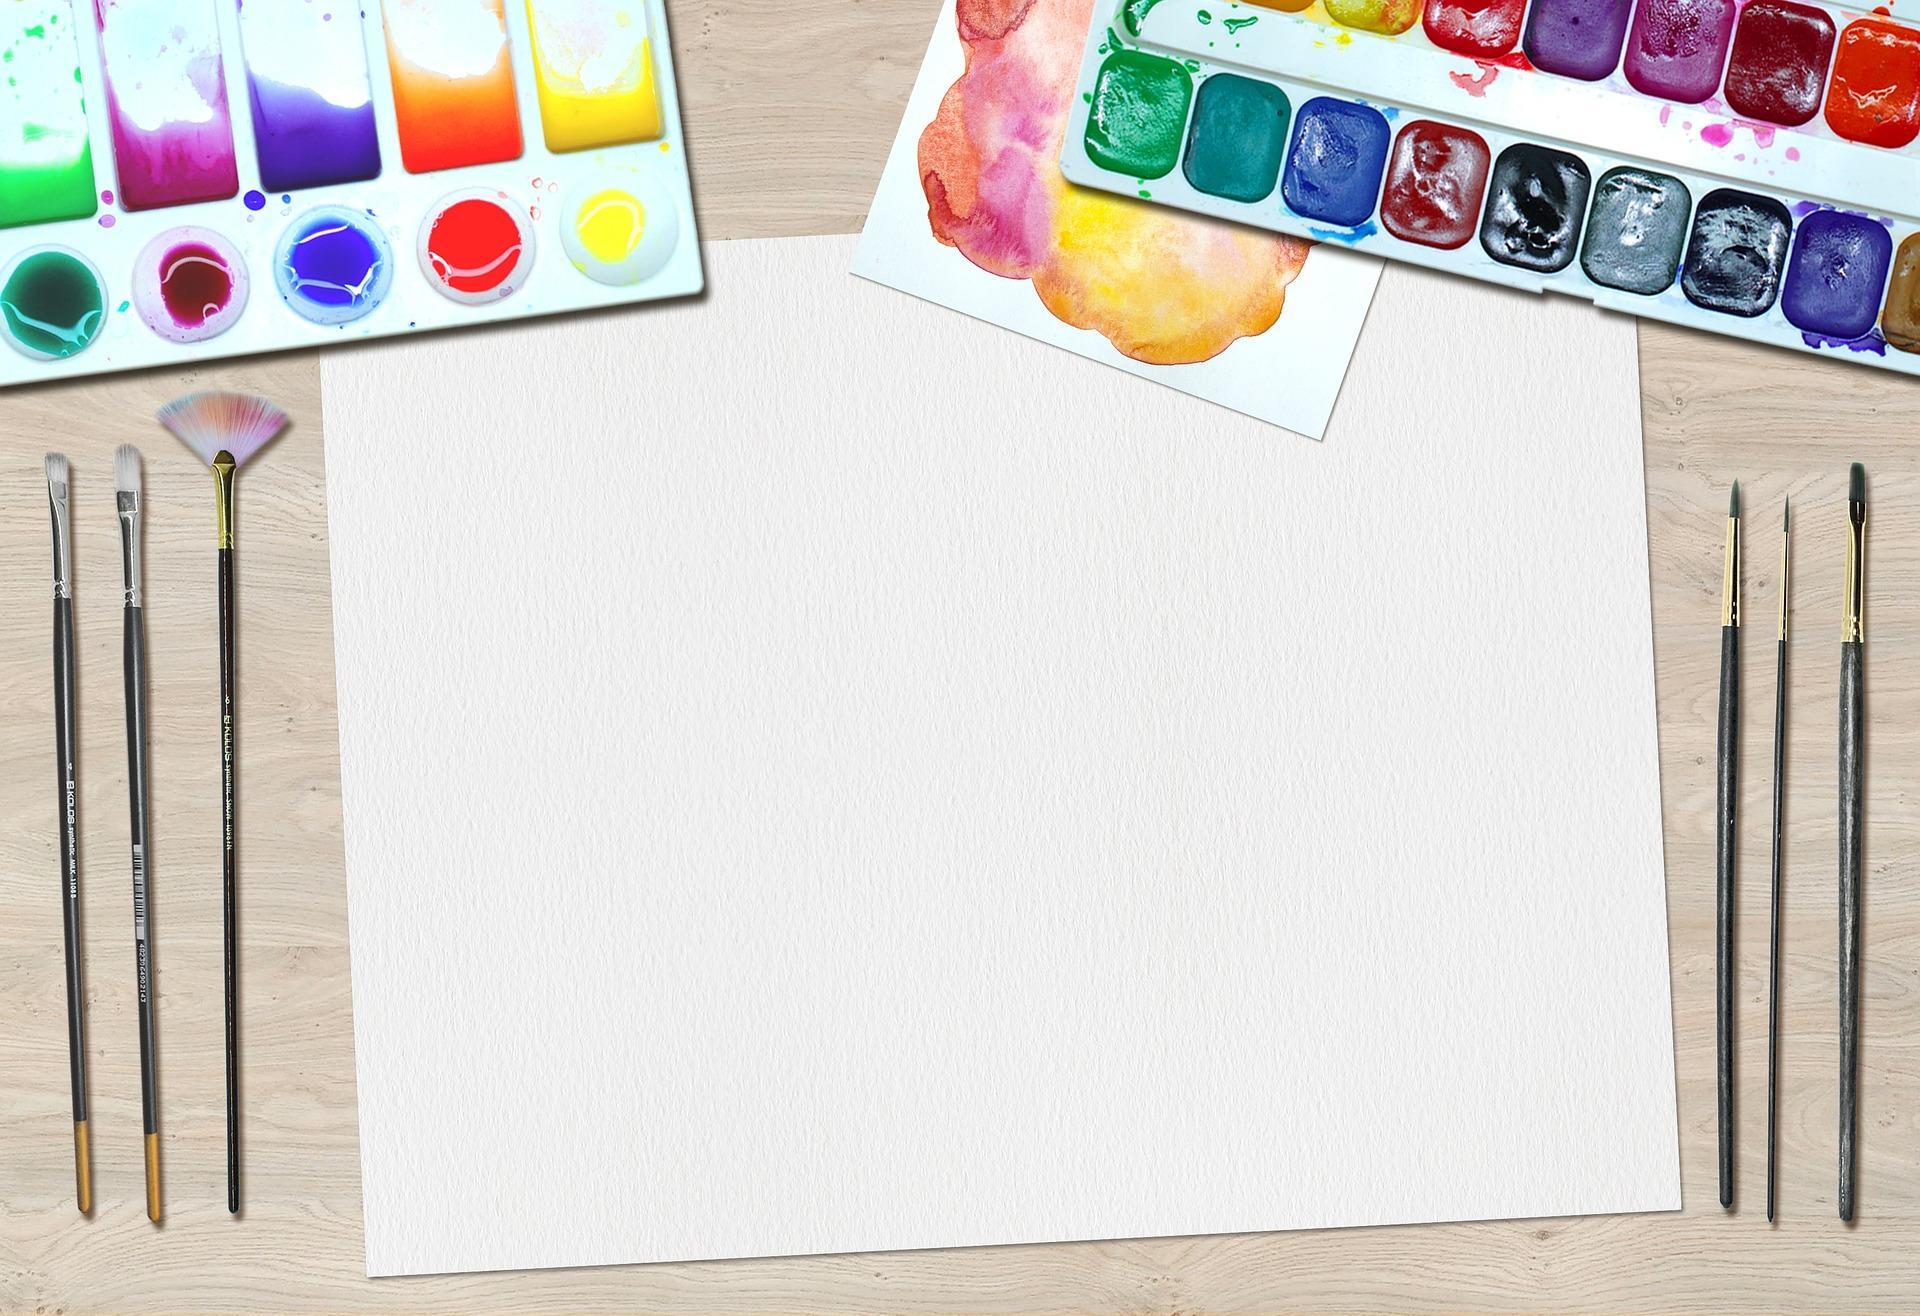
Now that you have suitable paper, a few brushes and a palette of colours, it is time to try these techniques.
Join the discussion: where can you find the best watercolor painting tutorials and resources?
The Wet-on-Dry Method
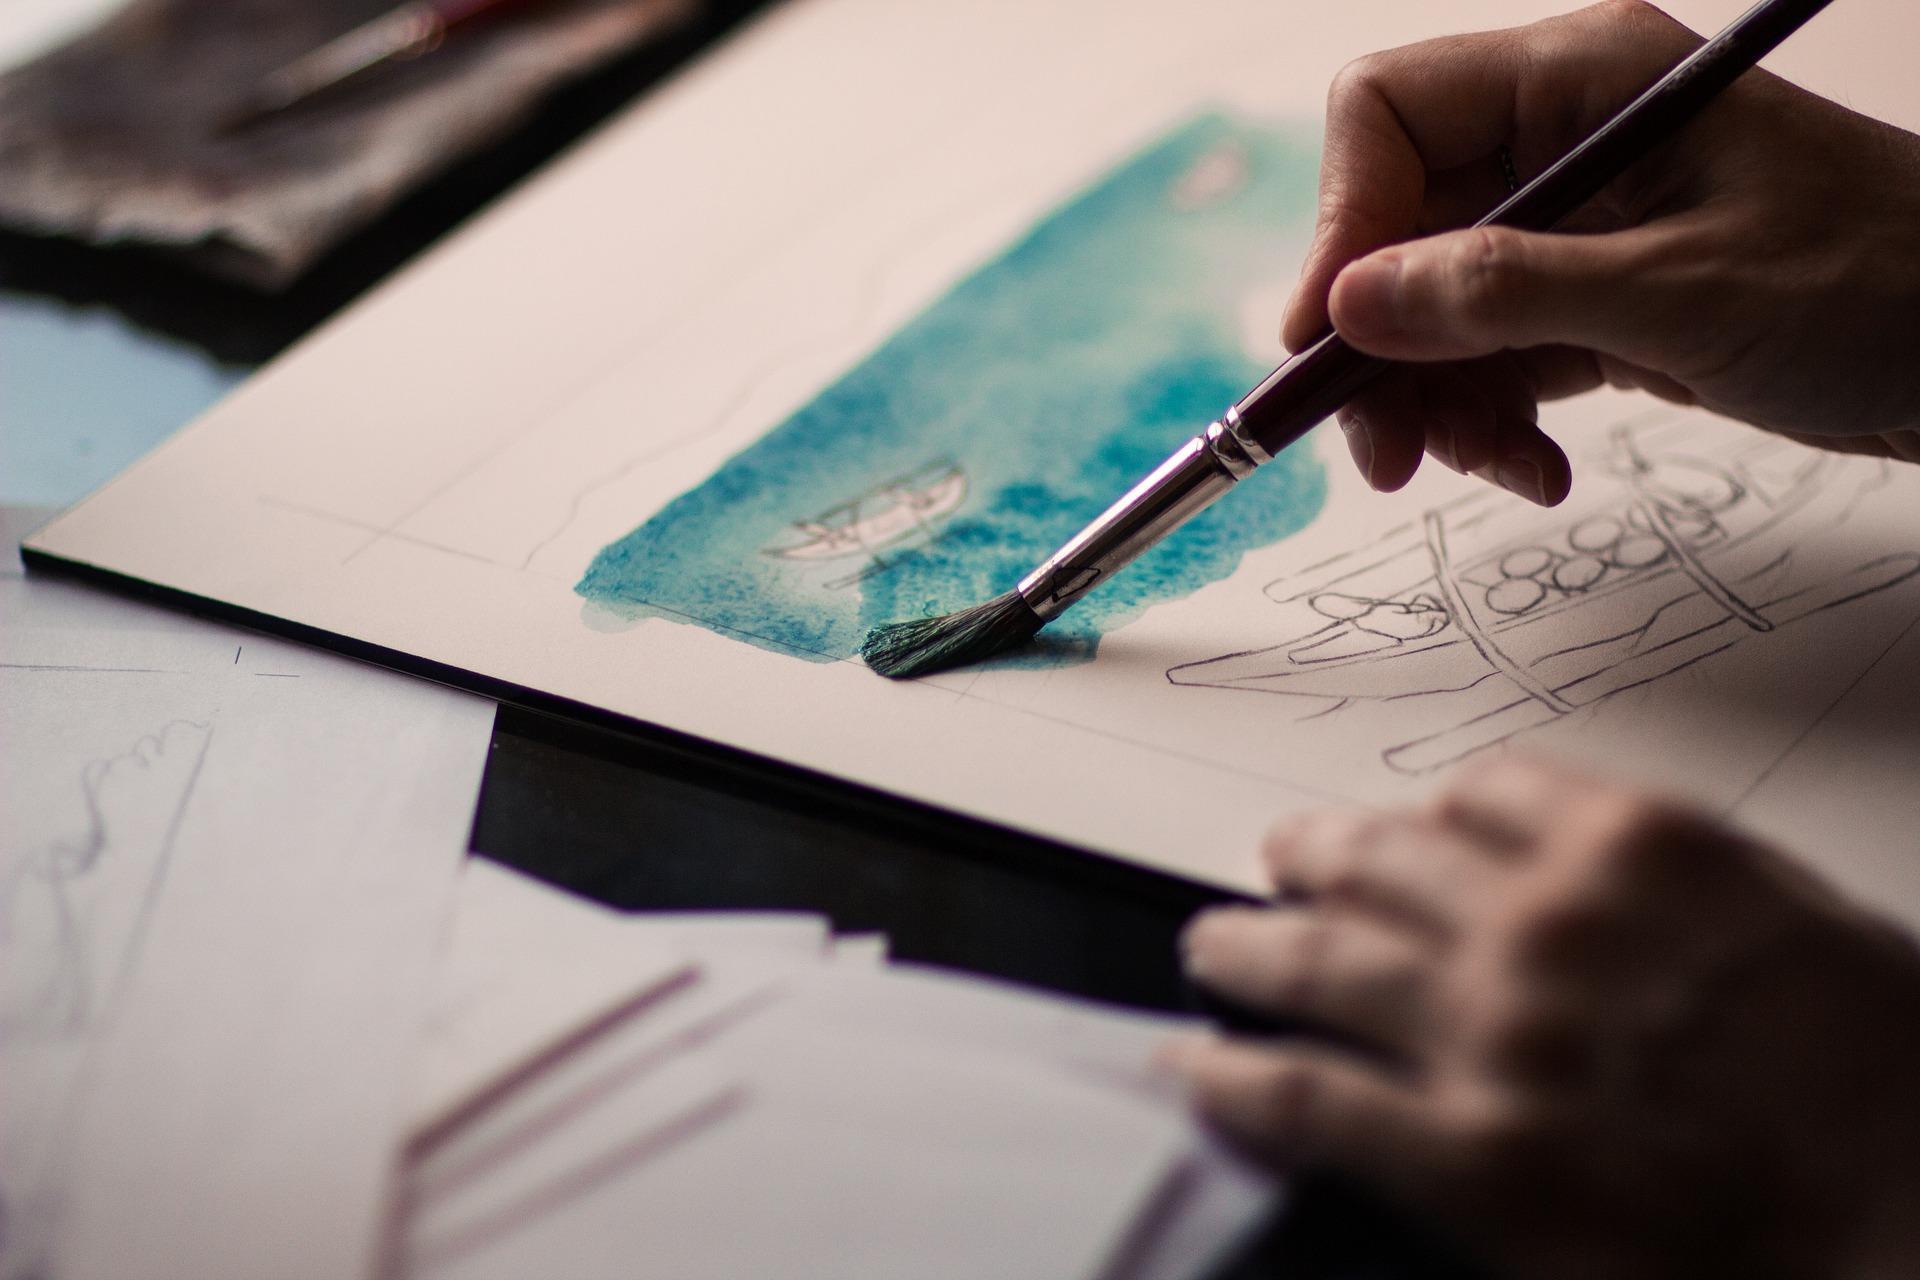
The most elemental watercolour painting technique is wet paint onto dry paper.
You might be tempted to make tight brushstrokes to control where the paint goes but that won’t necessarily do the trick. The better method is to control how much water you use when you mix your paints. Using a dry brush will help, too.
The Wet-on-Wet Method
This trick works great if you’re painting a large area.
First, paint the area in question with water, using bold strokes so that no one spot gets wetter than the other. Next, mix your colours and apply.
The paper, already wet, will absorb less colour, leaving it where it is supposed to be.
The Dry-on-Dry Method
If your work calls for sharp, distinct lines, this method is what you should use.
You may wonder about this particular technique; after all, watercolour, by its very nature, is wet. Indeed, there will be some wetness, but not as much.
Your paper should be dry, of course, but now comes the tricky part: use as little water as possible in mixing your colours and then, blot any excess liquid from your brush before it touches the canvas.
This method is also called the dry brush technique.
The Dry-on-Wet Method
Let's add a cadmium yellow sun to the cerulean sky you just painted.
Rather than waiting for your paper to dry (or using a blow-dryer to speed the process up – another hack!), you simply mix your yellow paint with as little water as possible and blot the excess water off of your brush before applying it to your painting.
Mastering these four techniques will go a long way towards controlling your watercolor paint – both where it goes and its intensity.
Now delve deeper into the craft: discover watercolor painting for beginners...
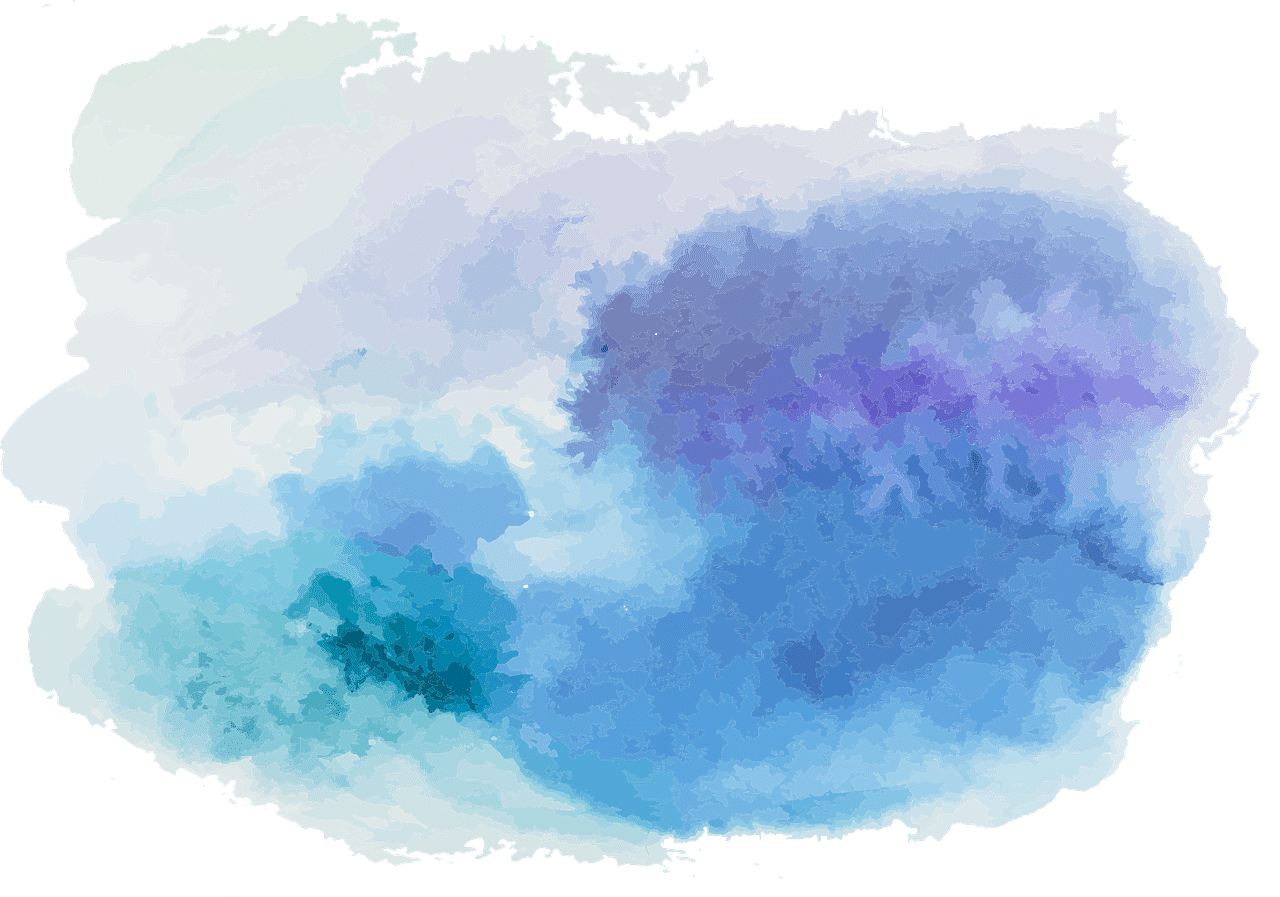
Mastering Washes
In terms of painting with watercolor, washing means filling a large area of the paper with a base layer of colour, either as a background for the depiction or for underpainting.
Naturally, there are several painting techniques you can use to ‘wash’ your paper.
The Flat Wash
As its name implies, this wash calls for an even coat of colour. The way to achieve it incorporates the wet-on-wet technique.
First, wet your sheet with a clean brush, and then apply colour using bold, even strokes. Ideally, you should use a wide brush; leave the round brushes for the more detailed work.
The Gradaded Wash
You’re looking for opaque colour at the top of the sheet, transitioning to translucent the closer you get to the bottom.
Here again, you’ll use the wet-on-wet technique and mix your colour so that it is particularly vibrant. Next, paint your paper in horizontal strokes, starting at the top and working your way down. You’ll notice that, as your brush ‘runs out’ of paint, your brushstrokes will become lighter and lighter.
The key to this technique is propping your painting board – the board that you’ve taped your paper to so that its top slants slightly towards you.
This allows gravity to help you achieve the effect you want by forcing most of the liquid to stay on the surface of the paper rather than saturate it.
This technique is also called the Ombré effect.
The Variegated Wash
This technique works particularly well for landscape painting or painting a seascape – any scene that calls for large areas of colour.
Again, it relies on the wet-on-wet technique, but then you apply colours boldly: swirls, dashes, random streaks. The criteria are that the colours complement each other (more on that in a mo) and that they are wet enough to run and blend.
You may like to tilt your paint board this way and that to encourage colour in every direction; just be careful your colours don’t blend too much lest you end up with a messy blob.
Using this technique will give your painting remarkable depth, so will this next tip.
Understand How Colours Interact
It’s easy to conclude that the more water you mix into your paint, the less opaque the resulting tones will be. Furthermore, there’s a good chance that you already know that mixing certain colours results in other colours: yellow and blue make green, red and blue yield purple and so on.
Those overly simplistic statements disregard the third element of watercolour-painting: the paper.
How much colour will you paper ‘drink’ and, in doing so, dilute it from the tone/shade/hue you wanted? (Remember: you can control that effect by using the techniques described above).
All of that is good to know but these assertions do not begin to touch on colour theory.
You should know your primary colours – red, yellow and blue; your secondary colours: orange, purple and green, and the tertiary ones that result from the combinations of those colours.
What distinguishes burnt sienna from burnt umber? What’s the difference between cobalt blue and ultramarine blue?
For your reference, you may invest in a colour wheel the next time you are at the art supply store or you could download one.
Paint from Light to Dark
When using oil paints or acrylic paints as media, artists commonly paint dark tones first and finish with light ones. If watercolor paint is your medium, you should do the inverse.
Why, you wonder?
Earlier in this article, we discussed how easy it is for your colour to get away from you; to spread where you don’t want it to.
There are several ways to keep that from happening; besides the ones mentioned above you may try the lifting technique – essentially blotting excess colour off the page with a nearly-dry brush (or a paper towel, if you’re careful).
By far the better way to conceal any mistakes early on is by applying the darker colours over the lighter ones.
You can cover up any mistakes made with light-coloured paint; it is much harder to mask dark-colour errors!
Quick Tips: Watercolours for Beginners
Now, to finish off, we present some no-brainer hacks that still merit a ‘who would have thought?’
- Use two jars: rather than spend a lot of time dumping and refilling your water, keep one jar for clean water and the other to rinse your brushes in
- Tape your paper – not just to keep it in place while you work but to keep it from wrinkling when exposed to water!
- The blow-dryer/heat gun solution: it would be best to let each layer of paint dry naturally but, if you’re in a hurry, you can speed up the process with these tools.
- Just be sure you use a diffuser on the blow dryer, otherwise, the generated wind may fling your paint where you don’t want it!
- Block out white spaces: if a portion of your painting is meant to stay white – maybe a sail or a cloud, use masking fluid to preserve those spaces. It can be removed later, when you’re putting on the finishing touches.
- Take a class: you may find some at your local community or adult education centre; you may also count on Superprof painting tutors!
Through them, you will certainly learn all you need to know about how to paint with watercolours.
Summarise with AI:
Did you like this article? Leave a rating!