
In sun salutation yoga, the general consensus is that there are 12 poses, although some people will tell you there are more or less than that. Some people like to visualise these sun salutation positions as a circle representing the sun, with each pose representing a sliver of sunlight going outwards. Whether you’re into the idea of yoga as a spiritual practise to work on your mindful breathing or purely as a physical practise to improve flexibility and mobility, sun salutation for beginners is an excellent yoga series to implement into your daily routine. In this guide, we’ll walk you through how to do sun salutation, including all 12 of the sun salutation poses you can do even as a beginner. Since the sun salutation benefits are numerous, we’ll touch upon those briefly, too. We’ll also mention how you can modify each pose to make them either easier or more difficult, depending on your level of experience or athletic ability. 


Prayer
The first pose in any sun salutation series is the prayer pose, which is otherwise known as pranamasana. With this pose, the idea is to stand as upright as possible with perfect posture. This means no slouching and no hunching over with your shoulders rolled forward. To perform the pose correctly, stand with your feet close together, your shoulders back, and your chin parallel with the floor. Place your palms together as if you were praying, and do your best to breathe deeply in and out, paying close attention to the rising and falling of your chest. As you can imagine, this isn’t the most difficult pose in the world as you are simply standing with your hands together, so there aren’t many modifications you can do. If you have pain or aching in your hands and wrists from holding them up, or you’ve just completed an intense workout, you can instead adopt the mountain pose with your arms by your sides. This pose should feel grounding, especially if you stand with your feet bare, and will help you focus on the upcoming yoga sequence.
Raised Arms
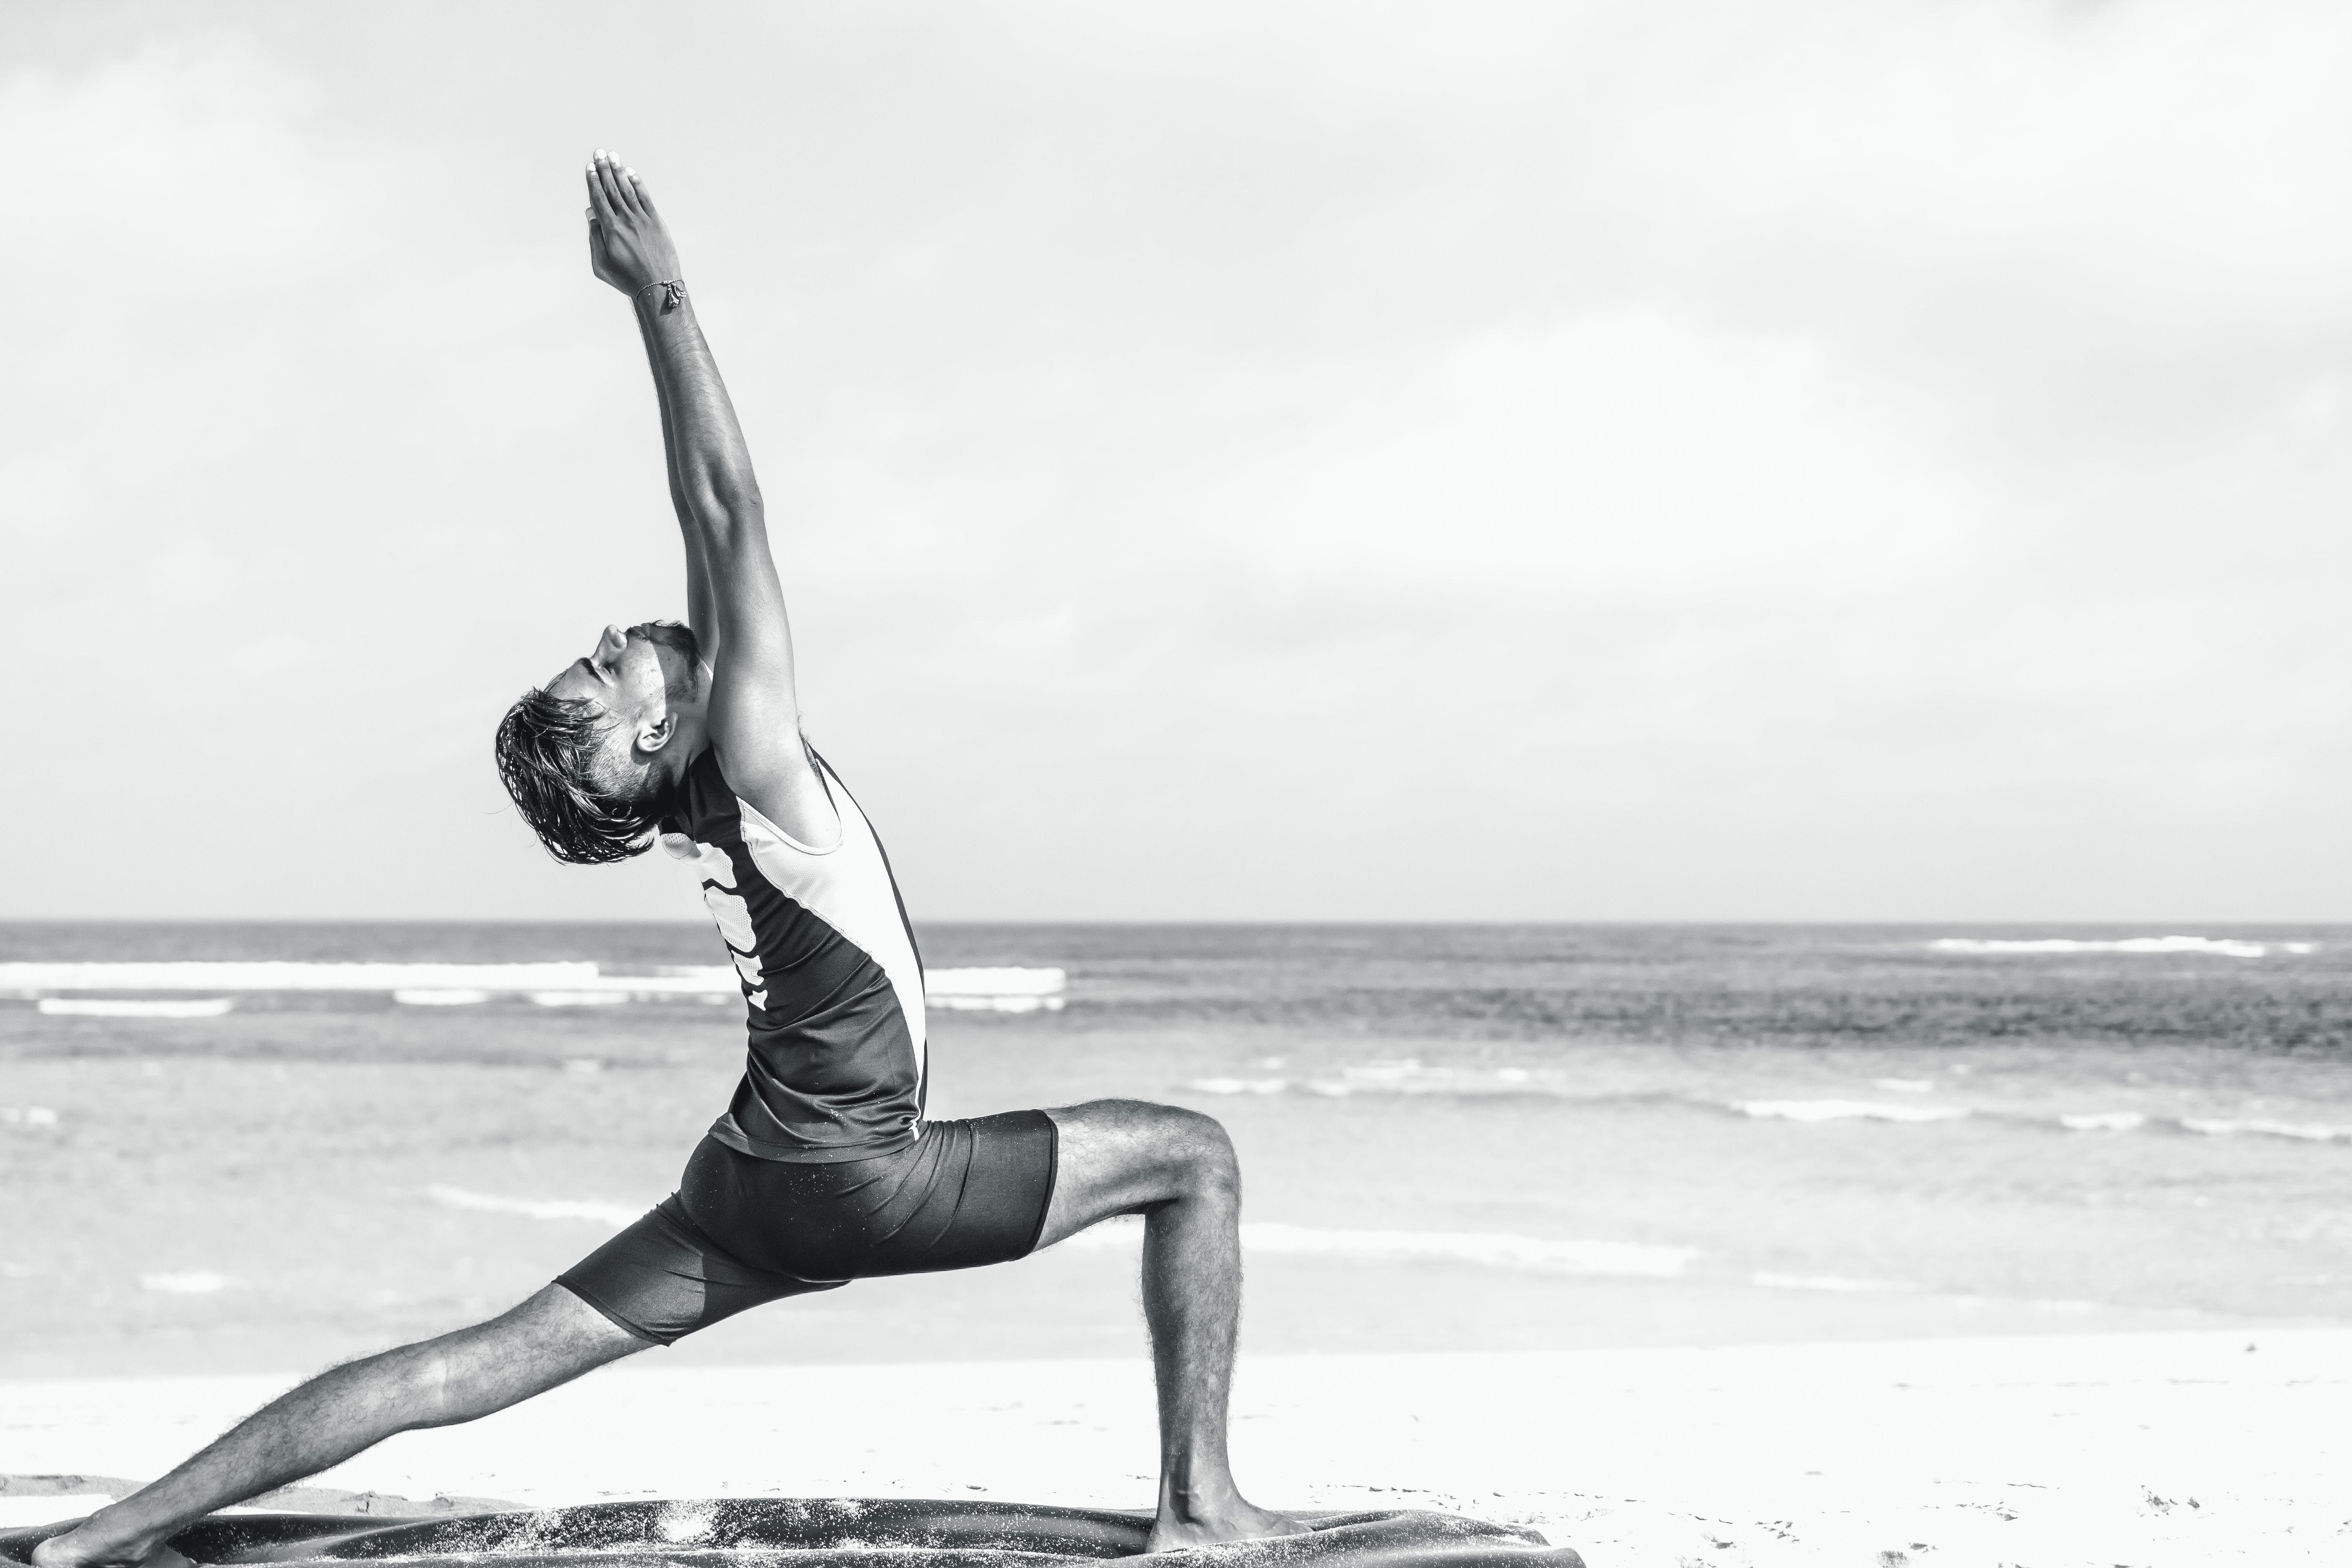
The next pose is more energising and more difficult, and it’s commonly referred to as raised arm pose or hasta uttanasana. For this one, you should slowly feel your way into the pose so as not to do yourself any harm. To perform the pose, stay standing with your feet together and with your arms raised overhead start to lean back until you’re looking up at the ceiling. To modify this pose, you can adjust the amount of bend in your upper back, and if you struggle to reach overhead with your arms, you can bend your elbows to make it easier. This pose is excellent for stretching out the abdominal muscles and the spine, and you should try to enter it on a deep inhalation.
Standing Forward Bend
The standing forward bend is also commonly known as the forward fold, hand to foot pose, or hasta padasana. It goes by several names because it is one of the most important yoga poses you’ll do, and is a great go-to if you want a stretch in your back and legs. All you have to do from the previous pose is bend at the hips until your hands touch the ground and you’re looking at your shins. Don’t worry if your hands don’t touch the ground the first time; it’s perfectly ok to touch the floor with your fingertips or not at all. It’s important not to push yourself too hard with this pose, so go to the point which is still comfortable but also a challenge. To modify this pose, you can bend the knees slightly, as this will make it slightly easier to hold and less intense on the legs. Find yoga Edinburgh here and join now.
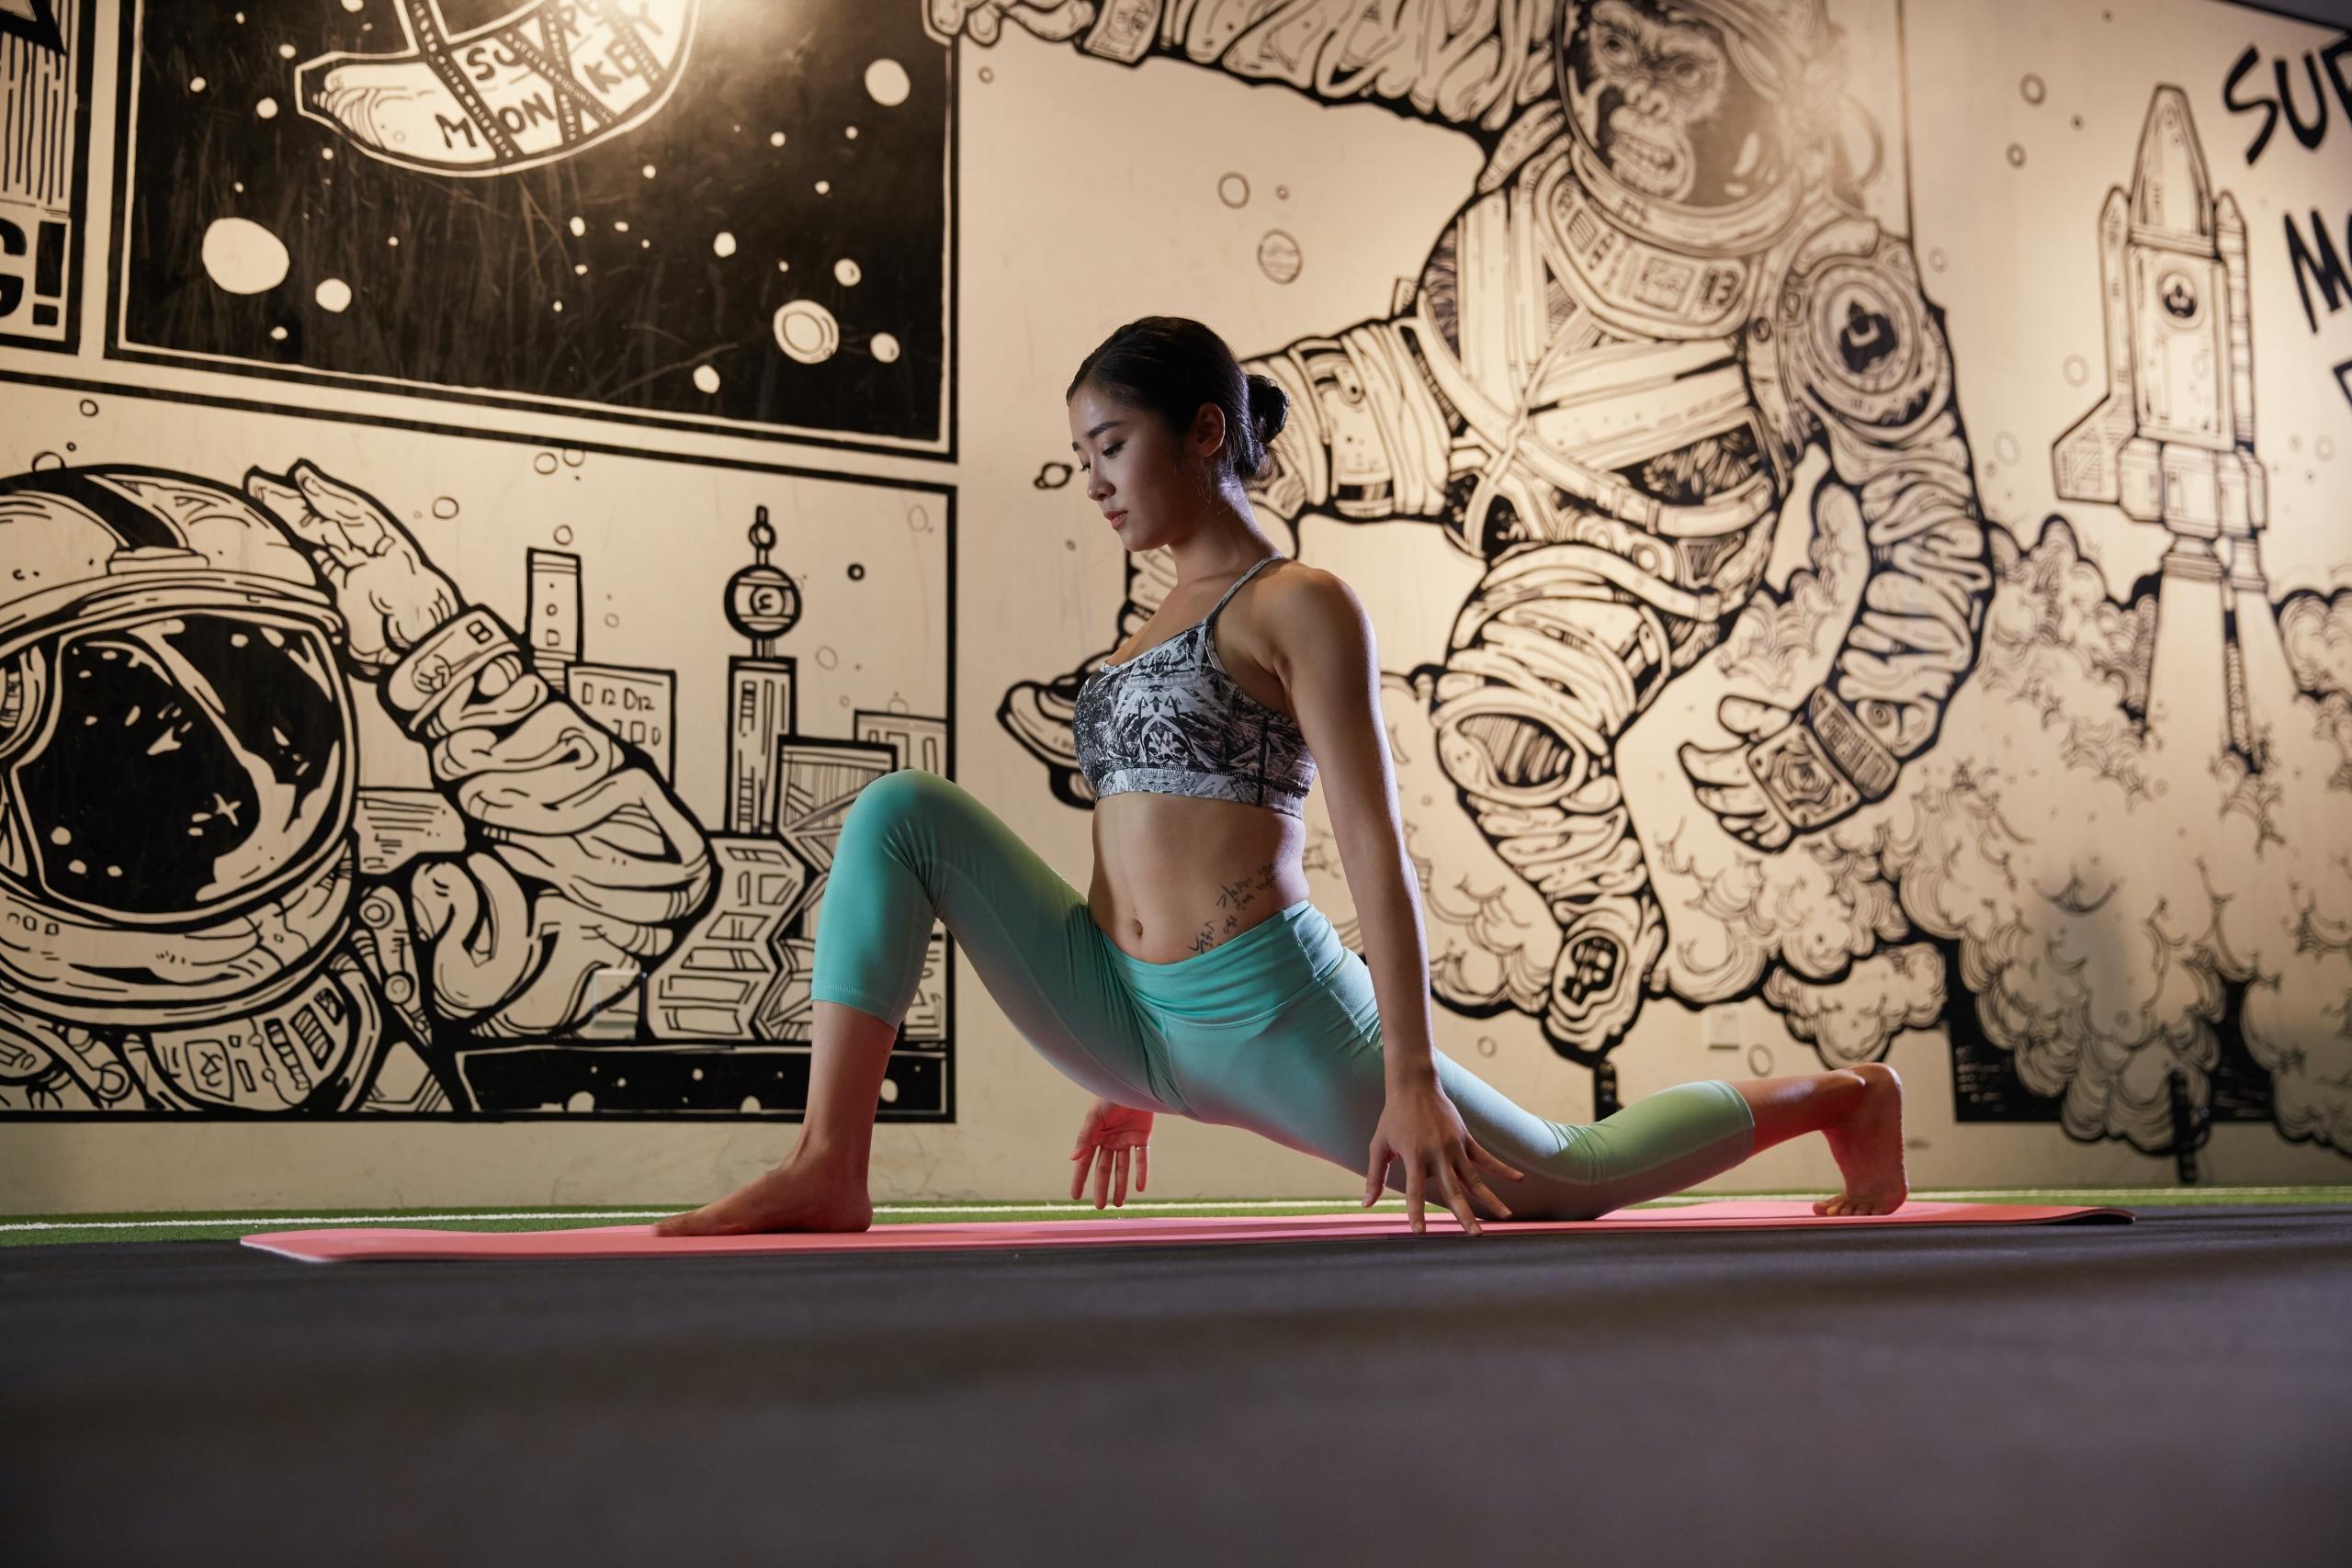
Low Lunge
Plank
The plank pose, or dandasana, is well-known in the world of fitness, and it’s commonly used to build core strength and develop the abdominal muscles. It’s a simple pose to get into but a tricky one to master. To do a plank correctly, you need to maintain a straight line with your body from head to toe. With your hands on the ground below your shoulders and your feet together with toes curled, you should activate your abdominal muscles and try to raise your butt, so it doesn’t sag. To modify this pose, you can do it while on your knees, but if you can, it’s a lot more benficial to do it with legs outstretched, even if only for a few seconds. Find yoga classes near me here and join now.
Knee-Chest-Chin
The knee-chest-chin pose, or ashtanga namaskara, is exactly what it sounds like: a grounded pose in which your knees, chest, and chin are in contact with the mat. To get into this pose, you should lower your knees from plank, move your hips back, and then slide forward until your chest and chin are touching the mat. You should try to keep your core lifted off the ground and your glutes in the air too. This pose will work on spinal flexibility, and due to its rigid nature, doesn’t allow for many modifications.
Cobra
Cobra pose is a popular one in yoga and also goes by the name bhujangasana. To get into the pose, slide forward from the previous pose and raise your chest and chin to look slightly upwards. You can keep your elbows bent for this posture and your feet should be flat on the floor. This is a wonderful pose for stretching out the core muscles and the back. Upward facing dog is a perfect alternative or modification if you’re looking for something more challenging here, as it will require you to raise your body off the ground with straight arms. Find yoga near me here and join today.
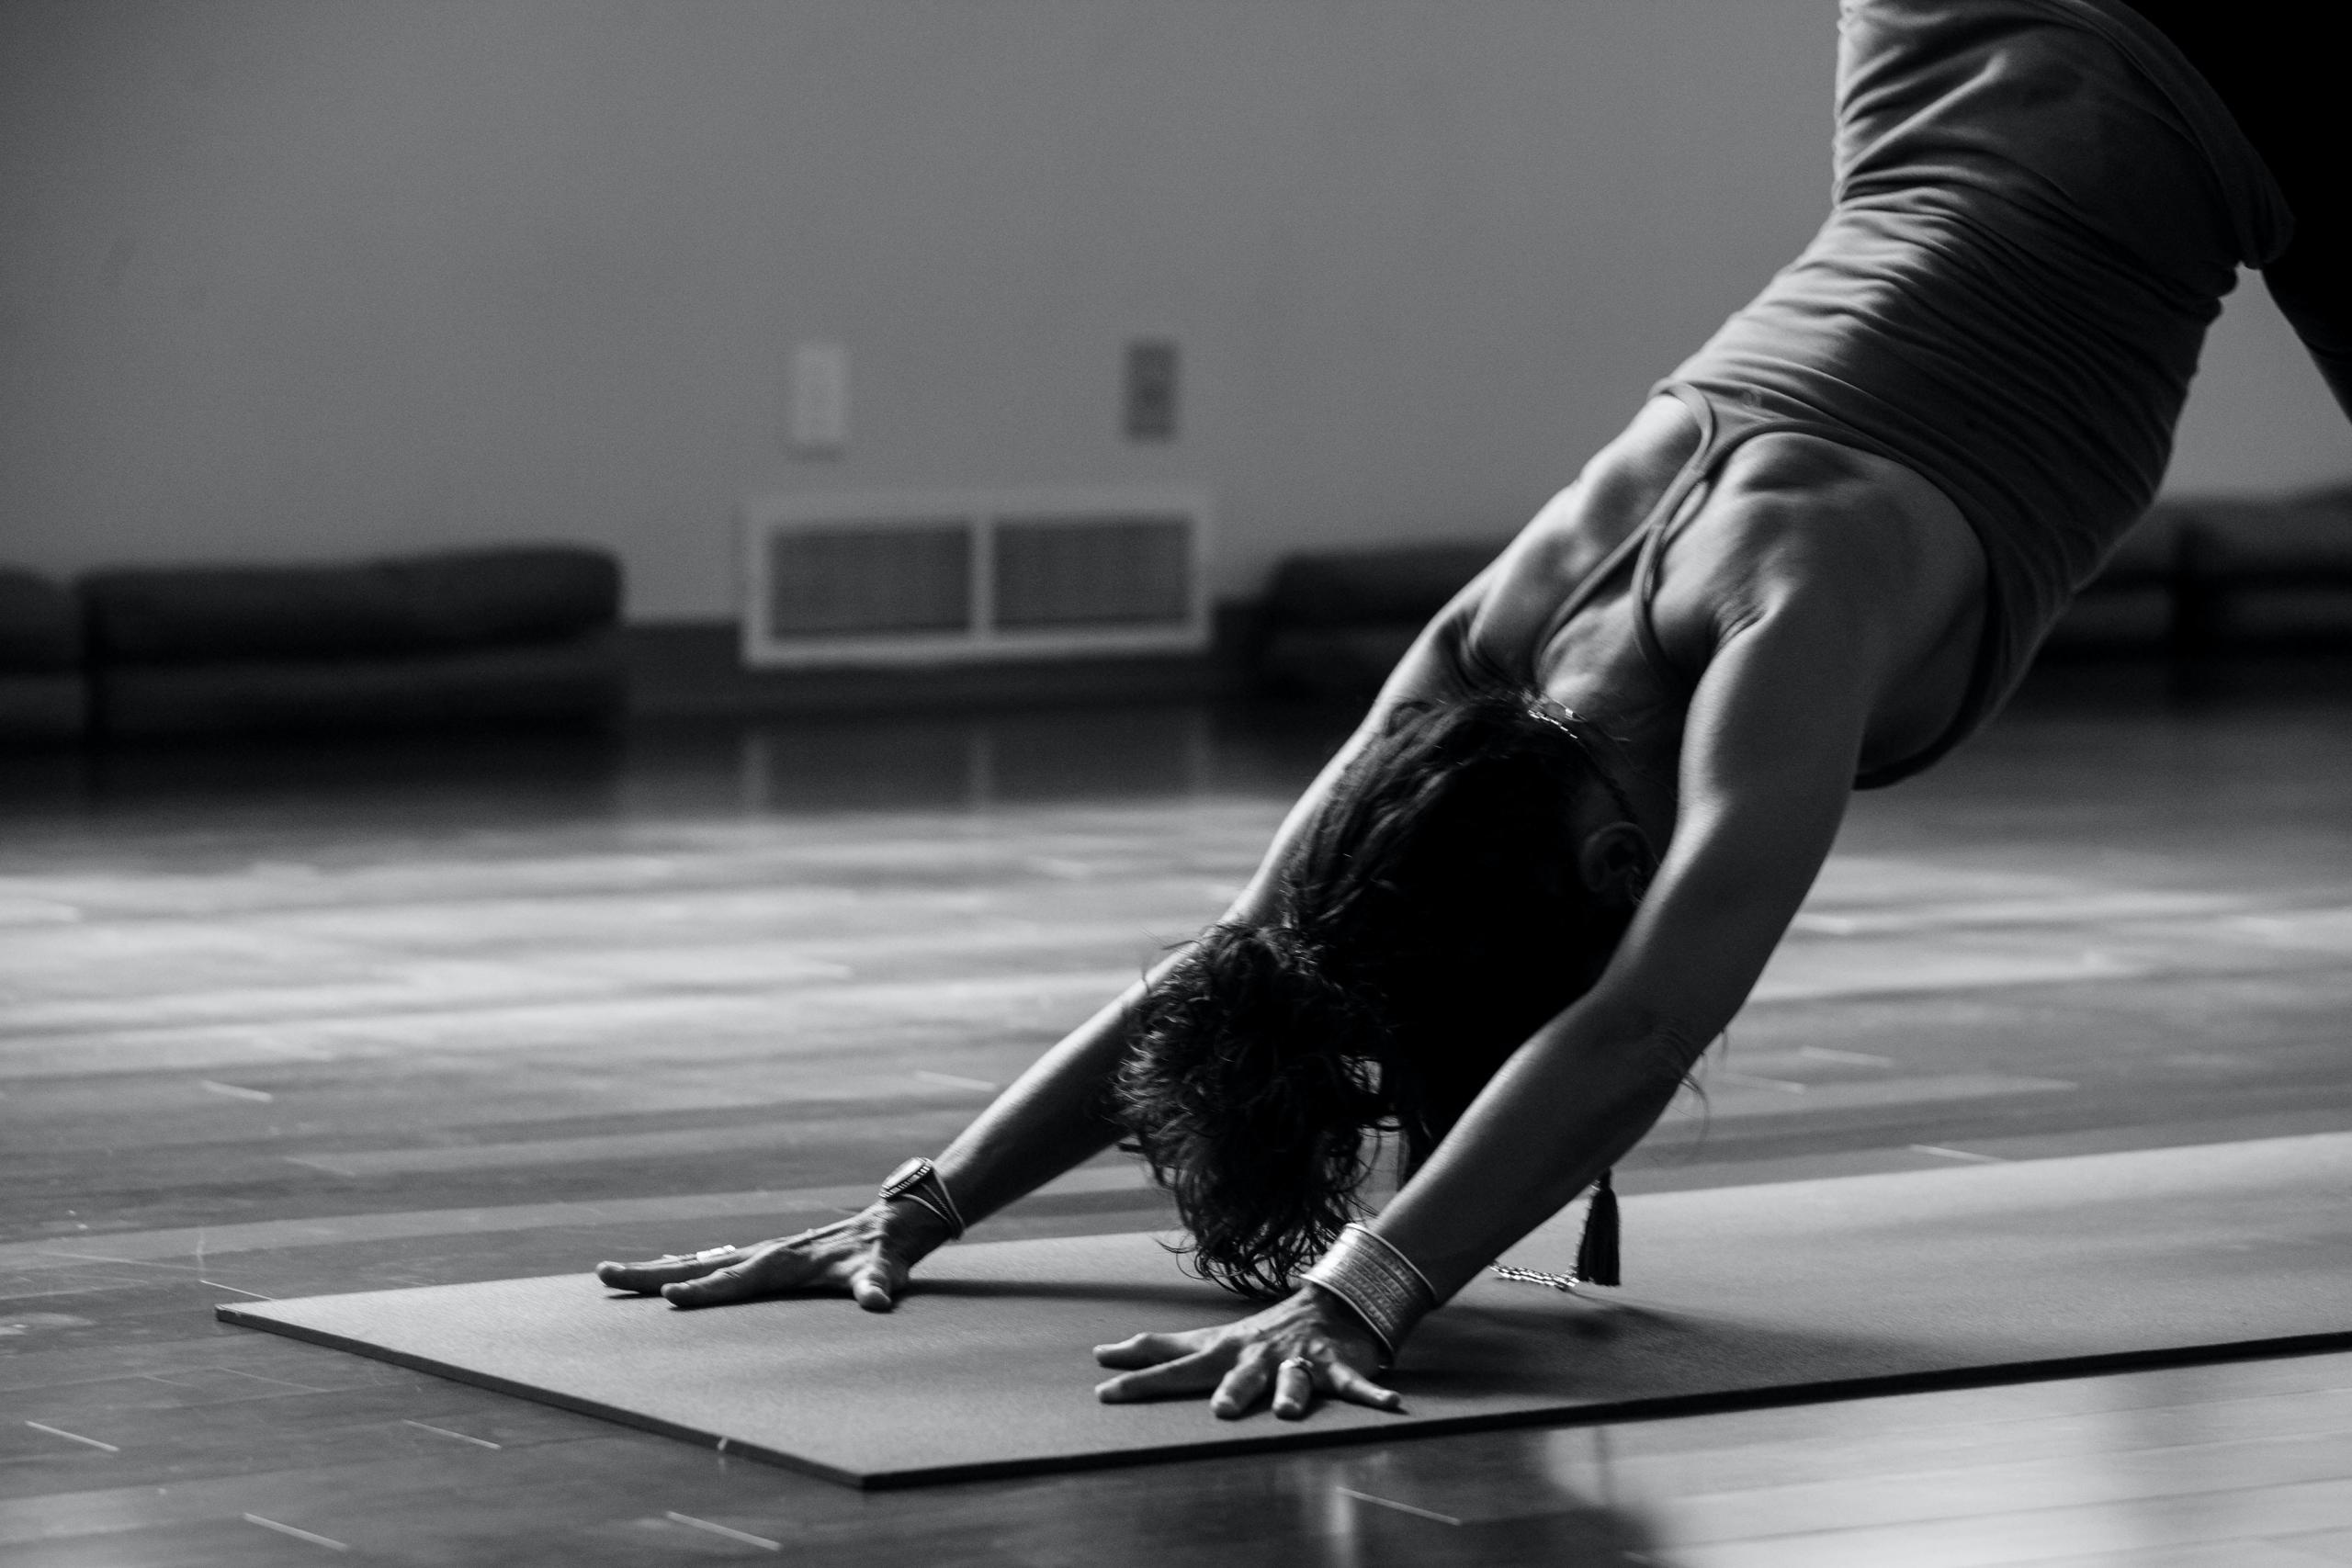
Downward Facing Dog
Low Lunge
As you complete the cycle you will come across some poses you’ve already done, the first of which is the low lunge. This time you should be able to go deeper into the stretch and really work on opening up the hips.
Standing Forward Bend
The standing forward bend should come as a welcome relief from the more intense portion of the sun salutation cycle. This time around you should be able to slip deeper into the stretch and get closer to your toes, and your hands closer to the mat.
Raised Arms
The second raised arms should feel like an awakening. If you perform the sun salutation routine in the morning, the chances are that the first raised arm pose you did will have been a struggle complete with plenty of yawning. This one though should have you feeling energised and radiating positivity. In this pose, do your best to maintain steady deep breathing which you can take with you into your day’s challenges.
Mountain
Finally, coming full circle except with a minor alteration, we have the mountain or tadasana pose. In this pose, you will stand as you did in the prayer pose, except this time your hands won’t be touching. In mountain, you should stand upright with perfect posture and hold your hands by your sides. Ideally, your hands should be facing forwards too, as this means that your shoulders aren’t collapsing forwards. In this final pose, take a moment to enjoy the feeling of having stretched out and moved your body. Breathe in and out deeply, and try to exercise gratitude before you have to start your day. Mountain pose is a great one to come back to throughout the day whenever things get crazy and you need a second to get back to a state of calm.
Summarise with AI:
Did you like this article? Leave a rating!