
Put an orange next to your kopi cup and draw what you see. That is a still life drawing. Art teachers keep coming back to it because a few objects on a table teach proportion, shading, and composition faster than almost anything else, and they never get tired of posing.
This guide is for school students, hobbyists, parents planning a weekend activity, and adults picking up a pencil after years away. You don't need special props. Rambutan, a stack of textbooks, a folded batik sarong, or the kettle on your stove will all work.
| Question | Quick Answer |
|---|---|
| What is still life drawing? | Drawing a group of arranged, non-moving objects from direct observation |
| What can I draw? | Fruit, flowers, bottles, cups, and everyday household items |
| What do I need? | An HB pencil, 2B to 6B pencils, an eraser, paper and one light source |
| How do I start? | Set up three to five simple objects under a single light, sketch their basic shapes, then build up shading and detail in stages |
| Which techniques matter most? | Contour drawing, hatching, cross-hatching, stippling, and blending |
| Who is it for? | Beginners, SPM Pendidikan Seni Visual students, hobbyists, and adults returning to art |


What Is Still Life Drawing?
Still life drawing is a drawing of inanimate objects that an artist arranges and then studies from life. The still life drawing meaning is right there in the name: the subject stays still. A portrait sitter fidgets and needs breaks. A bowl of mangosteen does not. You can spend half an hour on the rim of a teacup, and it will look exactly the same when you look up.
That stillness is why the exercise works. With time to look properly, you practise judging sizes against each other, seeing how objects sit in space, and reading light and dark.
What Counts as a Still Life?
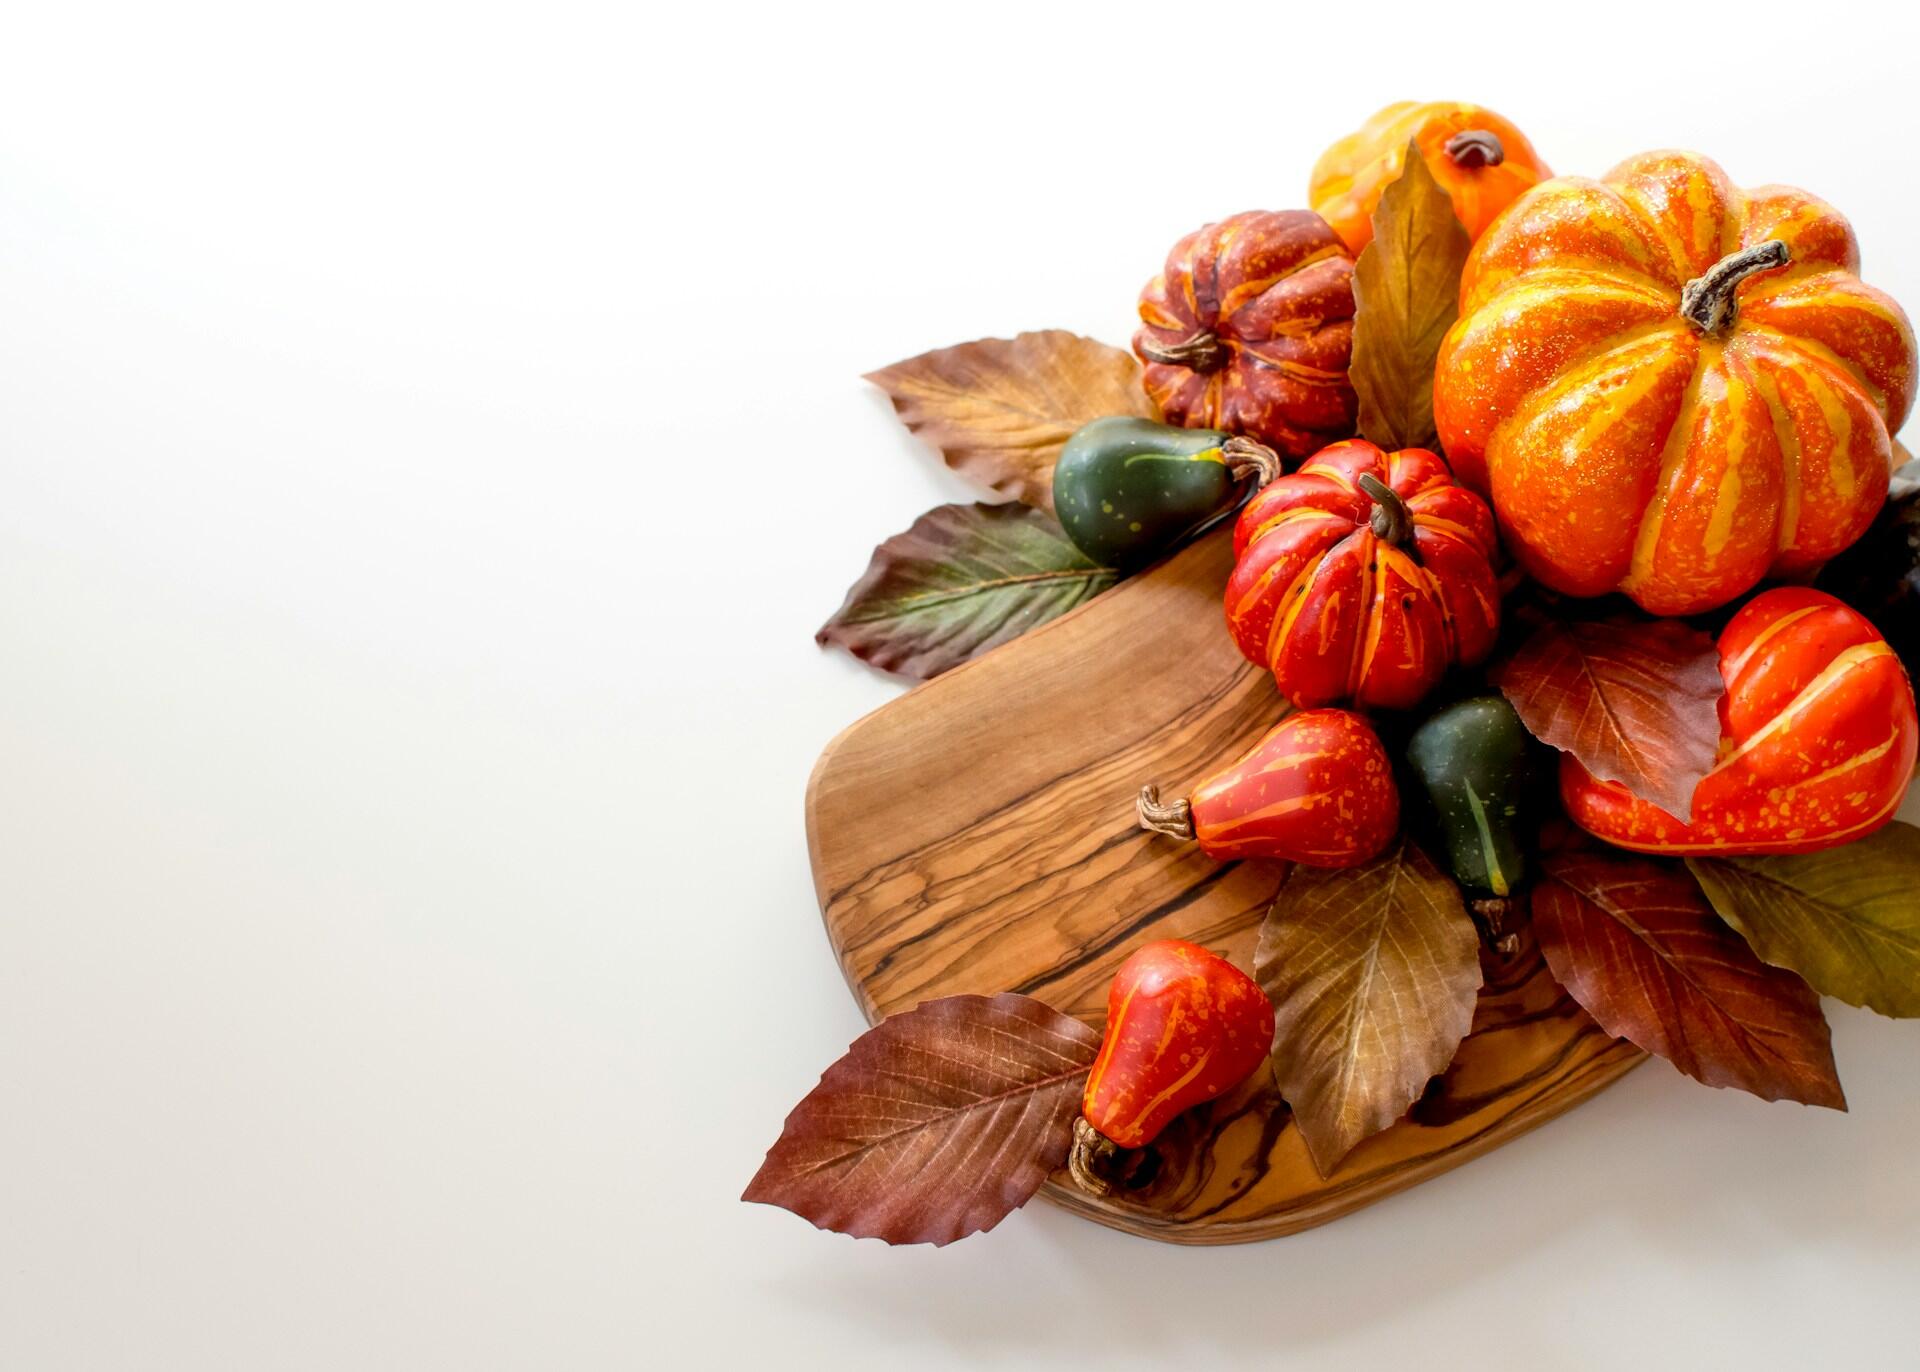
Almost anything that fits on a table counts as still life. Think:
- Natural objects such as leaves, shells, stones, flowers, and local fruit like rambutan, mangosteen, or a halved papaya
- Household items such as mugs, water bottles, books, bowls, keys, and shoes
- Cultural or personal objects such as songket or batik cloth, a kuih tin, a tea set, a rattan basket, or a keris replica
- Classroom props such as geometric blocks, plaster casts, and simple drapery
Still Life Drawing vs Still Life Painting
Both rest on the same foundations: arrangement, proportion, light, shadow, and texture. The difference is the medium.
A drawing uses graphite, charcoal, pen, coloured pencil, or pastel.
A painting uses watercolour, acrylic, oil, or gouache. This guide sticks to drawing. For paintings, photography, and the genre as a whole, read our guide to still life art.
Still Life Drawing
- Graphite, charcoal, pen, coloured pencil, or pastel
- Form built with line, hatching, and tonal shading
- Quick to set up and easy to carry around
- The usual starting point for beginners
Still Life Painting
- Watercolour, acrylic, oil, or gouache
- Form built with colour, brushwork, and layers of paint
- More set-up, drying time, and cleaning
- Adds colour mixing on top of drawing skills
Why Beginners Should Start With Still Life
- It costs almost nothing, because the subjects are already in your house.
- It gives SPM Pendidikan Seni Visual students and art club members steady practice in observational drawing.
- Learning how light wraps around an apple prepares you for faces, landscapes, and digital illustration later.
- It slows you down. A phone captures a table in a second. Drawing it makes you notice that the shadow under the cup is darker than the cup itself.
How to Set Up a Still Life Drawing at Home or in Class
A good set-up takes about ten minutes and decides how easy the drawing will be.
Choose Three to Five Simple Objects
Pick objects with different shapes and heights:
- Something round, like an orange, apple, or bowl
- Something cylindrical, like a mug, bottle, or Milo tin
- Something box-shaped, like a book or tissue box
- Something textured, like a cloth, leaf, or woven basket
Leave glass, shiny metal, and busy patterns for later. Reflections on glass and metal change every time you move your head, and busy patterns are hard to track, so it's difficult to tell whether a mistake is yours or the object's.
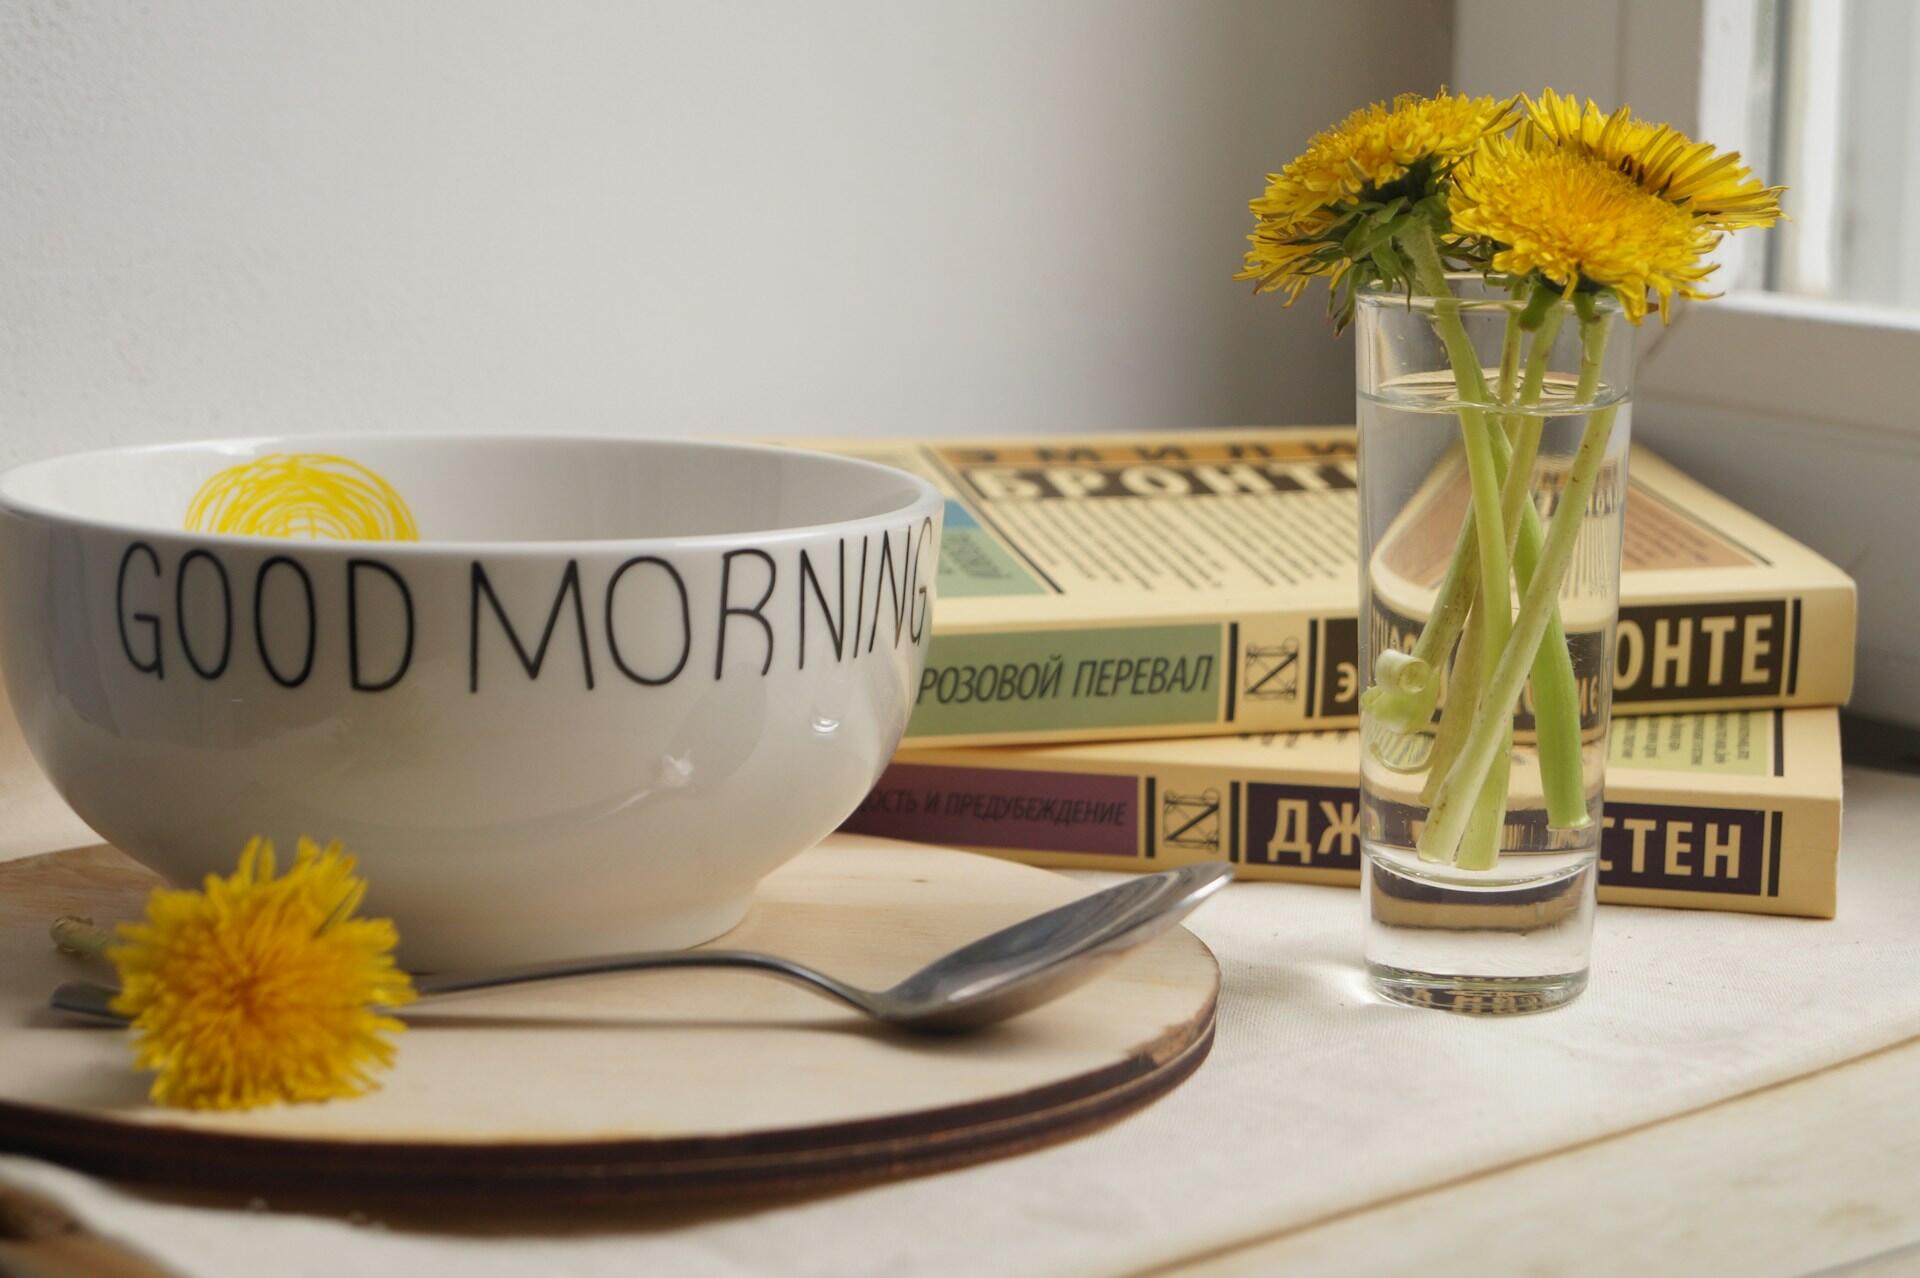
Arrange the Objects
Overlap some objects to create depth, vary their heights, and avoid lining them up like a shop shelf. Leave space around the group so it doesn't crowd the edges of the paper. The rule of thirds helps: put the tallest or most interesting object about a third of the way in, not dead centre.
A simple starting set-up is a mug placed partly in front of a book, with a lime beside it and a folded cloth underneath.
Use One Clear Light Source
Light from one direction gives clear shadows. Light from several directions gives muddy ones. Switch off the ceiling light and use a window or a desk lamp placed to one side.
Midday sun through a Malaysian window is harsh, and the shadows shift quickly, so morning or late-afternoon light is easier to draw.
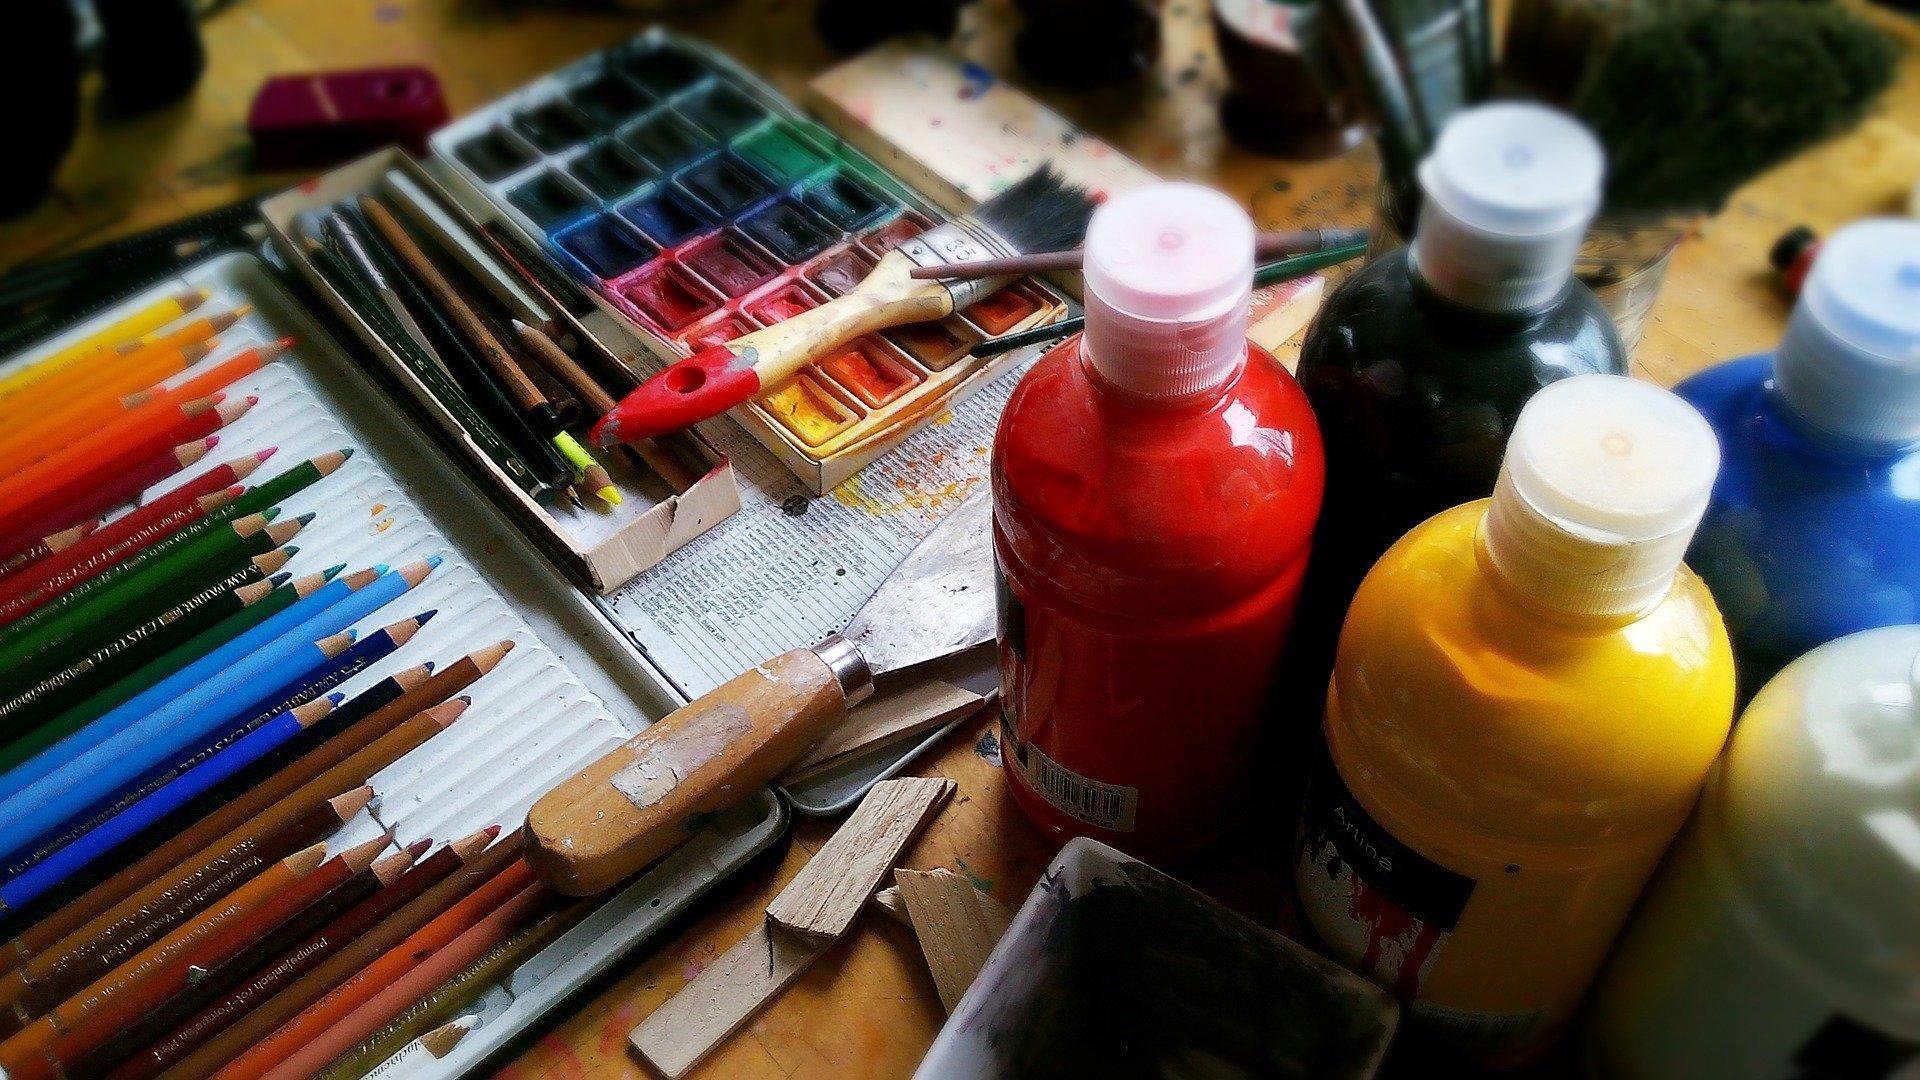
- HB pencil for light construction lines
- 2B to 6B pencils for shading (higher numbers are softer and darker)
- Sketchbook or cartridge paper
- Eraser, plus a kneaded (putty) eraser for lifting highlights
- Sharpener or craft knife
- Ruler for checking proportions, not for drawing edges
Optional: charcoal, a blending stump, coloured pencils or a white gel pen
How to Draw a Still Life Step by Step
Drawing a still life from real objects follows six stages, from blank page to finished piece.
Step 1: Observe Before You Draw
Spend a minute or two just looking. Find the largest shape in the group, note which objects overlap, check which side the light comes from, and pick out the darkest and lightest spots. Compare sizes as you go. Is the mug taller than the book is wide?
Step 2: Sketch Basic Shapes and Proportions
With an HB pencil and light pressure, reduce everything to simple forms. An apple becomes a circle, a mug a cylinder, a book a box. Keep these lines faint, because most of them will disappear later.
To check proportions, use pencil measuring. Hold your pencil at arm's length with your elbow locked and one eye closed. Line the tip up with the top of an object and slide your thumb down to its base, then compare that length against the next object. Keep the elbow locked every time, or your measurements will drift.
Treat nature by means of the cylinder, the sphere, the cone, everything brought into proper perspective.
Paul Cézanne, in a letter to Émile Bernard, 15 April 1904
Step 3: Refine the Contours
Now firm up the outer edge of each object. Watch the ellipses, the ovals at the top and bottom of cups, bowls, and bottles.
The further an ellipse sits below your eye level, the rounder it looks, so the base of a mug is fuller than its rim. Lighten or erase edges hidden behind other objects, and fix any proportion errors before moving on.
Don't shade too early. Shading on a wrong outline only makes the mistake easier to see.
Step 4: Map the Light and Shadow
Squint at the set-up. It blurs the detail and shows you the big blocks of light and dark. Leave the highlights as bare paper and lay a light, even mid-tone over everything else.
Build the core shadows in layers with a 2B or 4B, then add cast shadows so each object sits firmly on the table. Save your heaviest pressure for small areas of strong contrast, usually where an object meets its own cast shadow.
Step 5: Add Texture and Final Details
Texture comes from the marks you choose. A ceramic mug needs smooth, gradual transitions.
Orange peel looks right with small, uneven dabs and broken tone.
For a glass bottle, draw a few sharp highlights and reflected shapes and leave most of the paper alone.
With fabric, follow the folds you can actually see rather than inventing extra lines.
Step 6: Review and Refine
Step back, or check the drawing in a mirror or a flipped phone photo. Errors stand out when the image is reversed. Then ask:
- Do all the objects sit on the same surface?
- Do the shadows point the same way?
- Is your darkest dark dark enough?
- Do the proportions look believable?
- Is there one clear focal point?
Techniques of Still Life Drawing: Line, Shading, Texture, and Perspective
The techniques of still life drawing are different ways of making marks and judging space. Each suits different objects, so practise them all.
Contour and Blind Contour Drawing
Contour drawing follows the visible edge of an object in one careful line. Blind contour drawing does the same while you look only at the object, never the paper.
The result looks wobbly, and that's fine. It trains your hand to follow your eye, which makes it a good five-minute warm-up.
Hatching, Cross-Hatching, and Stippling
Here is how the main mark-making techniques compare, with scumbling added for soft textures:
| Technique | How It Works | Best For |
|---|---|---|
| Hatching | Parallel lines | Simple shadows, direction of form |
| Cross-hatching | Crossing layers of lines | Deep shadows, pen work |
| Stippling | Dots, close or spread out | Gradual tone, ink |
| Scumbling | Loose circular scribbles | Fabric, fruit skin |
Blending and Tonal Shading
Use the side of the lead for broad, soft tone. Build darkness in several light layers instead of one hard press, which dents the paper and won't erase.
Blend with a paper stump or tissue, but stop before every object looks like plastic.
Negative Space and Perspective
Negative space is the empty shape between and around objects. If the gap between a bottle and a bowl looks wrong, one of them is the wrong size.
Objects further back should look slightly smaller, and the parallel edges of a book or box should slant the same way.
Common Mistakes and How to Fix Them
| Problem | Fix |
|---|---|
| Objects float | Darken cast shadows where they touch the table |
| Cup looks flat | Draw the rim as an ellipse; curve the shading |
| Drawing looks muddy | Keep highlights white, push the darks |
| Objects look unrelated | Check every shadow follows one light |
| Proportions look off | Return to basic shapes and re-measure |
Still Life Drawing Examples and Famous Artists
Practice Ideas by Level
| Level | Try Drawing |
|---|---|
| Beginner | An apple and a mug; three eggs in a bowl |
| Intermediate | Flowers in a vase on folded cloth; a teapot and cups |
| Advanced | Clear bottles; kuih, a kopi cup and a woven tray |
Draw from life first. Take a reference photo only if you need to finish later.
Famous Still Life Artists to Know
- Giorgio Morandi drew, etched, and painted the same bottles and jars for decades, using simple forms and muted tones.
- Paul Cézanne built his fruit-and-tablecloth arrangements from solid, almost geometric shapes.
- Vincent van Gogh gave shoes and sunflowers expressive line and colour.
- Louise Moillon painted detailed fruit baskets in 17th-century France.
- Henri Fantin-Latour is known for naturalistic flower pieces.
Meet more in our guide to famous still life artists.
A Short History of Still Life Art
Food and vessels appear in ancient Egyptian tomb paintings and Roman wall paintings. Still life emerged as a genre of its own in late 16th- and 17th-century Europe, especially in the Netherlands, and the English term comes from the Dutch stilleven.
The Met's Heilbrunn Timeline of Art History has a clear overview of that period1. Later artists used still life to test ideas about form and colour, which our pieces on the history of still life and modern still life cover.
For local inspiration, visit the National Art Gallery Malaysia2 in Kuala Lumpur.
Want feedback on your shading or help with a Seni Visual portfolio? You can find a drawing tutor on Superprof for lessons at home or online.
References
- Liedtke, W. (2003, October). Still-life painting in Northern Europe, 1600-1800. In Heilbrunn Timeline of Art History. The Metropolitan Museum of Art. Retrieved October 3, 2026, from https://www.metmuseum.org/essays/still-life-painting-in-northern-europe-1600-1800
- Balai Seni Negara. (n.d.). National Art Gallery Malaysia. Retrieved October 3, 2026, from https://www.artgallery.gov.my/
Summarise with AI:
Did you like this article? Leave a rating!

 Loading...